
A Sweet Start
I have always loved a good treat. This one is special. It feels like a rich, chocolatey cloud. And it is made from simple, good things.
My grandson calls it “chocolate magic.” I think that is the perfect name. It proves you do not need dairy or refined sugar for something delicious. What is your favorite magical-seeming dessert?
The Coconut Milk Trick
Let me share a little secret. The first step is to chill the coconut milk. This makes the cream rise to the top. You scoop out that thick, lovely cream.
It is the base for our mousse. I sometimes forget to do this the night before. So I pop the can in the freezer for an hour. It still works! This matters because that rich cream gives our dessert its dreamy texture.
Nature’s Candy
We sweeten this mousse with dates. They are like little nuggets of caramel from nature. I love their sticky sweetness. They blend right into the chocolate.
Using whole fruits like dates is a wonderful thing. It teaches us that nature provides its own sweetness. We do not always need a bag of sugar. *Fun fact: Dates are one of the oldest cultivated fruits in the world!* Have you ever baked or cooked with dates before?
Blending it All Together
This is where the magic happens. Everything goes into the blender. The dates, the coconut cream, the rich cocoa. The smell is absolutely amazing.
My blender is an old friend. It has seen many batches of this mousse. Sometimes it needs a little scrape down the sides with a spatula. I still laugh at that. It reminds me to be patient. Good things take a little time and help.
The Hardest Part
Now you have to wait. The mousse needs to chill in the fridge for an hour. This sets it into a perfect, spoonable treat.
But I will tell you a secret. I can never wait the full hour. I always sneak a small spoonful straight from the blender. It is my little cook’s reward. Do you have a hard time waiting for treats to be finished?
Why This All Matters
This recipe is more than just a dessert. It is a lesson in kindness. Kindness to our bodies with good ingredients. And kindness to ourselves by making something special.
Sharing food made with love is one of life’s greatest joys. Seeing someone’s face light up after a bite? That is the real prize. What is a food that always makes you feel happy and loved?
Ingredients:
| Ingredient | Amount | Notes |
|---|---|---|
| Fresh medjool dates, pitted and chopped | 15-20 | 1, 12 oz. box is usually what I use! |
| Coconut milk, unsweetened | 1 (13.5 oz.) can | or 1 cup coconut cream |
| Water, filtered | 3/4 cup | plus more as needed |
| Cocoa powder, unsweetened | 1/2 cup | |
| Vegan chocolate chips | 1/2 cup | |
| Coconut oil | 2 tsp. | |
| Salt | pinch |
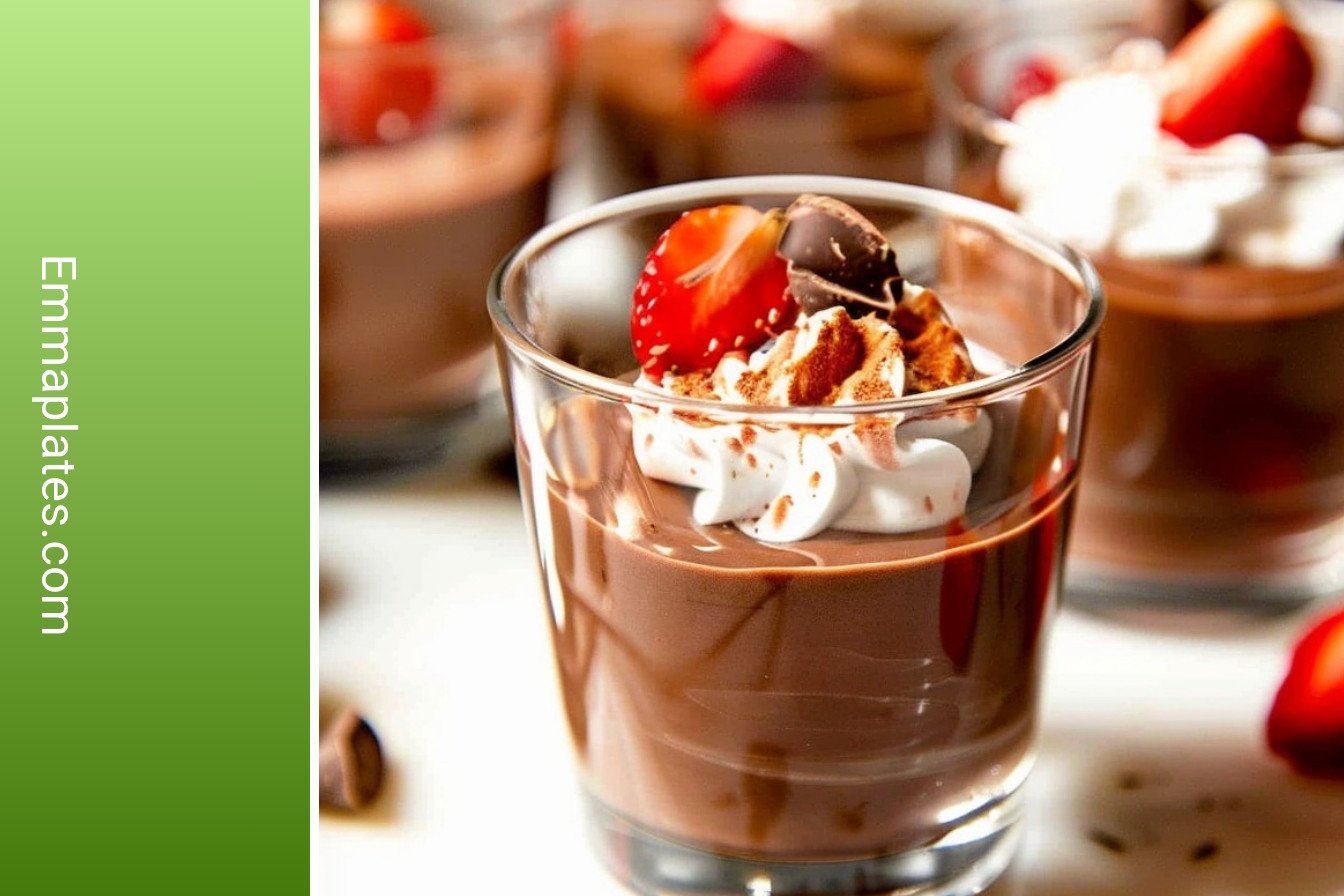
My Silken Cocoa Delight
Oh, this recipe brings back such sweet memories. My grandson Leo calls it “chocolate cloud.” He once tried to eat the whole bowl before it even made it to the fridge. I still laugh at that. This dessert is so simple and feels so fancy. It’s perfect for a special treat or when you just need a little joy.
You just need a few simple things. The dates make it sweet and rich. The coconut milk makes it wonderfully smooth. Doesn’t that smell amazing when you blend it all together? It’s like a hug in a bowl. Let me walk you through it.
- Step 1: First, let’s get our coconut milk ready. Put the unopened can in the fridge. Leave it there for a few hours or even overnight. This makes the thick cream rise to the top. (A hard-learned tip: Don’t shake the can before chilling it! We want that cream to separate).
- Step 2: Now, open that chilled can. Scoop out the solid coconut cream into your blender. Add your chopped dates and the water. Let it whir away for a minute or two. It will start to look like caramel. I love watching it all come together.
- Step 3: Time for the chocolate! Melt the chocolate chips with the coconut oil. I use my microwave with a paper plate on top. Stir it until it’s all glossy and smooth. Be careful, the bowl might be a little warm. What’s your favorite kind of chocolate to bake with? Share below!
- Step 4: Pour that beautiful melted chocolate right into the blender. Add the cocoa powder and a tiny pinch of salt. Blend it all again until it’s perfectly smooth. If it seems too thick, add a splash more water. A little patience here makes it extra silky.
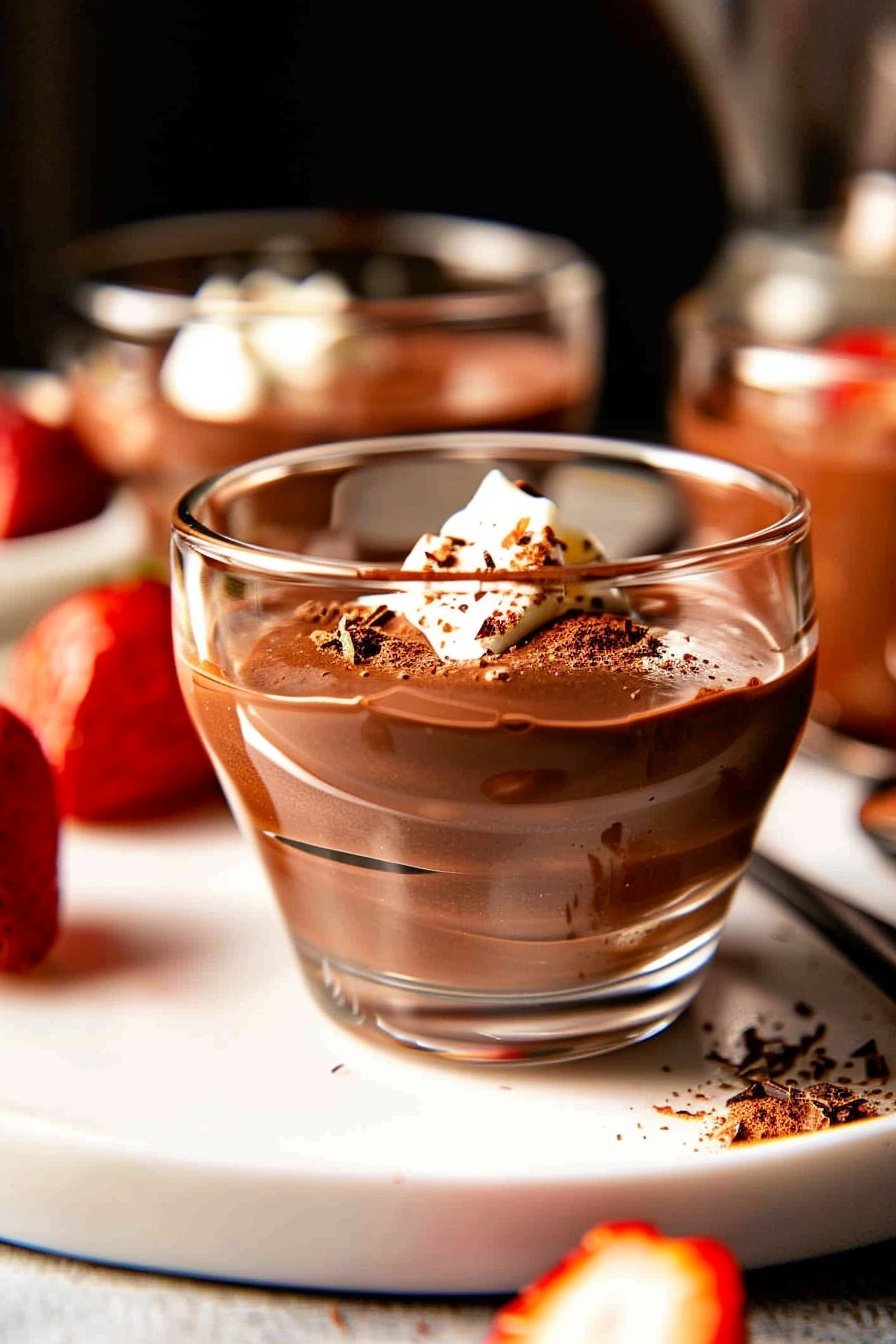
- Step 5: Spoon your mousse into little cups or bowls. This is the hardest part. You have to let it chill in the fridge for about an hour. But I won’t tell if you sneak a little taste first. The wait is always worth it.
Cook Time: 1 hour (chilling)
Total Time: 1 hour 15 minutes
Yield: 4 servings
Category: Dessert, Vegan
Three Fun Twists to Try
This recipe is like a blank canvas. You can dress it up so many ways. Here are a few of my favorite ideas. They are all so simple and delicious.
- Orange Zest Dream: Add a teaspoon of fresh orange zest to the blender. It tastes like a chocolate orange. So bright and cheerful.
- Peanut Butter Cup: Swirl a big spoonful of peanut butter into each cup before chilling. It makes little peanut butter pockets. My neighbor’s kids love this one.
- Minty Fresh: Add a drop or two of peppermint extract with the cocoa powder. It’s so refreshing. It reminds me of winter holidays.
Which one would you try first? Comment below!
Serving Your Sweet Creation
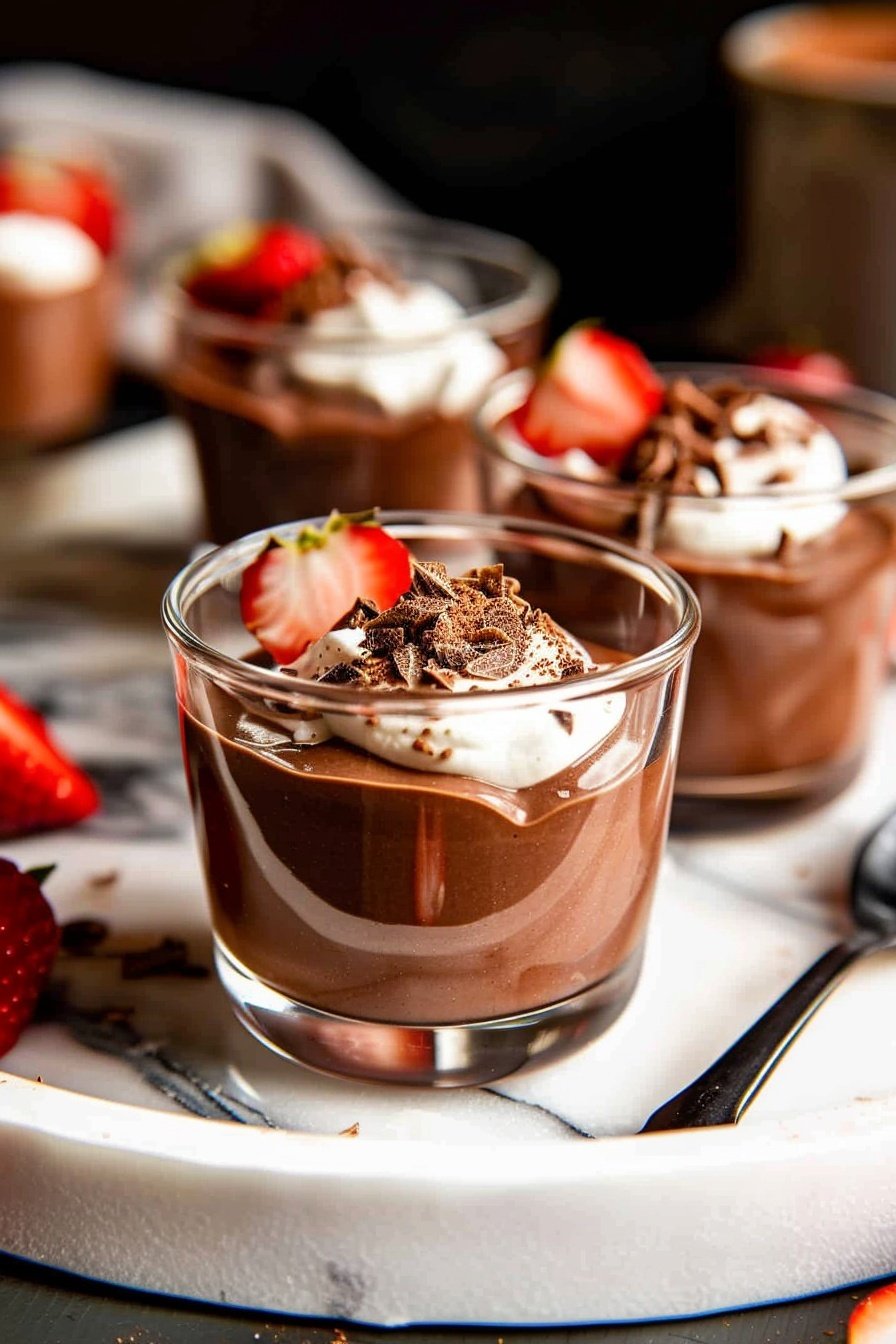
Now, for the best part. Eating it! I love making it look pretty. A simple garnish makes everyone feel special. It’s a little secret I learned from my mother.
Top your mousse with fresh raspberries or sliced strawberries. In the summer, use sweet cherries. You can also make a parfait with layers of mousse, fruit, and a dollop of coconut cream. It looks so fancy in a clear glass.
For a drink, a cold glass of almond milk is just perfect. For the grown-ups, a little glass of coffee liqueur over ice pairs wonderfully. Which would you choose tonight?
Keeping Your Cocoa Delight Perfect
This mousse loves a cold fridge. It will stay happy there for about four days. Just cover the dish with a lid or some plastic wrap.
You can also freeze it for a sweet treat later. I put small portions into little cups. This way, I have a ready-made dessert anytime.
I once tried to double the recipe for a big family dinner. It was so nice to have it ready ahead of time. Batch cooking saves you from a last-minute rush.
This matters because good food should make life easier. Having a dessert ready means more time with your guests. Have you ever tried storing it this way? Share below!
Simple Fixes for Common Mousse Troubles
Is your mousse too thick? Just add a splash more water. Blend it again until it looks smooth and creamy.
If your chocolate seizes up, do not worry. I remember when this happened to me. Gently reheat it with a tiny bit more coconut oil.
Not sweet enough for you? Try adding one or two more dates. Your blender can mix them right in. A fun fact: Medjool dates are often called nature’s candy.
Fixing small problems builds your confidence in the kitchen. It also makes sure your dessert tastes just right. Which of these problems have you run into before?
Your Cocoa Delight Questions Answered
Q: Is this recipe gluten-free? A: Yes, it is naturally gluten-free. All the ingredients are safe.
Q: Can I make it ahead? A: Absolutely. Make it the day before. The flavors get even better.
Q: What if I do not have dates? A: You can use maple syrup. Start with a quarter cup.
Q: Can I make a bigger batch? A: Of course. Just double all the ingredients. Use a big blender.
Q: Any other tips? A: A pinch of salt makes the chocolate taste richer. It is a small step with a big reward. Which tip will you try first?
A Little Note From My Kitchen to Yours
I hope you love making this silken cocoa delight. It is one of my favorite recipes to share.
I would be so thrilled to see your creation. Your kitchen adventures make me so happy. Have you tried this recipe? Tag us on Pinterest!
Happy cooking!
—Emma Caldwell.
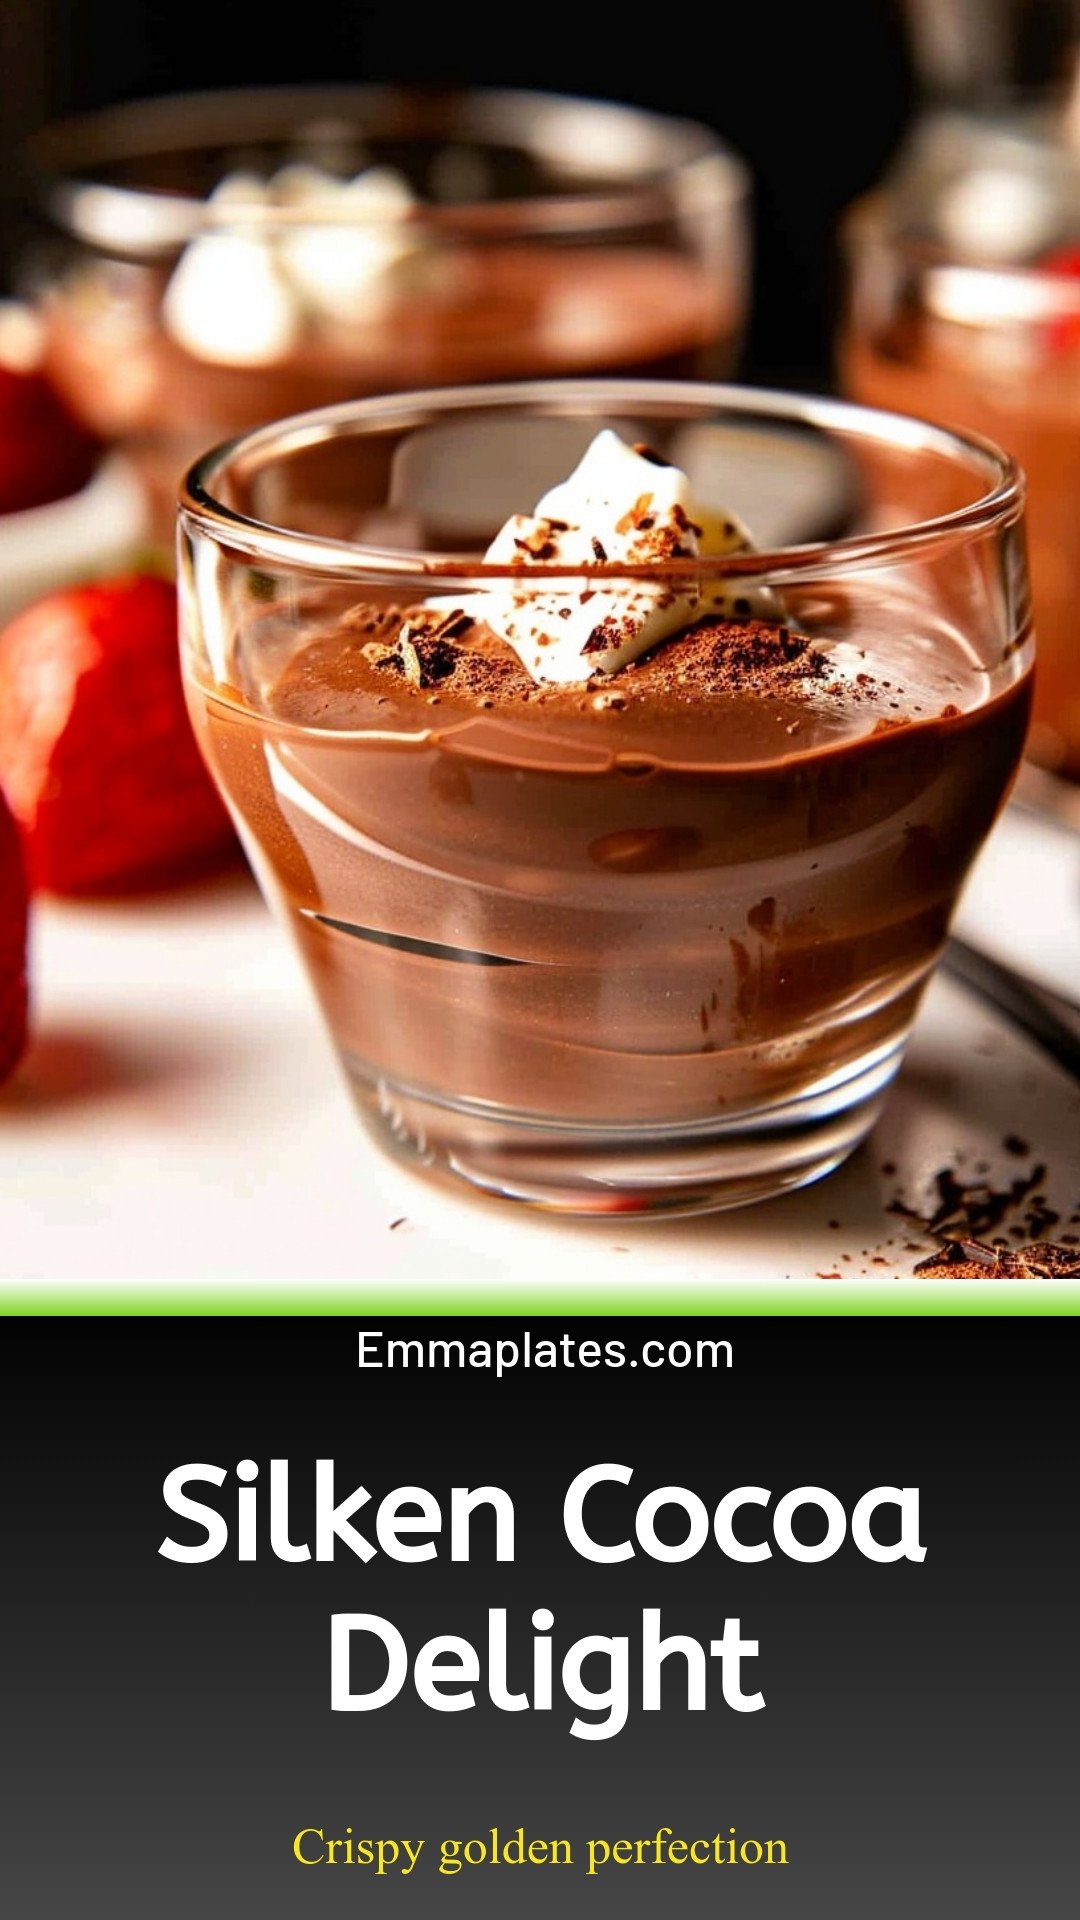
Silken Cocoa Delight: Crispy golden perfection
Description
Indulge in the ultimate silken cocoa delight. This rich, creamy hot chocolate recipe is pure comfort in a mug, perfect for cozy moments. Easy to make and decadently smooth.
Ingredients
Instructions
- First, you will need to place the canned coconut milk in the fridge for 2-3 hours or overnight for the coconut milk to solidify into coconut cream. Then, we will use the coconut cream for the mousse and discard the remaining liquid in the can (or you can use it in this recipe instead of the filtered water!).
- In a powerful blender or food processor, blend the dates, full fat coconut cream and water (or leftover coconut milk from the can) together for 1-2 min.
- Then, in a microwave safe bowl melt the chocolate chips and coconut oil. I cover with a paper plate and heat for 1 minute, stir, and then heat for another 30 seconds. It should be melted at this point!
- Pour the melted chocolate, cocoa powder, and pinch of salt into the blender and mix until smooth. You can add a splash of vanilla extract here too, if preferred. You may also need to add additional water (~2-4 Tablespoons) to achieve a smooth consistency, using a rubber spatula to stir the mousse to get everything incorporated as needed.
- Divide the mousse into individual serving dishes and place in fridge for 1 hour (or if you’re like me and can’t wait, you can sneak a few bites!)
- Enjoy with fresh berries or make it into a parfait layered with mousse, fresh berries (or cherries if in season) and coconut cream on top.
Notes
- For added flavor, top with fresh berries or make it into a parfait layered with mousse, fresh berries (or cherries if in season) and coconut cream on top.


Leave a Reply