

My Kitchen Helper
My grandson, Leo, helped me make these last week. He is seven. He was in charge of the Oreos. He took that job very seriously. I still laugh at that. His little face was so focused.
He asked me why we bake the crust first. It’s a good question. A quick bake helps the crust stay together. It gives it a nice, firm base for all that creamy filling. This matters because no one wants a crumbly mess!
The Secret to Silky Filling
Let’s talk about room temperature. I know, it sounds fussy. But it is the biggest little secret. Cold cream cheese has lumps. Room temperature cream cheese is soft and friendly. It mixes smooth as silk.
Just leave everything on the counter for an hour. Go water your plants. Pat the dog. Then come back. You will see the difference. Your batter will be dreamy. Do you have a favorite waiting-time chore?
A Little Magic Touch
The ganache is the fancy hat. It looks hard, but it is not. You just melt things together. The corn syrup is my trick. It makes the chocolate shiny and smooth. Fun fact: That shiny top is called a “mirror glaze” in fancy bakeries!
Doesn’t that smell amazing? Warm chocolate and butter. It is pure happiness. Spooning it on the cold cheesecakes is my favorite part. This matters because food should be a joy for your eyes, too.
Why We Wait
The hardest step is next. You must wait. Put them in the fridge. Walk away. I know, it is tough. But the wait makes them perfect. The filling sets. The flavors get cozy together.
I think waiting teaches us something. Good things take a little time. It is true for gardens, friendships, and cheesecake bites. What is the hardest recipe for you to wait for?
Your Turn to Share
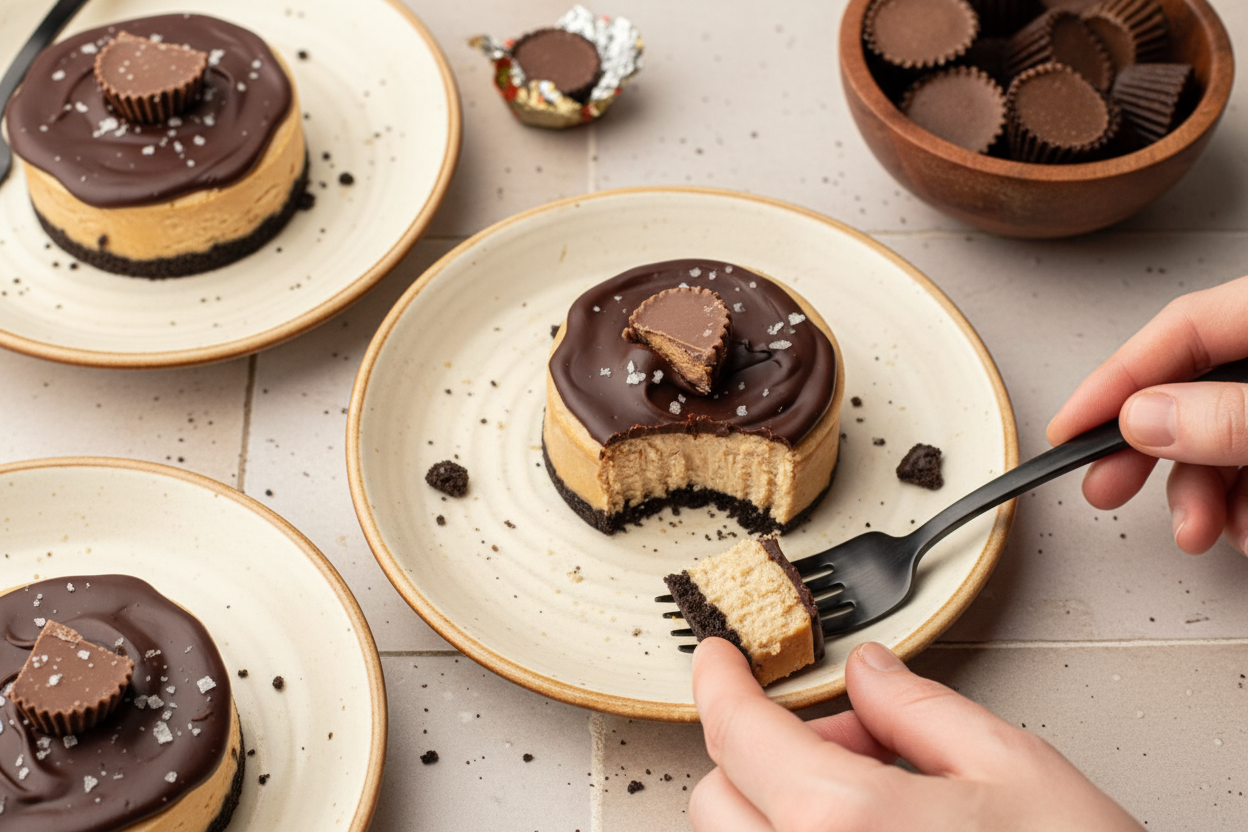
I love the salty sprinkle at the end. It makes the peanut butter and chocolate sing. You can use any salt you have. It is a wonderful little pop.
Now, I want to hear from you. Will you use mini peanut butter cups, or try something else? Maybe chopped peanuts? Tell me your plan. I love getting new ideas from my kitchen friends.
Ingredients:
| Ingredient | Amount | Notes |
|---|---|---|
| Crust: | ||
| Oreos (with filling) | 18 | |
| Butter, unsalted | 4 tbsp. | melted |
| Cheesecake: | ||
| Cream cheese | 16 oz. | softened to room temp |
| Granulated sugar | ½ cup | |
| Creamy peanut butter | ½ cup | e.g., Skippy or Jif |
| Sour cream, full-fat | ⅓ cup | room temp |
| Flour or cornstarch | 1 Tbsp. | |
| Vanilla extract | 1 tsp. | |
| Salt | pinch | |
| Eggs | 2 | at room temperature |
| Ganache: | ||
| Dark chocolate chips | 1 cup | |
| Butter, salted | ¼ cup | |
| Light corn syrup | 1 Tbsp. | |
| Vanilla | ½ tsp. | |
| Garnish: | ||
| Mini peanut butter cups | cut in half for garnish | |
| Maldon flaky sea salt | optional |
No-Bake Peanut Butter Delights: A Bite of Happiness
Hello, my dear! Come sit at the counter. Let’s make something special. These little cheesecake bites are pure joy. They remind me of my grandson’s birthday. He always asks for “Grandma’s peanut butter cups.” I still laugh at that. They look fancy but are quite simple. We just need to take our time. Ready? Let’s begin.
Ingredients
- Oreos (for the crust)
- Melted butter
- Cream cheese (room temperature)
- Sugar
- Peanut butter
- Sour cream
- Vanilla extract
- Eggs
- Chocolate chips
- Butter (for ganache)
- Corn syrup
- Mini peanut butter cups
- Flaky salt (optional)
Instructions
Step 1: First, let’s make the crust. Blitz those Oreos in a food processor. You want fine, dark crumbs. Pour in the melted butter. Blend it again until it looks like wet sand. Doesn’t that smell amazing? Press this into your lined cupcake tin. Use a spoon to press it down firmly. (A hard-learned tip: a clean milk jug lid is perfect for this!). Bake it for just 5 minutes. Then let it cool.
Step 2: Now for the creamy filling. Beat the room-temperature cream cheese first. It should look smooth and fluffy. Add the sugar, peanut butter, and sour cream. Don’t forget the vanilla! That’s the magic. Mix it all together until it’s one happy, creamy family. What ingredient makes things creamy and tangy? Sour cream or yogurt? Share below!
Step 3: Add the eggs one at a time. Mix on low speed. Stop as soon as the yellow yolk disappears. We don’t want to over-mix. Pour this lovely filling over your cooled crusts. Gently tap the pan on the counter. This gets rid of air bubbles. Bake them for about 16-18 minutes. The center should have a tiny, gentle jiggle.
Step 4: Patience is key here. Let the bites cool completely. Then, they must take a long nap in the fridge. Four hours at least, but overnight is best. This makes them set perfectly. Use this time to wash up! Later, make the ganache. Melt chocolate chips, butter, and corn syrup together. Stir until it’s glossy and smooth. Spoon it over each chilled bite.
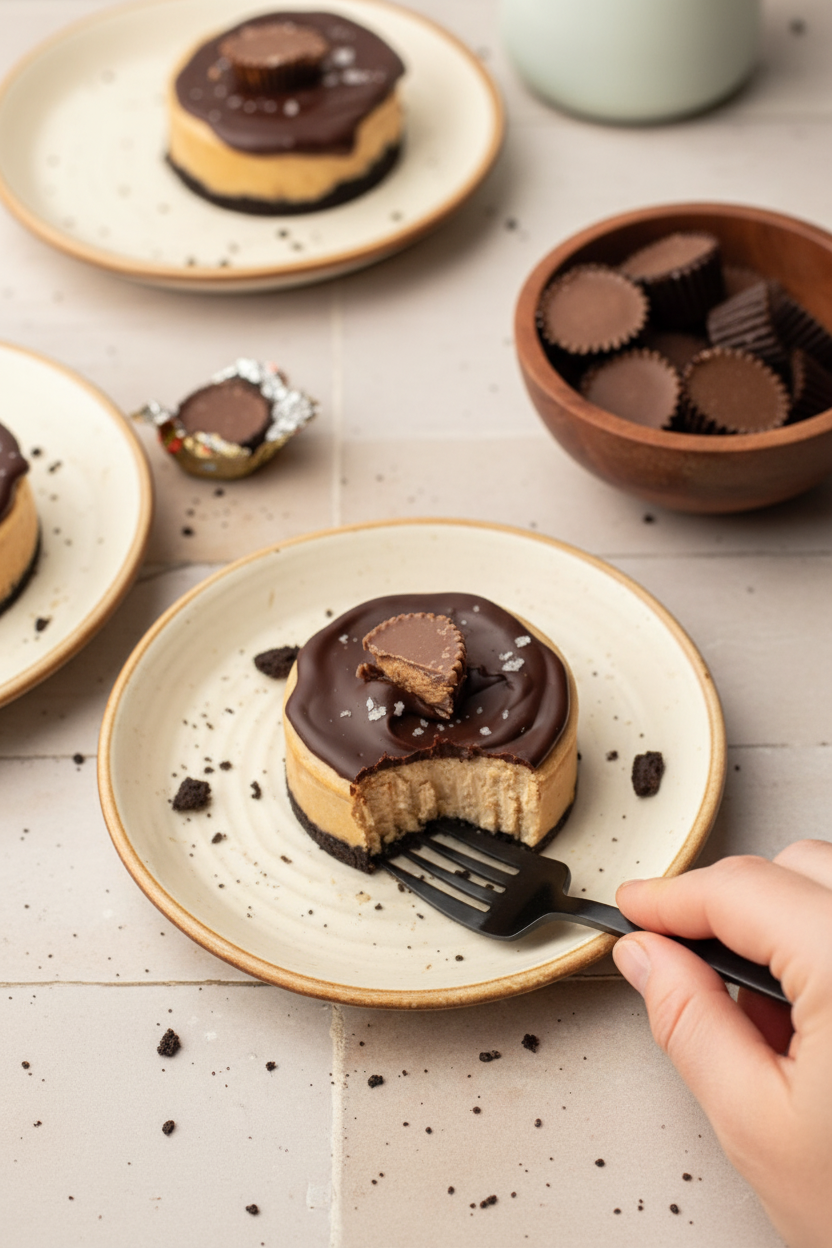
Step 5: The final touch is my favorite. Place half a mini peanut butter cup on each. A tiny sprinkle of flaky salt is wonderful. It makes all the flavors pop! Chill them again until the chocolate sets. Then, share them with someone you love. Or hide one for yourself for later. I won’t tell.
Cook Time: 35 minutes
Total Time: 4 hours 35 minutes (plus chilling)
Yield: 18 cheesecake bites
Category: Dessert
Let’s Get Creative With Your Bites!
Once you master the basic recipe, try a twist! It’s so much fun. Here are three ideas I love. They make the treats feel brand new. Which one would you try first? Comment below!
The Cookie Dough Dream: Mix mini chocolate chips right into the cheesecake filling. It tastes like eating cookie dough, but safe!
The Jam Surprise: Drop a tiny spoonful of raspberry jam into the center of each bite before baking. A sweet, fruity secret inside.
The Pretzel Crunch: Replace half the Oreos with crushed pretzels for the crust. Sweet and salty is the best combination.
Serving Your Little Masterpieces
These bites are stars all on their own. But a pretty plate makes them extra special. Place them on a vintage cake stand. Scatter a few whole peanuts or extra chocolate chips around. For a party, put each one in a colorful mini paper liner. It’s so cheerful!
What to drink? A cold glass of milk is the classic choice. It’s perfect for kids. For the grown-ups, a small glass of cream sherry is lovely. It’s sweet and nutty, just like our dessert. Which would you choose tonight?
Keeping Your Delights Delightful
Let’s talk about keeping these treats happy. They must chill in the fridge for four hours. I always make them the night before. This gives the flavors time to become friends.
You can freeze them for a sweet surprise later. Place them on a tray until solid. Then wrap each one tightly. They keep for about a month. Thaw in the fridge overnight.
No reheating is needed. They are perfect cold from the fridge. I once left a batch out too long. The ganache got soft and messy. Now I know better!
Batch cooking saves so much time. Make a double batch of the crust. It is the messiest step. Doing it once means more treats later. This matters because it makes joy easy to share.
Have you ever tried storing it this way? Share below!
Little Hiccups and Easy Fixes
Sometimes our baking has little hiccups. That is okay. Here are three common ones and their fixes.
First, cracked tops. This happens if we mix too much after adding eggs. Mix just until the yolk disappears. I remember when my first batch looked cracked. They still tasted wonderful.
Second, a soggy crust. Always bake your crust for five minutes first. This creates a strong, tasty base. It matters because the crust should hold its own.
Third, ganache that seizes. If it gets lumpy, add a teaspoon of warm cream. Stir gently until it is smooth again. This simple fix saves your topping. Getting past small problems builds your kitchen confidence.
Which of these problems have you run into before?
Your Questions, My Answers
Q: Can I make these gluten-free?
A: Yes! Use gluten-free chocolate sandwich cookies for the crust. Everything else is naturally gluten-free.
Q: How far ahead can I make them?
A: They are best made 1-2 days ahead. The flavor gets even better. Keep them covered in the fridge.
Q: What if I don’t have sour cream?
A: Plain, full-fat Greek yogurt works beautifully. It gives the same creamy, tangy result.
Q: Can I make a big cheesecake instead?
A: Absolutely. Press the crust into a 9-inch pan. Bake the filling for 45-55 minutes.
Q: Is the corn syrup necessary?
A: It just makes the ganache extra shiny. You can leave it out if you prefer.
Fun fact: The salt on top isn’t just for looks. It makes the chocolate and peanut butter flavors pop!
Which tip will you try first?
From My Kitchen to Yours
I hope you love making these little bites. They are full of happy memories for me. I think of my grandkids when I make them.
Sharing food is sharing love. I would love to see your creations. Your kitchen stories make my day brighter.
Have you tried this recipe? Tag us on Pinterest! You can find me at @EmmasCozyKitchen. I cannot wait to see your photos.
Happy cooking!
—Emma Caldwell.
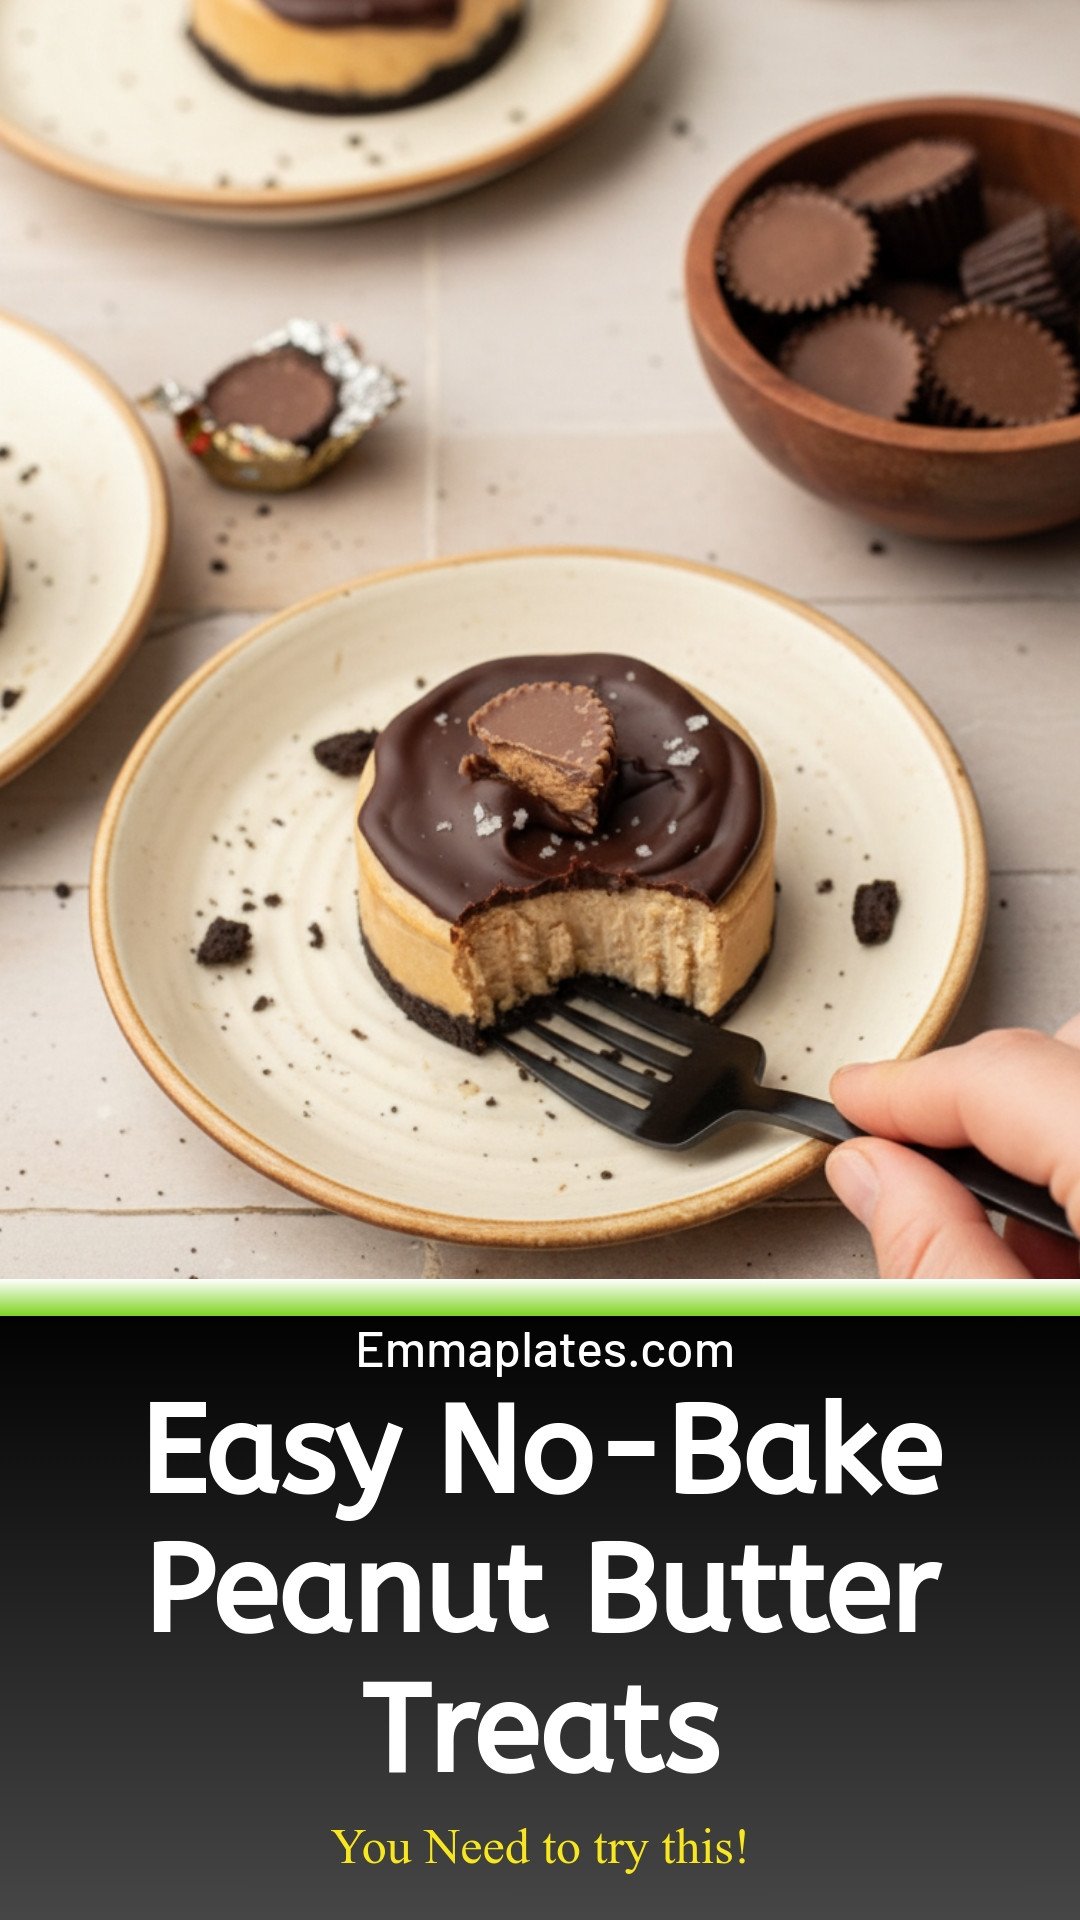
No-Bake Peanut Butter Delights: Easy No-Bake Peanut Butter Treats
Description
Easy no-bake peanut butter energy bites! Perfect for a healthy snack or dessert. Ready in minutes with simple ingredients.
Ingredients
=== Crust: ===
=== Cheesecake: ===
=== Ganache: ===
=== Garnish: ===
Instructions
- Note:Before you begin, make sure the cream cheese, sour cream, and eggs are at room temperature.
- Preheat the oven to 325°F and line 2 cupcake tins with liners or spray amini cheesecake panwith nonstick spray. (This recipe makes 18 cheesecake bites so you only need to line 18 cups.)
- Blitz the Oreos in a food processor until you have fine crumbs.
- Add in the butter and blend again until the Oreo crumbs are moistened.
- Press the crumbs into the prepared cupcake tin, ~1 ½ tsp. Press down using a spoon or even a clean lid from a milk container.
- Bake for 5 minutes. Remove from oven and set aside to cool.
- Beat the cream cheese for 2-3 minutes in a stand mixer fitted with the paddle attachment, scrape down the sides of the bowl as needed.
- Add the sugar, peanut butter, sour cream, flour (or cornstarch), vanilla, and salt and mix again.
- Add the eggs 1 at a time on low speed, mixing just until the yolk disappears. Do not over-mix.
- Fill each cupcake tin with the filling over the prebaked Oreo crust.
- Bake for ~16-18 minutes or until they have a slight jiggle in the center.
- Remove from the oven and cool completely. Refrigerate for 4 hours at least, or overnight.
- Make the ganache:add the chocolate chips, butter, and corn syrup in a microwave-safe bowl and melt in intervals so it melts evenly, stirring in between I like to do 30 second increments. Then, stir in vanilla.
- Spoon ganache on top of the chilled cheesecakes.
- Top with a mini reeses candy that’s cut in half.
- Chill again until the ganache is set, sprinkle with flaky sea salt if using, then enjoy!


Leave a Reply