

My Lunchbox Secret
I still think about my school’s peanut butter bars. They were the best part of Wednesday. I would trade my apple for an extra one. My friend Sarah always had two. I finally got the recipe from a kind lunch lady years later. Her name was Marge. She wrote it on a napkin for me.
Making them at home fills my kitchen with a sweet, nutty smell. Doesn’t that smell amazing? It feels like a hug from the past. This matters because food can be a happy memory. You can hold it in your hands and share it. What was your favorite school lunch treat? I would love to hear about it.
Let’s Make the Base
First, we cream the butter and peanut butter. Get it nice and fluffy. Then add both sugars. This makes the bars sweet and soft. Next come the eggs and vanilla. They make everything rich and happy.
Now, mix your dry stuff in another bowl. The oats are the secret. They give the bar a little chew. Fun fact: Old-fashioned oats are also called rolled oats. They are flat because they are steamed and rolled. Gently mix the dry into the wet. Don’t stir too much! Just until you see no more flour.
The Magic Layers
Pat the dough into your pan. I use my greased hands. It feels good, like play-dough. Bake it until the edges are golden. Now, here is the magic. Melt the rest of the peanut butter.
Pour it over the warm base. Spread it to every corner. Let it all cool completely. This step matters. It makes a perfect peanut butter layer. It holds the frosting on top. Do you like more peanut butter or more chocolate frosting? I can never decide.
Cloud-Like Frosting
The frosting starts out very dry. Do not worry! That is normal. When you add the heavy cream, magic happens. It turns light and fluffy. It becomes like a chocolate cloud.
Spread it over the cool peanut butter layer. Be gentle. You want pretty swirls. The contrast is wonderful. A rich chocolate cloud on a salty-sweet peanut butter sea. I still laugh at that. It is almost too pretty to cut. But we must cut it!
Sharing the Joy
Cut the bars into squares. Big ones for friends, small ones for a snack. These bars are for sharing. They travel well in a lunchbox. Or on a plate to a neighbor.
Making them reminds me of Marge the lunch lady. She knew food makes a school day better. That is a good lesson. A small sweet thing can be a big kindness. Will you make these for your friends or your family? Tell me who you would share them with first.

Ingredients:
| Ingredient | Amount | Notes |
|---|---|---|
| unsalted butter | 1 cup | softened |
| creamy peanut butter | 2 cups | divided in half |
| granulated white sugar | 1 cup | |
| light brown sugar | 1 cup | packed |
| vanilla extract | 2 teaspoons | |
| large eggs | 2 | room temperature |
| salt | 1 teaspoon | |
| baking soda | 1 teaspoon | |
| all-purpose flour | 2 cups | |
| old-fashioned rolled oats | 1 ½ cups | |
| unsalted butter | 1 cup | softened |
| powdered sugar | 3 cups | |
| vanilla extract | 1 teaspoon | |
| unsweetened cocoa powder | 6 tablespoons | |
| salt | 1 pinch | |
| heavy whipping cream | ¼ cup |
My School’s Famous Peanut Butter Bars
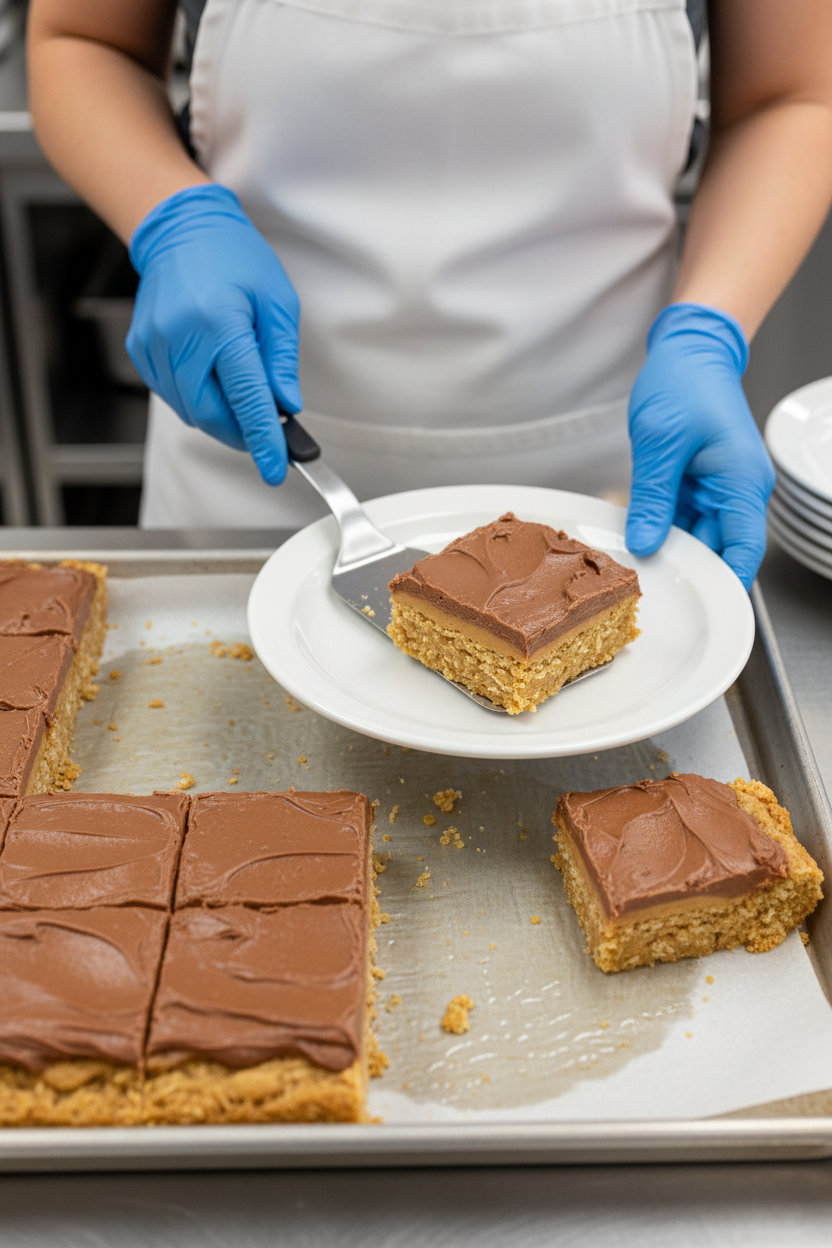
Hello, dear! Come sit at the counter. Let’s bake my favorite treat from childhood. These are the peanut butter bars from my old school cafeteria. I still dream about that chocolate frosting. Doesn’t that smell amazing? We made them for every bake sale. The line would go right out the door!
Making them is like a happy little project. We’ll make a cookie base first. Then we add a melted peanut butter layer. Finally, we top it with fluffy chocolate frosting. It’s a three-part hug in a bar. I still laugh at how messy my friend Janice got frosting these. Let’s begin.
Step 1: Make the Cookie Base
First, heat your oven to 350°F. Grease your big rectangular pan. I use the one I make my cinnamon rolls in. Now, beat the soft butter and one cup of peanut butter together. You want it light and fluffy. It reminds me of cloud watching on a spring day.
Step 2: Add Wet Ingredients
Add both sugars to the butter mix. Beat it well for a minute or two. Then add the eggs and vanilla. Beat it again until it’s all smooth. Scrape the bowl sides with a spatula. (My hard-learned tip: room temperature eggs mix in much better!).
Step 3: Add Dry Ingredients
In another bowl, stir the dry stuff. That’s the flour, oats, salt, and baking soda. Gently mix this into your creamy bowl. Just mix until you see no more dry flour. Now, pat this dough into your greased pan. I use my fingers. It feels like playing with clay!
Step 4: Bake & Add Peanut Butter Layer
Bake it for about 16 minutes. The edges will turn a lovely golden brown. Let it cool a bit. Now, melt that second cup of peanut butter. Just 30 seconds in the microwave usually does it. Pour it over the warm base and spread it gently. Let the whole pan cool completely. Do you think the melted peanut butter layer is the best part? Share below!
Step 5: Chocolate Frosting & Finish
Time for the chocolate frosting! Beat the soft butter first. Then add the powdered sugar and cocoa. It will look very dry and crumbly. That’s okay. Now, drizzle in the heavy cream while mixing. Watch it turn light and fluffy like magic. Spread it over the cooled peanut butter layer. Now, cut into bars and share with a friend.
Cook Time: 16 minutes
Total Time: 1 hour 30 minutes (with cooling)
Yield: 24 bars
Category: Dessert, Bars
Three Fun Twists to Try
These bars are perfect as they are. But sometimes, it’s fun to play. Here are three simple twists my grandkids love. They make the bars feel new again.
The Crunchy Time:
Sprinkle a handful of crushed potato chips on the melted peanut butter layer. Sweet and salty is the best combo.
The Jam Session:
Before the chocolate frosting, add a thin layer of strawberry jam. It’s like a peanut butter and jelly bar!
The Candy Bar:
Press mini peanut butter cups into the warm chocolate frosting. They get a little soft and wonderful.
Which one would you try first? Comment below!
Serving Them Up Right
I love these bars just on a plate. But for a special touch, try this. Serve one bar slightly warm. The frosting gets a little melty. Place it next to a small scoop of vanilla ice cream. The cold and warm mix is heavenly. You could also crumble one over a bowl of banana slices.
For drinks, a cold glass of milk is the classic choice. It always has been. For the grown-ups, a cup of strong black coffee is lovely. It cuts through the sweetness perfectly. Which would you choose tonight?
Keeping Your Peanut Butter Bars Perfect
Let’s talk about keeping these bars fresh. They freeze wonderfully. Just cut them into squares first. Wrap each bar tightly in plastic wrap. Then pop them all into a freezer bag.
They will keep for three months. Thaw them on the counter for an hour. I once sent a whole batch to my grandson at college. He said they tasted just-baked months later.
You can also store them in the fridge. Use an airtight container for up to a week. This keeps the frosting firm and neat. Batch cooking like this saves you time later.
It means you always have a sweet treat ready. That matters on busy school nights. Have you ever tried storing it this way? Share below!
Easy Fixes for Common Hiccups
Sometimes baking can be tricky. Here are simple fixes. First, if your bars are crumbly, you over-baked them. Next time, check them at 14 minutes.
I remember when I did this. The edges were too dark. The center should look just set. Second, is your frosting too thick or thin?
Add cream one tablespoon at a time. You want it fluffy and spreadable. Getting the texture right matters for flavor. It makes every bite smooth and delicious.
Third, the melted peanut butter layer can be hard to spread. Make sure you heat it until it’s runny. This creates that perfect, even layer. Fixing small issues builds your cooking confidence.
You learn by doing. Which of these problems have you run into before?
Your Quick Questions, Answered
Q: Can I make these gluten-free? A: Yes! Use a good gluten-free flour blend. Make sure your oats are certified gluten-free too.
Q: How far ahead can I make them? A: You can bake the base one day early. Just add the peanut butter and frosting the next day.
Q: What can I use instead of heavy cream? A: Whole milk will work in the frosting. Just add it slowly until it looks right.
Q: Can I halve the recipe? A: Absolutely. Use a 9×13 inch pan. Just watch the baking time, it may be less.
Q: Any optional tips? A: Sprinkle a few chocolate chips on the warm peanut butter layer. Fun fact: This is how my school cafeteria did it! Which tip will you try first?
Bake a Batch of Memories
I hope you love making these bars. Food is about sharing stories and smiles. These bars always bring back happy memories for me.
I would love to see your kitchen creations. Your version might become a new family favorite. Have you tried this recipe? Tag us on Pinterest!
Thank you for baking with me today. Happy cooking!
—Emma Caldwell.
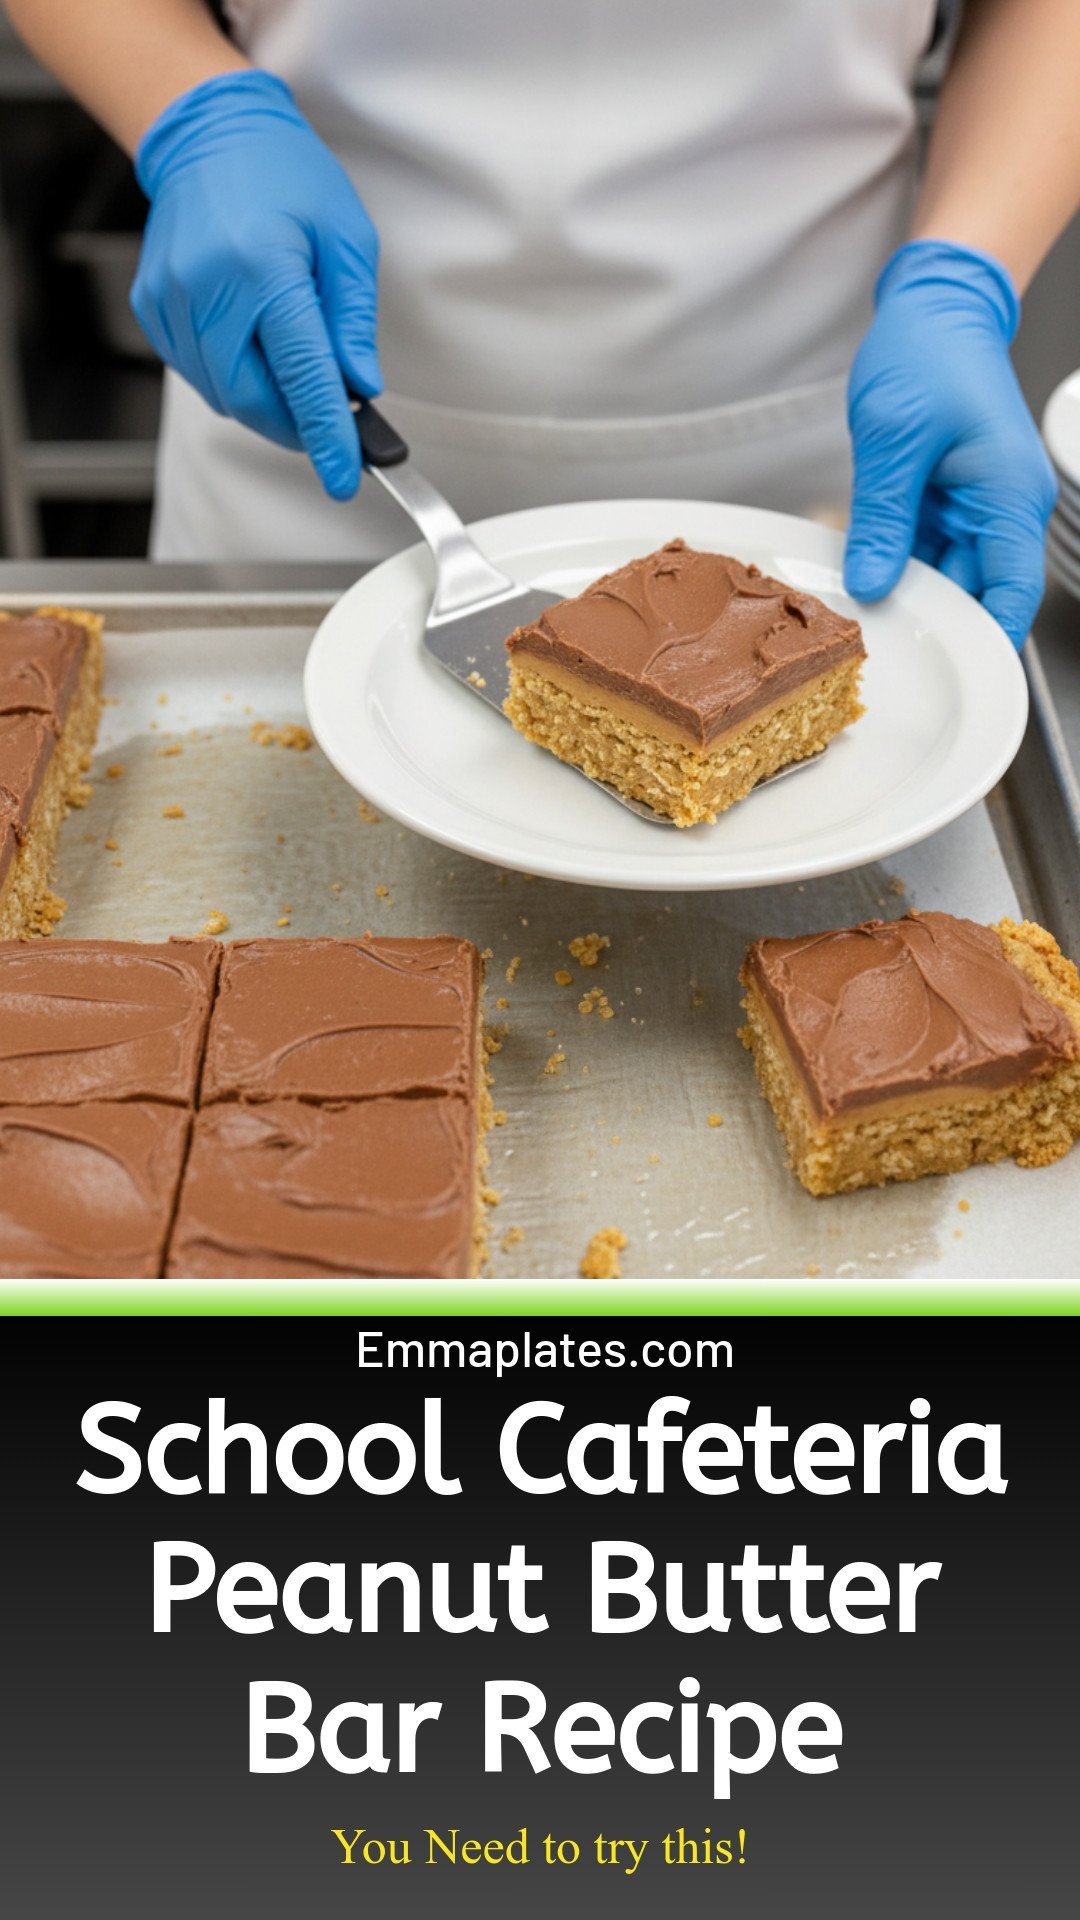
School Cafeteria Peanut Butter Bars: School Cafeteria Peanut Butter Bar Recipe
Description
Easy, no-bake peanut butter bars with a chocolate topping! The ultimate nostalgic school cafeteria dessert recipe that everyone loves.
Ingredients
=== Cookie Base ===
=== Frosting ===
Instructions
- Preheat the oven to 350°F. Grease a jelly roll pan (12×17) and set aside.
- In the bowl of a stand mixer, beat together the butter and 1 cup of peanut butter until fluffy and well blended. Scrape down the sides of the bowl.
- Add granulated sugar and brown sugar to the butter mixture and beat well (1 to 2 minutes).
- Add in the eggs and vanilla extract and beat on medium-high for another 2 to 3 minutes, scraping down the sides and bottom of the bowl intermittently to ensure even mixing.
- In a separate bowl, stir together the salt, baking soda, flour, and oats.
- Add the flour mixture to the creamed ingredients and beat just until combined (do not overmix).
- Use a spatula or greased hands to pat the cookie dough into the prepared sheet pan.
- Bake for 16 minutes, until the center is set and the edges of the cookie are golden brown. Remove from the oven.
- In a microwave-safe bowl, heat the remaining 1 cup of peanut butter for 30 seconds to 1 minute until it is mostly melted and easily spreadable. Pour the melted peanut butter over the baked cookies and spread to the edges. Allow the cookies to cool completely. Once room temperature, you can place the pan into the refrigerator to help the peanut butter set again and make it easier to frost.
- To make the frosting, beat the butter with an electric mixer.
- Add the cocoa powder, powdered sugar, vanilla extract, and a pinch of salt. The mixture will be very dry.
- Drizzle the heavy cream into the bowl with the mixer running and beat until light and fluffy.
- Spread frosting over the cooled peanut butter cookie base.
- Cut into bars and serve.
Notes
- For best results, allow the peanut butter layer to set completely before adding the frosting. Store bars in an airtight container at room temperature or in the refrigerator.


Leave a Reply