

My First Fluffernutter Fumble
I first made these cookies for my grandson, Leo. He loved peanut butter and marshmallow sandwiches. I thought, why not put that in a cookie? My first batch was a mess. The marshmallows melted everywhere in the oven. I still laugh at that.
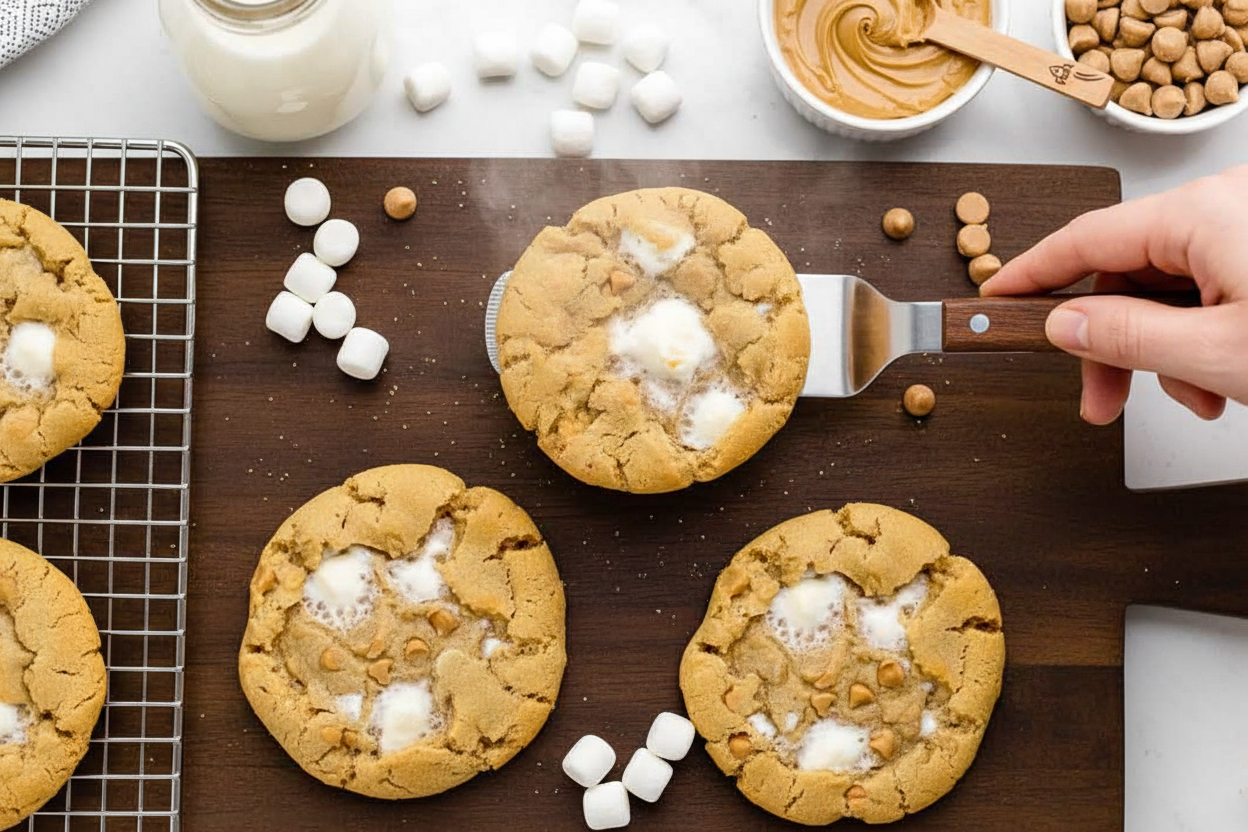
The secret is freezing the dough balls. This matters because it keeps the marshmallow surprise inside. You get a gooey center, not a puddle. Have you ever had a kitchen experiment go a little wild? I’d love to hear your stories.
Why The Little Things Count
Let your butter and eggs get warm first. This seems small. But it matters so much. Cold butter won’t mix right with the sugars. Your dough will be lumpy. Warm ingredients become friends easily.
And scrape that bowl down! I’ve forgotten before. You find a pocket of plain flour later. It’s a sad surprise. Mixing everything well means every bite is perfect. Doesn’t that smell amazing when it all comes together?
The Fun Part: Hiding The Fluff
This is my favorite step. Flatten a dough ball in your hand. Place 6 or 7 mini marshmallows in the middle. Now fold the dough over like a hug. Seal all that fluffy goodness inside.
It’s like making a tiny treasure. Fun fact: The name “Fluffernutter” for a sandwich started in the 1960s! Now we put it in a cookie. Do you think you’ll use the full cup of peanut butter chips, or add a few extra?
Patience For Perfect Cookies
Freezing the dough is not a suggestion. It’s the rule. Wait one to two hours. This keeps your cookie from spreading too thin. It lets the outside get golden while the inside stays soft.
Let them cool on the tray too. I know it’s hard to wait. But a hot cookie is a fragile cookie. It needs to settle. What’s harder for you: waiting for dough to freeze, or waiting for cookies to cool?
A Sweet Lesson For Life
These cookies taught me a good lesson. Sometimes, the best things are hidden. You see a simple peanut butter cookie. Then you take a bite. You find a sweet, gooey heart inside.
People are like that too. There’s often more to someone than you first see. Making food for people is a way to show that care. What’s a food that makes you feel loved and happy? For me, it’s these.
Ingredients:
| Ingredient | Amount | Notes |
|---|---|---|
| all-purpose flour | 2¼ cups | |
| cornstarch | 1 tablespoon | |
| baking soda | 1 teaspoon | |
| salt | ½ teaspoon | |
| unsalted butter | ¾ cup | softened to room temperature |
| creamy peanut butter | ¾ cup | |
| light brown sugar | ¾ cup | |
| granulated sugar | ¾ cup | |
| large egg | 1 | room temperature |
| large egg yolk | 1 | room temperature |
| vanilla extract | 1½ teaspoons | |
| peanut butter baking chips | 1 cup | |
| mini marshmallows | 1 to 1¼ cups |
My Fluffernutter Cookie Secret
Hello, my dear. Come sit a spell. Let’s talk about cookies. My grandson calls these “hug cookies.” He says they taste like a cozy hug. I think he’s right. They are soft peanut butter cookies with a sweet, melty surprise inside. Doesn’t that sound wonderful? We’re making a memory today.
This recipe is my favorite for a rainy afternoon. The secret is hiding the marshmallows inside. It’s like a little secret pocket of joy. I still laugh at the first time I made them. I forgot to freeze the dough first! What a sticky mess. Let me walk you through it, step by sweet step.
Step 1: Grab your medium bowl. Whisk your flour, cornstarch, baking soda, and salt together. This gives our cookies a good foundation. Set it aside for now. It’s like making a bed for the good stuff. See? Easy.
Step 2: Now for the fun part. In your mixer bowl, plop in the soft butter and peanut butter. Beat them until they look light and fluffy. This takes about two minutes. Scrape the bowl sides with a spatula. I always tap the beaters on the bowl edge. My mom taught me that.
Step 3: Add both sugars to the buttery mix. Beat them again until it’s all combined. It will look like a lovely, sandy paste. Smell that? It already smells like cookies. That’s the magic starting.
Step 4: Turn your mixer to low. Add the whole egg, then just the yolk, and the vanilla. Let each one disappear before adding the next. This keeps everything smooth. (My hard-learned tip: room temperature eggs mix in much better than cold ones!).
Step 5: Scrape the bowl sides again. This is important! You want every bit of sugar mixed in. Now, take the paddle off for a second. This feels like a little pause in our baking dance.
Step 6: Put the paddle back on. Keep the mixer on low. Slowly add your flour mixture. Mix just until you see no more white powder. We don’t want tough cookies. Over-mixing is a cookie’s enemy, you know.
Step 7: Time for the chips! Stir in those peanut butter baking chips. Just stir until they’re dotted throughout. The dough will be thick and wonderful. Quick quiz: What’s your favorite cookie add-in? Chocolate chips? Nuts? Share below!
Step 8: Here’s the special step. Scoop a dough ball into your hand. Flatten it into a little pancake. Place 6 or 7 mini marshmallows in the center. Now, gently fold the dough over them. Seal the marshmallows inside completely. It’s like making a tiny dough treasure chest.
Step 9: Place each stuffed ball on a tray with parchment paper. Keep going until all the dough is used. Your hands might get a bit sticky. That’s perfectly fine. It means you’re doing it right.
Step 10: This step is key! Pop the whole tray into the freezer. Freeze the dough balls for one to two hours. This keeps the marshmallows from melting too fast. Patience makes perfect cookies.
Step 11: When you’re almost ready, heat your oven to 350°F. Get another baking sheet. Line it with parchment paper or a silicone mat. I love my silicone mat. Nothing ever sticks to it.
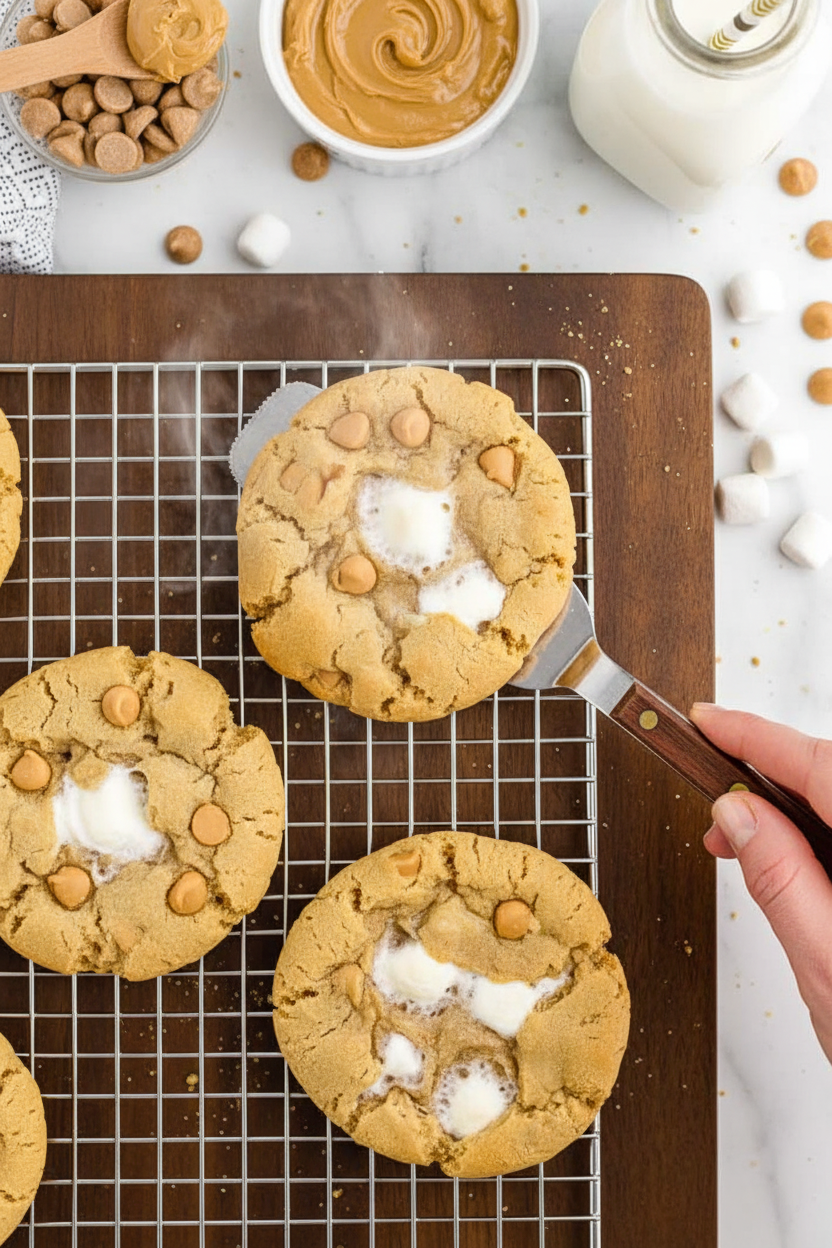
Step 12: Place 5 or 6 frozen dough balls on the sheet. Bake them for 11 to 13 minutes. They will look soft and just golden. They will puff up so pretty. Doesn’t that smell amazing?
Step 13: Let the cookies cool right on the baking sheet. This is the final test of patience! They need to set. Then, move them to a rack. Bake the rest of your frozen dough balls. Now, you have a whole batch of hug cookies.
Cook Time: 11-13 minutes per batch
Total Time: About 2 hours 30 minutes (includes freezing)
Yield: About 2 dozen cookies
Category: Dessert, Cookies
Three Fun Twists to Try
Once you master the classic, you can play. Here are three of my favorite twists. They make the cookie new again.
The Chocolate Drizzle: Melt some chocolate chips after baking. Drizzle it over the cooled cookies. It looks fancy and tastes divine.
The Salty Sweet: Use crunchy peanut butter in the dough. Press a few flakes of sea salt on top before baking. Oh my, what a flavor.
The Berry Surprise: Swap the marshmallows for 3 dried cranberries inside. It’s a tart little pop with the peanut butter. So good.
Which one would you try first? Comment below! I love hearing your ideas.
Serving Them Up Right
These cookies are stars all on their own. But presentation is part of the fun. Place a few on a vintage plate. It feels special. For a real treat, sandwich a scoop of vanilla ice cream between two cookies. It’s a masterpiece.
What to drink? For the grown-ups, a glass of cold milk with a shot of coffee liqueur is cozy. For everyone, a tall, frosty glass of milk is the only proper pairing. It’s the classic for a reason. Which would you choose tonight? I’m a milk person, myself. Always have been.
Keeping Your Fluffernutter Cookies Perfect
Let’s talk about keeping these cookies happy. First, let them cool completely. I store mine in a tin with a tight lid. They stay soft for about five days this way.
You can also freeze the baked cookies. Just layer them between parchment paper in a freezer bag. They will keep for three months. Thaw them on the counter when you want one.
I once sent a batch to my grandson. He said they arrived perfect. That tight seal really matters. It keeps the cookies fresh and chewy.
Batch cooking is a lifesaver. Make the dough balls and freeze them on a tray. Once frozen, pop them into a bag. Then you can bake just a few fresh cookies anytime. This saves time and makes any day special. Have you ever tried storing it this way? Share below!
Cookie Troubles and Easy Fixes
Sometimes cookies spread too thin. Your butter was probably too soft. Make sure it is just softened, not melted. Chilling the dough fixes this every time.
Marshmallows can leak and burn. I remember when my first batch had little black spots. The key is to seal the dough tightly around them. No marshmallow should peek out.
Your cookies might be too cakey. This often means you measured flour wrong. Spoon the flour into your cup. Then level it off with a knife.
Getting these details right builds your confidence. It also makes the flavor just perfect. A well-made cookie is a little gift. Which of these problems have you run into before?
Your Fluffernutter Questions Answered
Q: Can I make these gluten-free? A: Yes! Use a good gluten-free flour blend. Make sure it has xanthan gum in it.
Q: How far ahead can I make the dough? A: You can freeze the dough balls for three months. Bake them straight from the freezer.
Q: What if I don’t have peanut butter chips? A: Use chocolate chips instead. Or just use extra mini marshmallows inside.
Q: Can I double the recipe? A: You absolutely can. Just mix it in two separate batches for best results.
Q: Any optional tips? A: Sprinkle a little sea salt on top before baking. *Fun fact: Salt makes sweet things taste even sweeter!* Which tip will you try first?
Bake Some Joy and Share It
I hope you love baking these cookies. The smell alone will fill your home with joy. Share them with someone you care about.
I would love to see your creations. It makes my day to see your kitchen adventures. Have you tried this recipe? Tag us on Pinterest!
Thank you for baking with me today. Remember, the best ingredient is always a little love. Happy cooking!
—Emma Caldwell.
Fluffernutter Cookies: Fluffernutter Cookie Recipe for Peanut Butter Lovers
Description
Gooey marshmallow and rich peanut butter combine in these soft, irresistible Fluffernutter Cookies. Easy recipe with a sweet, nostalgic flavor.
Ingredients
Instructions
- In a medium bowl, stir together the all-purpose flour, cornstarch, baking soda, and salt. Set aside.
- In the bowl of a stand mixer fitted with a paddle attachment, beat the butter and creamy peanut butter on medium speed for 1 to 2 minutes or until light and fluffy. Scrape down the sides and bottom of the bowl with a plastic spatula.
- Add the light brown sugar and granulated sugar and beat again until combined.
- While the mixer is on low speed, add the egg, egg yolk, and vanilla extract. Be sure that each egg gets fully incorporated before adding the next.
- Scrape down the sides of the bowl and remove the paddle attachment. This will ensure that all your ingredients are getting incorporated evenly and completely.
- Slowly add the flour mixture to the wet ingredients while the mixer is on low. Mix just until all the flour has been incorporated.
- Lastly, add the peanut butter baking chips to the dough and stir just until evenly distributed.
- Using a large cookie scoop (I used a 2-inch scoop that holds approximately 3 tablespoons of dough), scoop out a dough ball into the palm of your hand. Flatten the dough to an approximately 3-inch circle, place 6 to 7 mini marshmallows into the center of the flattened disc of cookie dough, then fold the sides over the mini marshmallows. You want to enclose all the marshmallows inside the center of the peanut butter cookie dough ball.
- Place the mini marshmallow-filled cookie dough ball onto a parchment-lined baking tray and repeat until all the fluffernutter cookies have been formed.
- Freeze the tray of cookie dough balls for 1 to 2 hours.
- Preheat the oven to 350°F. Line a large baking sheet with parchment paper or a silicone baking mat.
- Place 5 to 6 frozen fluffernutter cookie dough balls onto the prepared baking sheet. Bake for 11 to 13 minutes.
- Allow the cookies to cool completely on the baking tray before transferring them to a cooling rack while you bake the remaining fluffernutter cookies.
Notes
- For best results, ensure the cookie dough balls are frozen solid before baking. This prevents the marshmallows from melting out too quickly and helps the cookies keep their shape.


Leave a Reply