
A Pan Full of Happy
Let me tell you about this fudge. It is pure joy in a pan. I made it for my grandson’s birthday last year. His eyes got so wide when he saw it. I still laugh at that.
This recipe matters because it brings people together. It turns a regular day into a little celebration. Everyone gathers in the kitchen, waiting for a slice. What treat always makes you think of a party?
The Simple Magic
You only need a few things. Chocolate chips, sweet milk from a can, a little cream, and those peanut butter cups. The magic is in the sweetened condensed milk. It makes everything so smooth and rich.
You melt it all together on low heat. Stir until it’s glossy. Doesn’t that smell amazing? This step matters. Gentle heat keeps the chocolate happy. No one likes burnt chocolate.
Building Your Layers
First, line your pan with foil. A little spray helps. Now, take your peanut butter cups. Cover the bottom of the pan with them. It’s like making a tasty puzzle.
Fun fact: The peanut butter cup was invented because a man saw chocolate in a newspaper. He thought, “I should put peanut butter in there!” I love that story. Then, you pour the warm chocolate over your candy layer. Top it with the crumbled cups. Give them a gentle press so they stick.
The Hardest Part
You must wait. Let it cool on the counter. Then, tuck it in the fridge to chill. This wait is the hardest part! But it makes the fudge firm enough to slice.
While you wait, think about this. Do you like your fudge soft and gooey, or firm and cold? I’m a firm and cold person myself. The texture is just perfect.
Slice, Share, and Smile
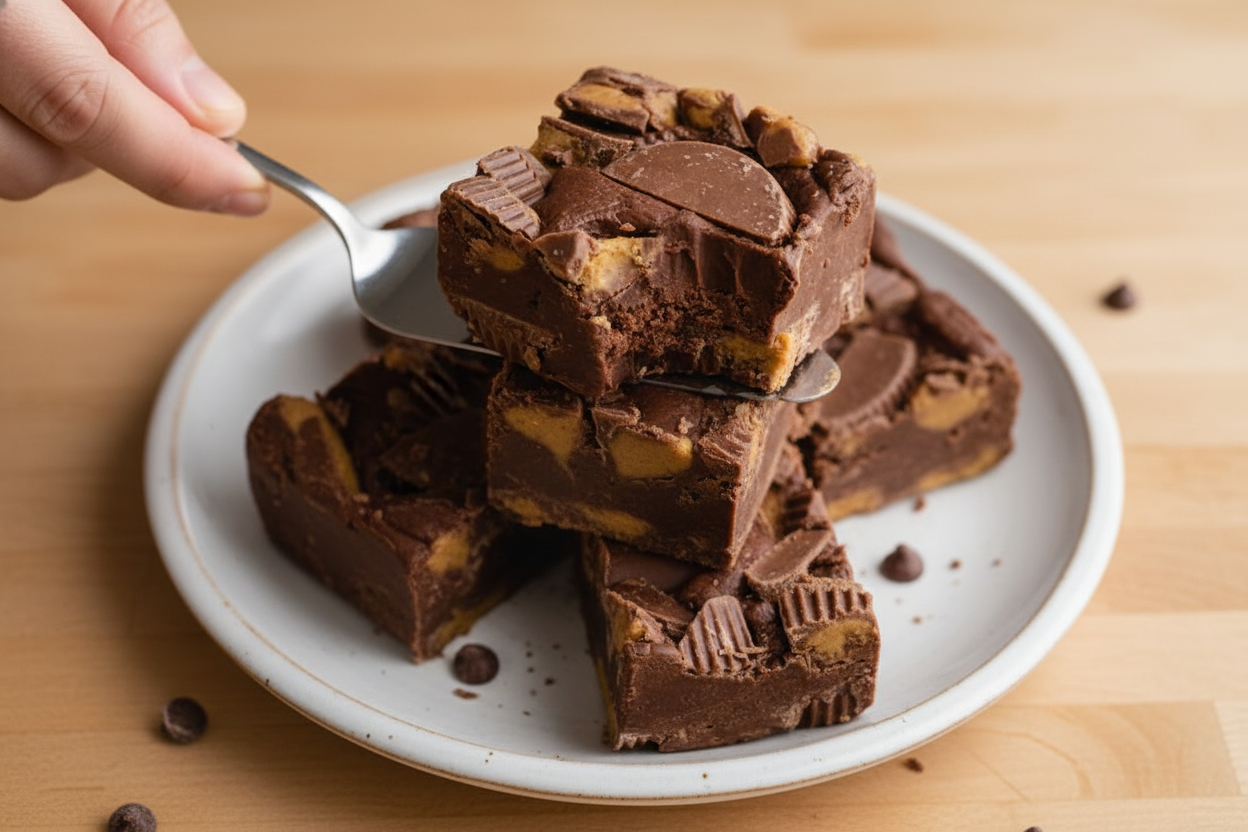
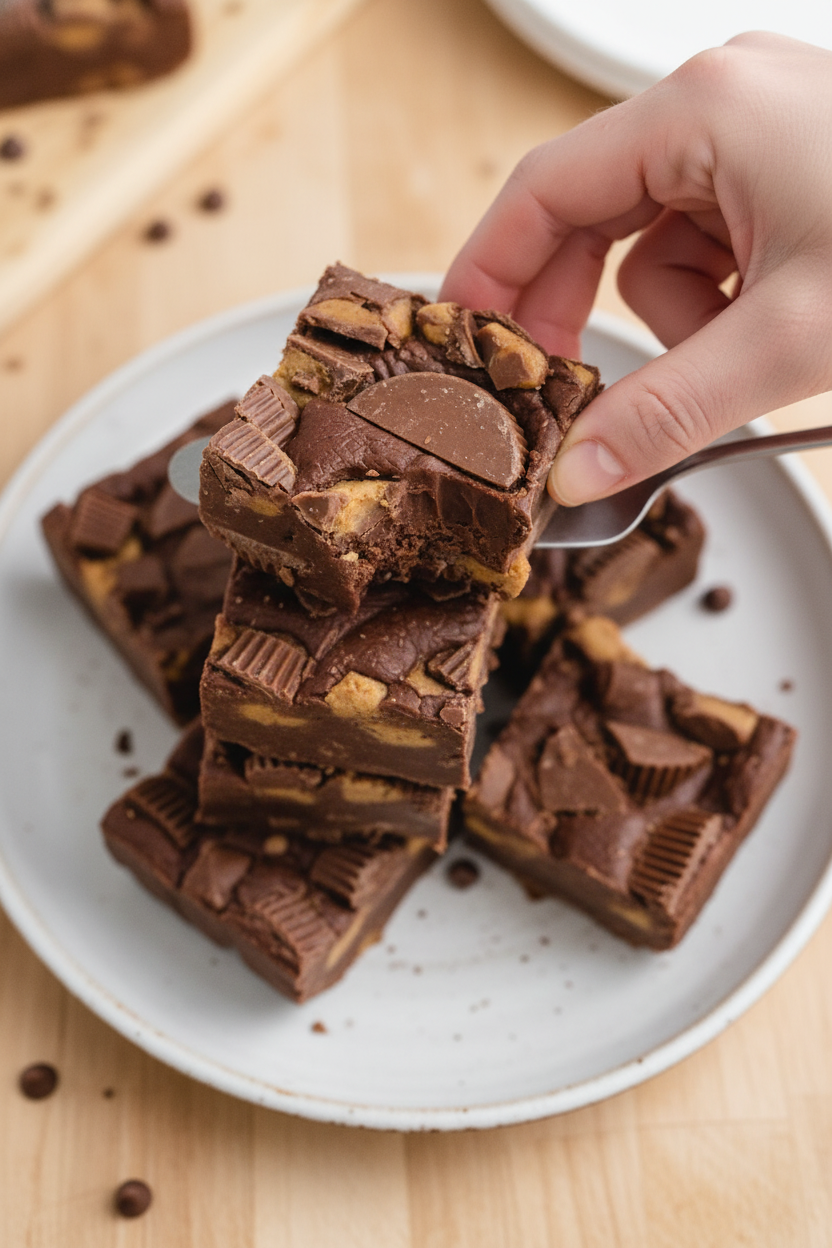
Use a sharp knife to cut squares. Wipe it clean between cuts for neat slices. The layers look so pretty. You see the peanut butter cup on the bottom and the top.
Store any leftovers in the fridge. They keep for a week, but they never last that long! What’s the first thing you would do with a pan of this? Share it with friends, or keep it all for yourself? Be honest!

Ingredients:
| Ingredient | Amount | Notes |
|---|---|---|
| Reese’s full size peanut butter cups | 40 pieces | Divided |
| Semi-sweet chocolate chips | 3 cups | |
| Sweetened condensed milk | 1 can (14-ounce) | |
| Heavy cream | 4 tablespoons |
My No-Bake Chocolate & Peanut Butter Dream Bars
Hello, my dear! Come sit at the counter. Let’s make something magical. This recipe is pure joy, with no oven needed. It reminds me of my grandson’s wide eyes at his tenth birthday. I still laugh at that chocolatey smile.
We are making the easiest, richest fudge bars. They are packed with peanut butter cups. Doesn’t that smell amazing? It’s just melting chocolate and sweet milk. You will feel like a kitchen wizard. Let’s begin our sweet adventure together.
- Step 1: First, grab a 9×9 pan. Line it with foil and give it a light spray. This little trick is my best friend. It makes cleanup so simple. Set your prepared pan aside for now. We will come back to it soon.
- Step 2: Now, unwrap 16 peanut butter cups. Place them in the pan, four rows of four. They should cover the bottom. Take four more cups and slice them in half. Tuck those halves around the edges. Your pan floor is now a peanut butter paradise!
- Step 3: For the remaining 20 cups, let’s get creative. You can slice them into quarters. Or just crumble them with your fingers. I like chunky pieces for the top. Set this pile aside. We will use it like sweet confetti later.
- Step 4: Time to melt the magic. Use a heavy saucepan. Add chocolate chips, sweetened condensed milk, and heavy cream. Heat it on low, please. Stir until it’s all smooth and glossy. (A hard-learned tip: low heat prevents scorching. Trust me, I’ve learned!).
- Step 5: Pour that gorgeous chocolate over your peanut butter cup base. Spread it gently to cover everything. Work quickly before it sets. The warmth makes the kitchen smell wonderful. Sweet or salty—which do you crave more? Share below!
- Step 6: Sprinkle your reserved peanut butter cup pieces on top. Press them lightly into the warm chocolate. This helps them stick. Now, let the pan sit on the counter for 30 minutes. Patience is the hardest part of cooking sometimes.
- Step 7: Finally, cover the pan and chill it in the fridge. Wait another 30 minutes. Then, lift the foil and cut into squares. Store leftovers in the fridge. They never last a week at my house!
Cook Time: 15 minutes
Total Time: 1 hour 15 minutes
Yield: 16 rich squares
Category: Dessert, No-Bake
Three Fun Twists to Try Sometime
Once you master the classic, try a new version. It’s fun to play with flavors. Here are three ideas I love.
- Cookie Crunch: Press a layer of crushed pretzels into the chocolate before adding the final topping.
- Peanut Butter Swirl: Drop spoonfuls of warm peanut butter on the melted chocolate. Swirl with a knife for a pretty pattern.
- Minty Fresh: Use mint chocolate chips instead of semi-sweet. It tastes like a cool, fancy candy bar.
Which one would you try first? Comment below!
Serving Your Sweet Masterpiece
These bars are perfect all on their own. But for a special touch, place one on a small plate. Add a tiny sprinkle of sea salt on top. It makes the flavors pop. You could also serve it with a scoop of vanilla ice cream. The contrast is dreamy.
For drinks, a cold glass of milk is the classic choice. It cuts the richness perfectly. For the grown-ups, a small glass of creamy bourbon or a coffee liqueur pairs nicely. Which would you choose tonight?
Keeping Your Fudge Fresh and Fabulous
This fudge must stay in the fridge. It keeps for one week in an airtight container. You can also freeze it for two months. Wrap slices tightly in plastic wrap first.
Let frozen fudge thaw in the fridge overnight. I once left a batch on the counter. It became a soft, melty mess! Proper storage keeps your treats perfect.
You can make a double batch easily. Just use a bigger pan. This is great for parties or gifts. Batch cooking saves you time later.
Storing food well shows care. It means no waste and a ready sweet treat. Have you ever tried storing it this way? Share below!
Simple Fixes for Common Fudge Fumbles
Is your chocolate mixture too thick? Add one more tablespoon of cream. Stir it in on low heat. This will make it smooth and pourable.
Are the peanut butter cups hard to slice? Use a warm knife. I remember when my knife was too cold. The cups just crumbled everywhere!
Did the topping not stick? Press it in right after spreading the chocolate. The warmth acts like glue. This keeps your topping in place.
Fixing small problems builds kitchen confidence. You learn that mistakes can be solved. It also makes the flavor and texture just right. Which of these problems have you run into before?
Your Quick Fudge Questions, Answered
Q: Is this recipe gluten-free? A: Check your candy wrappers. Most Reese’s cups are gluten-free, but always verify.
Q: Can I make it ahead? A: Yes! Make it up to three days before. Keep it chilled until you serve.
Q: What can I swap for heavy cream? A: Use full-fat coconut milk. It works almost the same way.
Q: Can I double the recipe? A: Absolutely. Use a 9×13 pan. Just layer everything the same way.
Q: Any optional tips? A: Add a pinch of sea salt on top. *Fun fact: Salt makes chocolate taste even sweeter!* Which tip will you try first?
From My Kitchen to Yours
I hope you love making this sweet treat. It always brings smiles to my table. Cooking is about sharing joy and creating memories.
I would love to see your creation. Have you tried this recipe? Tag us on Pinterest! Your photos inspire our whole cooking community.
Thank you for spending time with me in my kitchen today. I can’t wait to hear about your baking adventures. Happy cooking!
—Emma Caldwell.
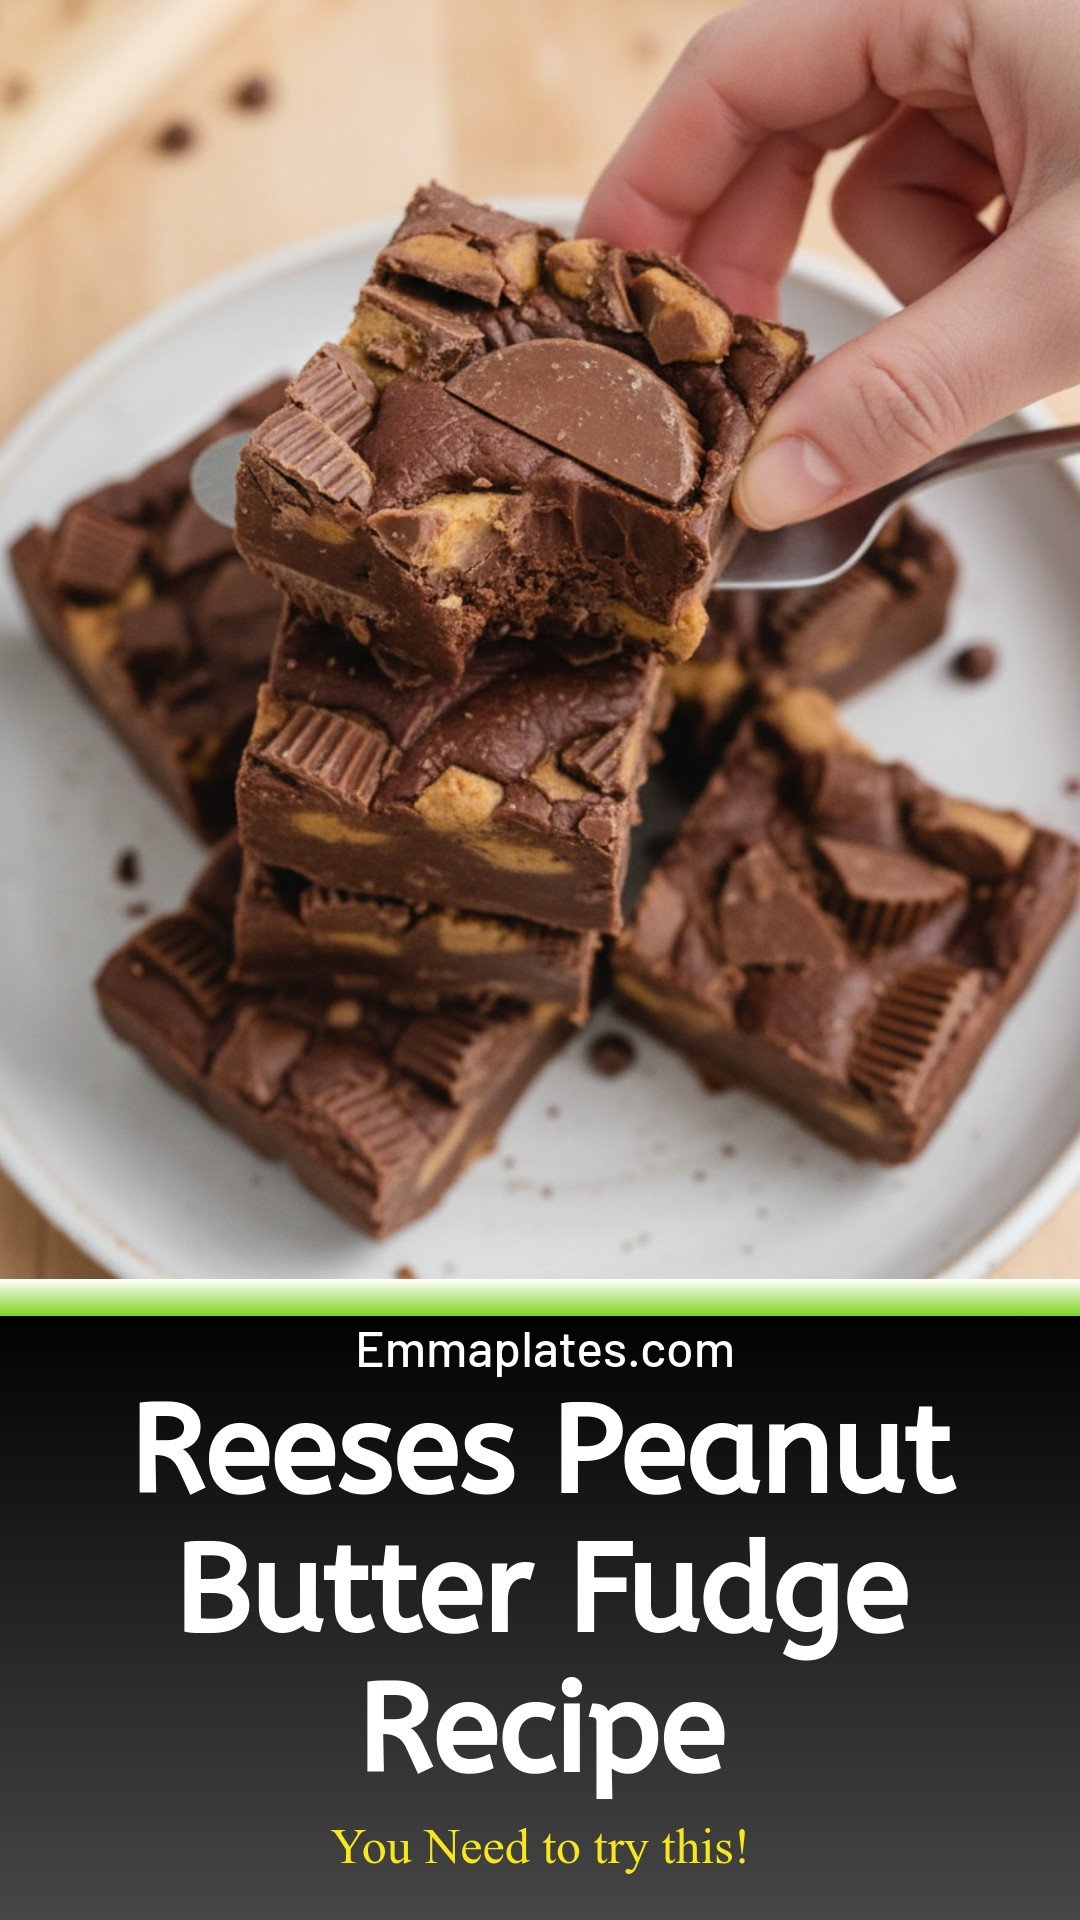
Reese’s Peanut Butter Fudge: Reeses Peanut Butter Fudge Recipe
Description
Creamy peanut butter fudge loaded with Reese’s Pieces and peanut butter cups. Easy no-bake dessert perfect for holidays and parties.
Ingredients
Instructions
- Line a 9×9 pan with aluminum foil, and lightly spray with nonstick spray. Set it aside.
- Line the bottom of the pan with 16 peanut butter cups (4 rows of 4). Slice 4 additional cups in half, and place them along the edges of the pan. This should completely cover the bottom of the pan.
- Slice into quarters, or crumble the remaining 20 peanut butter cups and set them aside.
- Using a 1.5 to 2-quart heavy-bottom saucepan, add the chocolate chips, the heavy cream, and the sweetened condensed milk. Heat on low, and stir until all the ingredients are completely melted and smooth.
- Spread the chocolate mixture over the top of the peanut butter cups lining the pan.
- Evenly sprinkle the sliced or crumbled peanut butter cups over the tops of the chocolate layer. Lightly press the peanut butter cup topping into the warm chocolate.
- Allow the brownies to cool to room temperature for 30 minutes.
- Cover with cling film and chill in the fridge for an additional 30 minutes.
- Slice the brownies and serve. Store any leftovers in the refrigerator in an airtight container for up to 1 week.


Leave a Reply