
Sun Tea Magic
I love making sun tea on a bright day. You just let the sun do the work. It feels like a little bit of summer magic in a jar.
This recipe is perfect for a hot afternoon. It turns that sunny tea into a frozen treat. Doesn’t that sound like a clever idea? What is your favorite thing to do on a sunny day?
A Sweet Mistake
I once tried to make these pops too fast. I did not let the tea cool down first. My freezer had a little puddle the next morning.
I still laugh at that. Letting things cool down matters. It teaches us patience. Good things are worth the wait, especially in the kitchen.
Why We Stir in the Sugar
Stirring until the sugar disappears is important. If you don’t, the pops will not be sweet all the way through. You might find a sugary spot at the bottom!
This little step makes sure every bite is just right. It is a small act of care. Doing the small things well makes the whole thing better. Do you have a recipe where one small step makes a big difference?
A Fun Frozen Fact
Remember to leave space at the top of the mold. The mixture needs room to expand as it freezes. If you fill it all the way, the lid might pop right off!
Fun fact: Water is one of the only things that expands when it freezes. That is why ice floats in your drink. I think that is so interesting.
Your Turn to Create
Now you can make your own solar-powered ice cream. Well, they are popsicles, really. But “ice cream creations” sounds more fun, don’t you think?
The best part is sharing them. I love seeing the smiles they bring. Will you try this recipe? If you do, tell me how it turned out for you.
Ingredients:
| Ingredient | Amount | Notes |
|---|---|---|
| water | 4 cups | |
| family size tea bag | 1 | |
| sugar | 3/4 cup |
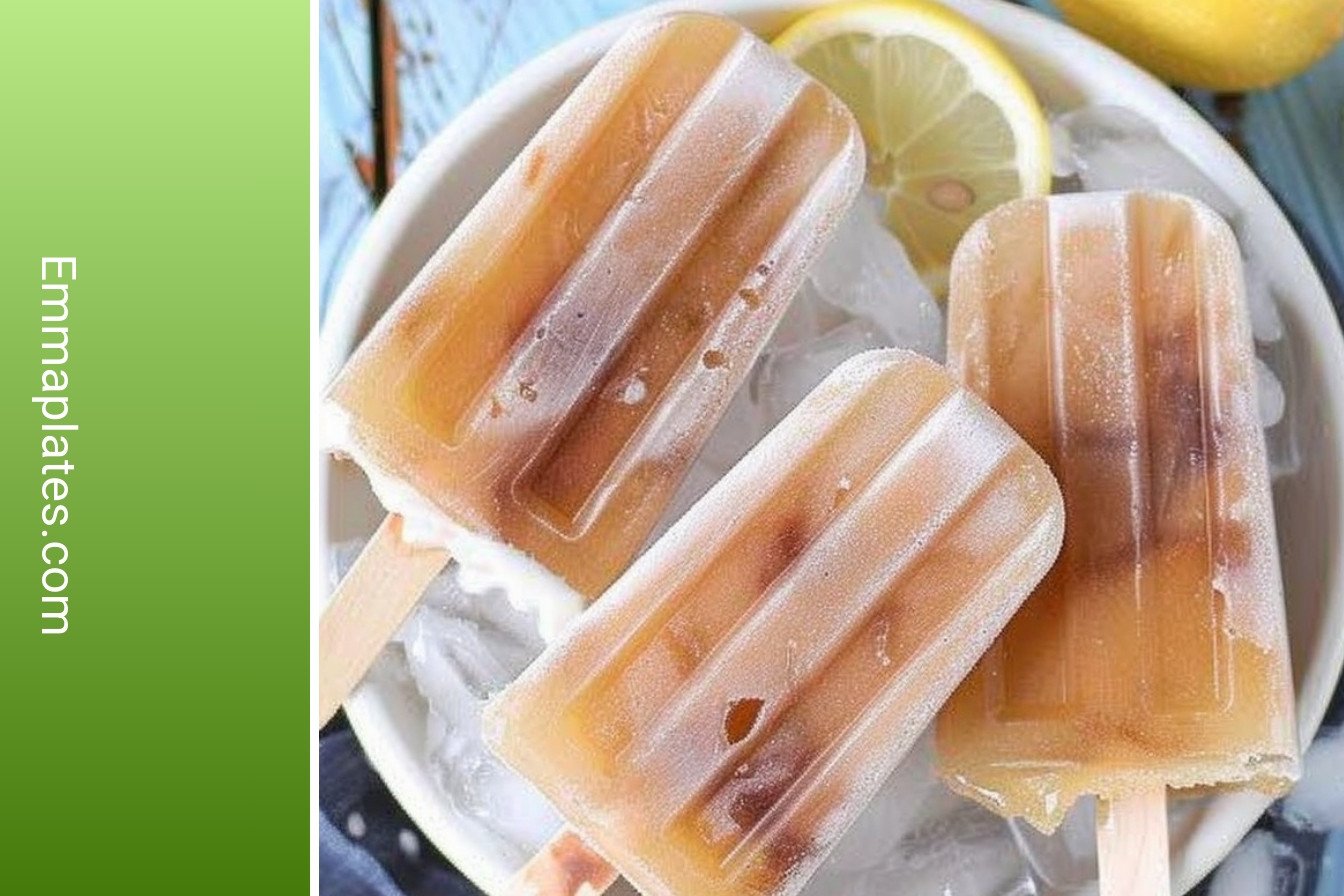
My Sunshine Tea Pops
I love making treats that remind me of summer. These tea pops are just that. They are sweet, cold, and perfect for a hot day. My grandson calls them “sunshine on a stick.” I think that’s just right. Making them is a simple joy. It feels like magic when they turn from tea into ice.
Step 1: Let’s start by warming our water. Pour it into a medium pot and heat it until it just starts to simmer. You’ll see little bubbles dancing around the edges. Then, turn the heat off right away. I still laugh at that time I got distracted by a cardinal outside. My tea got far too strong! (A hard-learned tip: Don’t let the water boil hard. It can make your tea taste bitter.)
Step 2: Now, drop in your family-size tea bag. Let it swim in the hot water for about ten to fifteen minutes. This lets all the lovely flavor come out. The kitchen starts to smell so comforting. Doesn’t that smell amazing? It reminds me of quiet afternoons with my own grandma.
Step 3: Next, stir in the sugar. Keep mixing until you can’t see any more sugar crystals. They should all disappear into the tea. This is the sweet part! What’s your favorite sweet summer drink? Share below! Now, you must let the tea cool down completely. I just leave it on the counter for a bit.
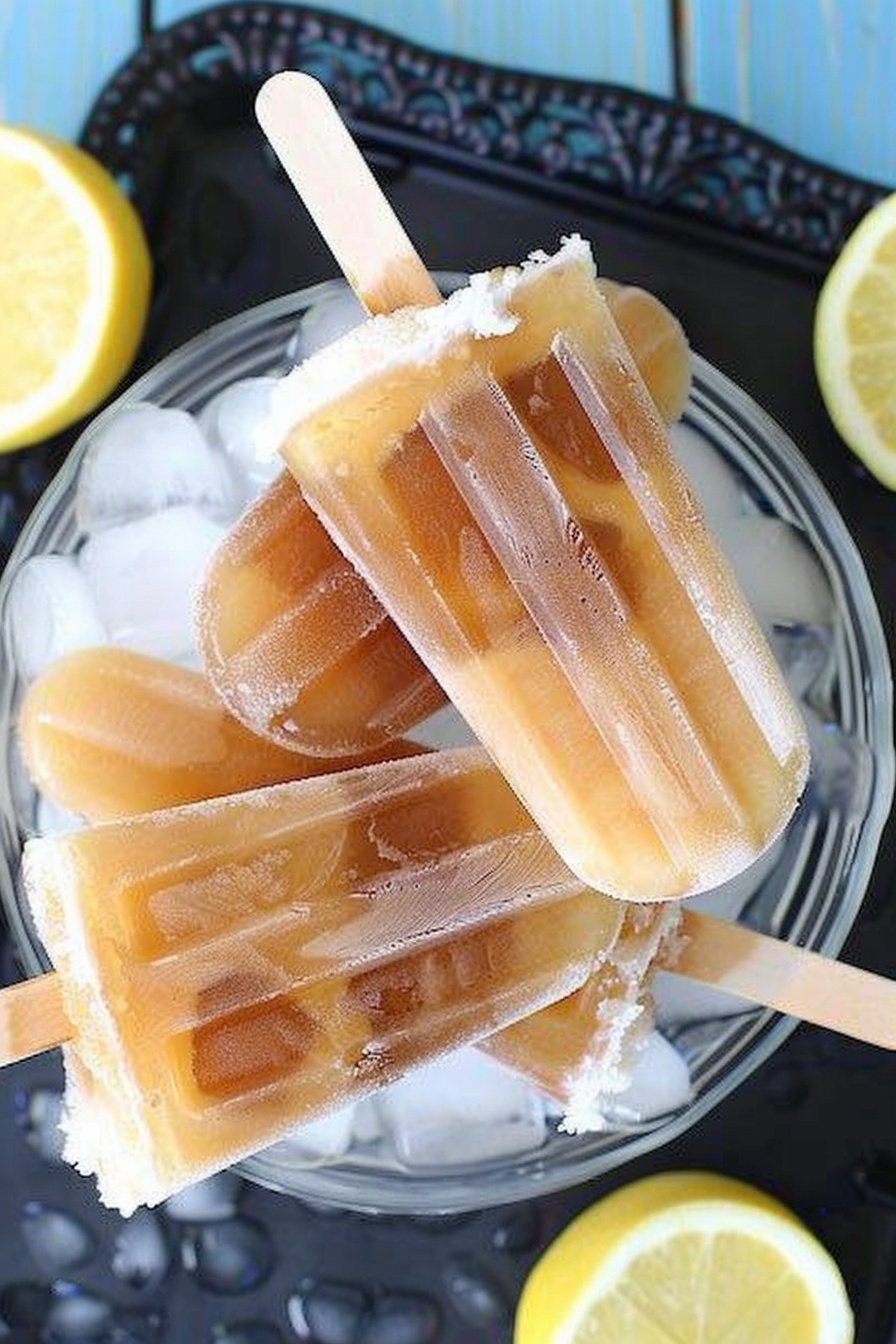
Step 4: Finally, pour your sweet tea into the pop molds. Do not fill them all the way to the top. Leave a little space. This is very important because the pops will expand as they freeze. Then, just pop them into the freezer. In about four hours, you’ll have a frosty, delicious treat.
Cook Time: 4–6 hours
Total Time: 4 hours 15 minutes
Yield: 6 servings
Category: Dessert, Snack
Three Tasty Twists to Try
Once you master the basic pop, you can get creative. I love playing with different flavors. It makes each batch a new little adventure. Here are a few of my favorite ideas for your next batch. They are all so simple and fun.
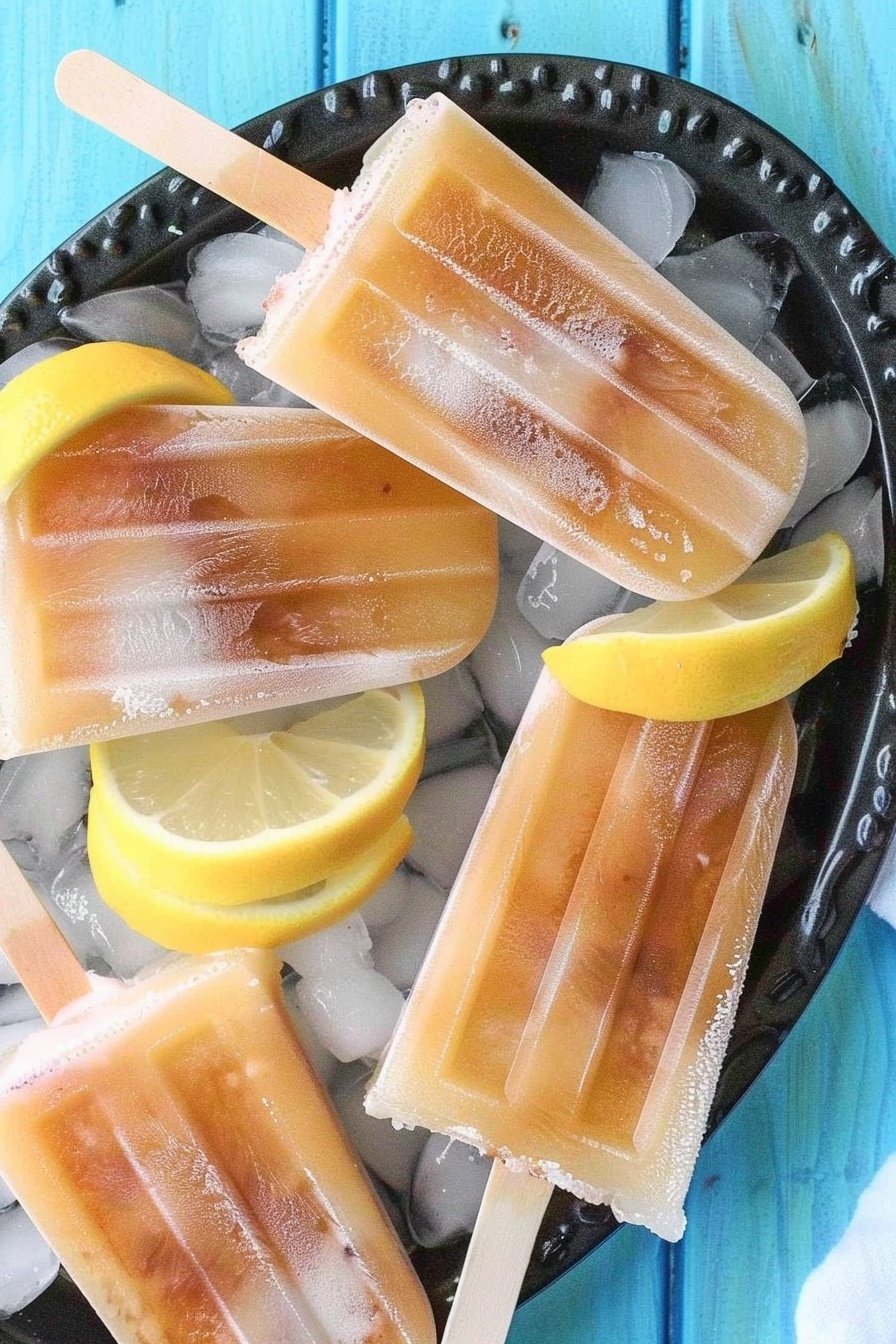
Lemon Zing: Stir in the juice from half a fresh lemon. It makes the pops so bright and tangy.
Berry Swirl: Mash a few raspberries and swirl them in before freezing. You get pretty pink ribbons.
Herbal Bliss: Use a peach or mint tea bag instead. It tastes like a spa day in a popsicle.
Which one would you try first? Comment below!
Serving Your Sweet Creations
These pops are wonderful all on their own. But sometimes, I like to make them feel extra special. For a pretty plate, roll the pops in a little sugar after you take them out of the mold. They will sparkle like ice crystals. You could also serve two different flavors together. That way, everyone can have a taste test.
For a drink pairing, I have two thoughts. A tall glass of lemonade is the perfect non-alcoholic partner. It’s a classic for a reason. For the grown-ups, a crisp glass of rosé wine is just lovely. It sips nicely with the sweet tea flavor. Which would you choose tonight?
Keeping Your Sweet Treats Perfect
Let’s talk about storing these tea pops. They need to stay in the freezer until you eat them. I keep mine in a container so they do not get freezer smells. You can make a big batch for the whole week. This is called batch cooking. It saves you time later.
I remember my first batch of pops. I left one out too long. It became a sweet, sticky puddle on my table. Now I set a timer to remind me to check them. Storing food well means no waste. It also means a cool treat is always ready for you.
Have you ever tried storing it this way? Share below!
Easy Fixes for Common Popsicle Problems
Sometimes the pops are too hard to pull out. Just run the mold under warm water for a few seconds. They will slide right out. Another problem is the pops tasting watery. Be sure all the sugar dissolves in the warm tea.
I once forgot the sugar. The pops were not sweet at all. My grandson made a very funny face. Getting the flavor right matters. It makes your treat something you truly enjoy. Fixing small problems builds your confidence in the kitchen. You learn that mistakes are okay.
Which of these problems have you run into before?
Your Tea Pop Questions Answered
Q: Is this recipe gluten-free?
A: Yes, it is naturally gluten-free.
Q: Can I make these ahead?
A: Absolutely. They are perfect for making days before.
Q: What can I use instead of sugar?
A: You can try honey or maple syrup. The taste will change a little.
Q: Can I double the recipe?
A: Of course. Just use a bigger pot.
Q: Any fun extra tips?
A: Try adding a little lemon juice. It gives a nice tangy twist.
Which tip will you try first?
Share Your Kitchen Creations
I hope you love making these sunny tea pops. My kitchen is my happy place. I love sharing it with you. It would make my day to see your creations. You can share a photo of your finished treats.
Fun fact: The sun helps brew the tea, and the freezer does the rest! Have you tried this recipe? Tag us on Pinterest!
Happy cooking!
—Emma Caldwell.
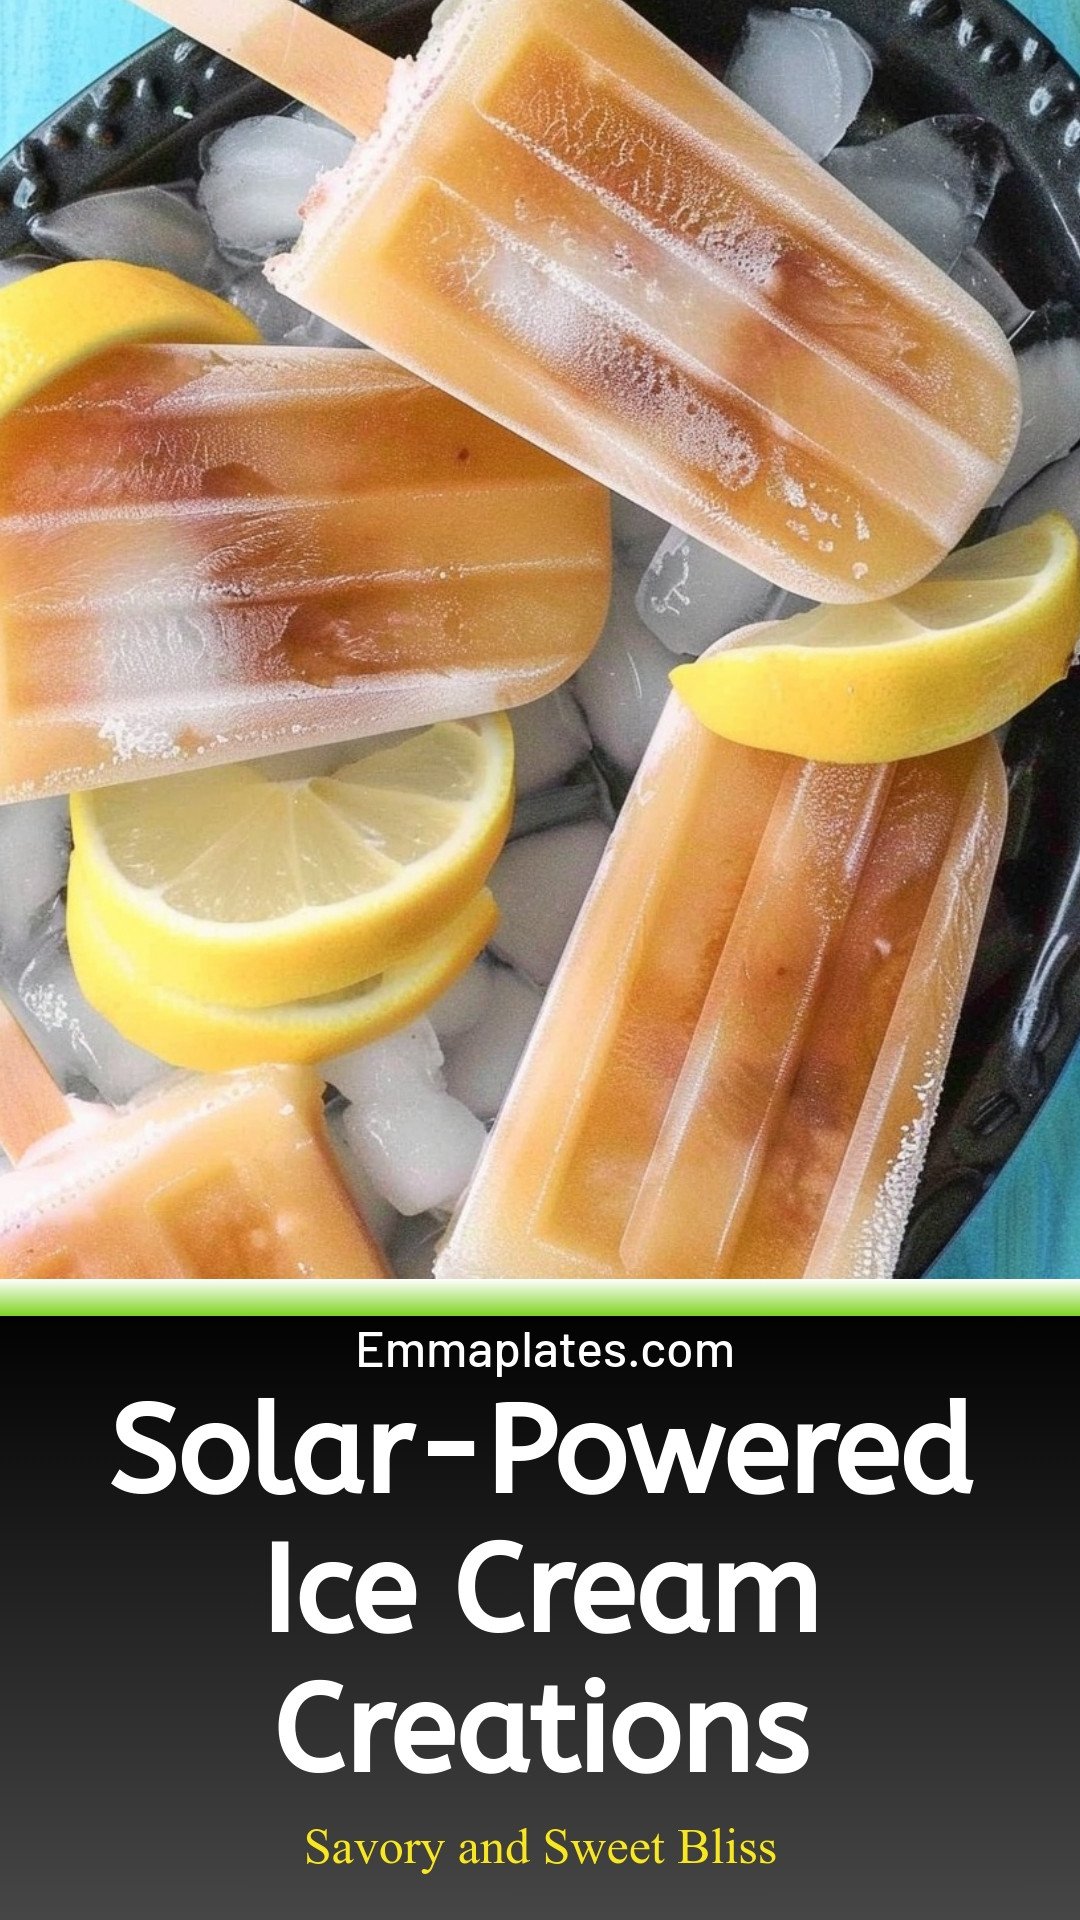
Solar-Powered Ice Cream Creations: Savory and Sweet Bliss
Description
Discover delicious, eco-friendly ice cream recipes made using solar power! A fun, sustainable summer project for everyone.
Ingredients
Instructions
- In a medium pot heat the water to a simmer. Turn the heat off and add the tea bag. Allow it to steep for 10 to 15 minutes.
- Stir in the sugar and continue mixing until it has all dissolved.
- Allow the tea to cool to room temperature and then pour it into your pop mold, being sure to leave a little space in the top of each one to allow for expansion.
- Freeze for about 4 hours or until the pops are completely frozen.
Notes
- A fun, sustainable summer project for everyone.


Leave a Reply