

A Cookie Full of Memories
These little cookies take me right back to my grandma’s kitchen. She made them every single Christmas. The air would smell like sugar and toasted nuts. I still smile thinking about it.
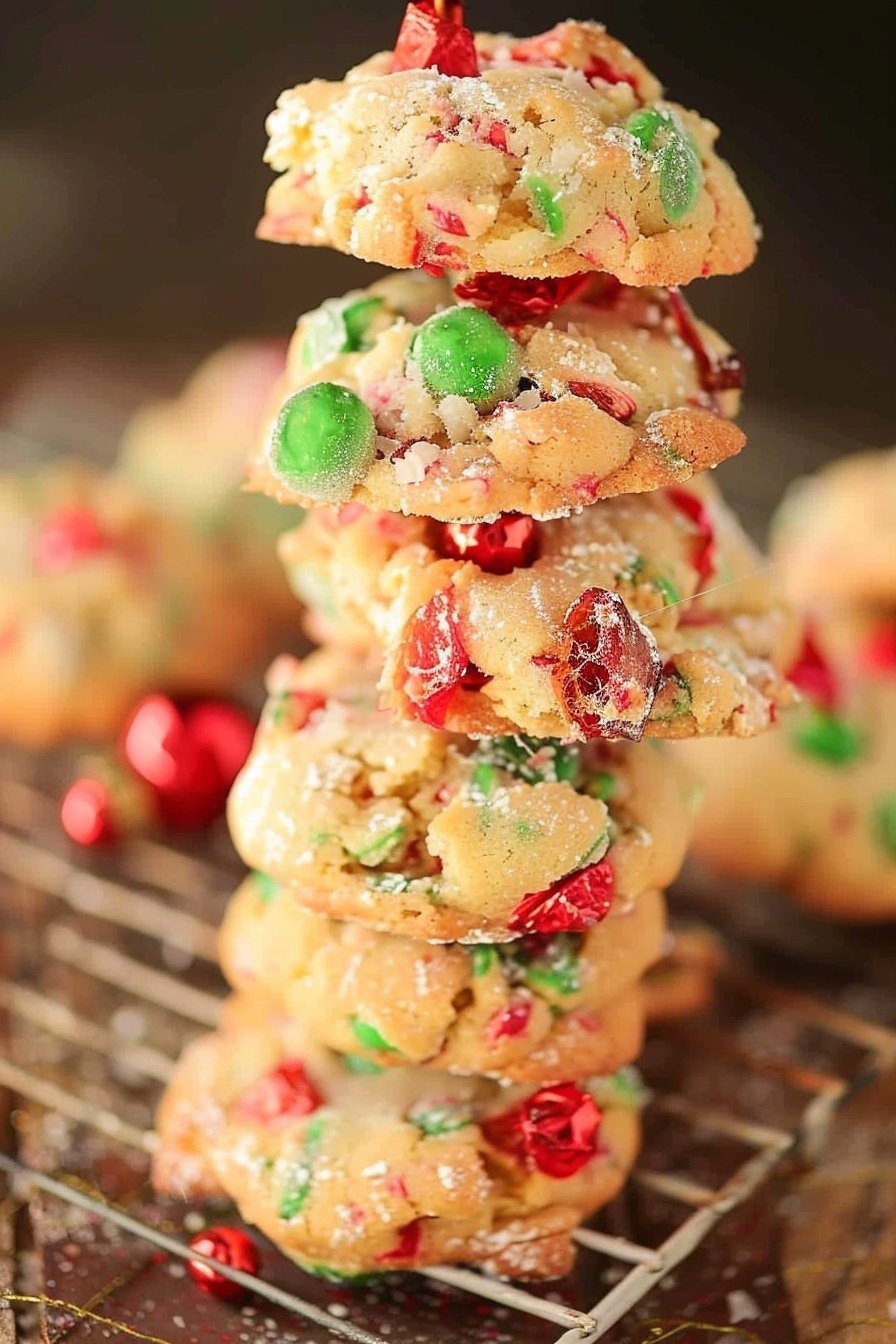
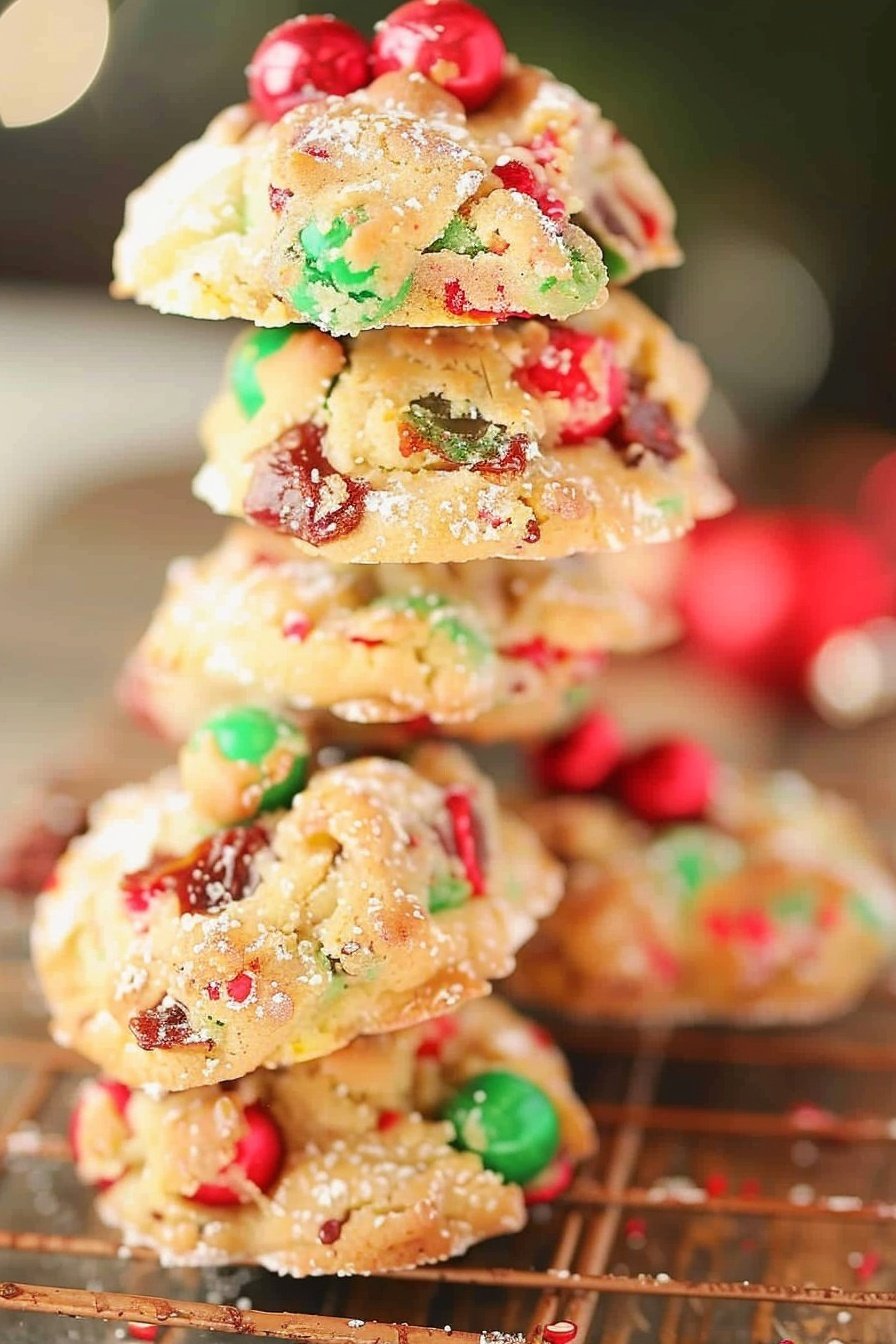
She called them her “jeweled bites.” That is because of the bright red and green fruit. They look like tiny treasures. Making them helps me feel close to her. Do you have a special food that reminds you of someone?
Why We Cream the Butter
Let’s talk about that first step. We cream the butter and sugar together. This means mixing until it gets light and fluffy. I like to use my hand mixer for this.
This step matters more than you think. It puts tiny air bubbles into the butter. Those bubbles help our cookies rise. They make the texture soft and cakey. It is a small step with a big job!
The Secret is in the Scents
Now for my favorite part. We add the vanilla, almond, and lemon extracts. Doesn’t that smell amazing? The almond is the secret star. It makes the whole house smell like a bakery.
Fun fact: These three extracts were very popular in old-fashioned baking. They didn’t have as many flavors as we do now. So bakers used what they had. I think they knew best!
A Funny Little Story
One year, my grandson tried to help. He decided the dough needed more green cherries. He put in a whole extra cup! Our cookies were very, very green. I still laugh at that.
But you know what? They were still delicious. Cooking is not about being perfect. It is about having fun and making messes. What is the funniest kitchen mistake you have ever made?
Why a Slow Bake Matters
You might notice the oven temperature is low. We bake them slowly at 300 degrees. This is important for a cookie full of fruit and nuts.
A slow bake lets the inside cook through. It also keeps the outside from getting too dark. It gives you a cookie that is golden and just right. Patience is a good ingredient in baking.
Your Turn to Share
I would love to see your jeweled bites. Maybe you can make them with your family this year. It is a wonderful way to make new memories together.
Tell me, what is your very favorite holiday cookie? Is it a family recipe too? I am always looking for new ideas to try in my kitchen.
Ingredients:
| Ingredient | Amount | Notes |
|---|---|---|
| unsalted butter | 1/2 cup | room temperature |
| sugar | 3/4 cup | |
| large egg | 1 | |
| vanilla extract | 1 teaspoon | |
| almond extract | 1/2 teaspoon | |
| lemon extract | 1/4 teaspoon | |
| all-purpose flour | 1 1/2 cups | |
| salt | 1/2 teaspoon | |
| baking soda | 1/2 teaspoon | |
| diced candied pineapple | 1 cup | |
| diced candied red cherries | 1 cup | |
| diced candied green cherries | 1 cup | |
| coarsely chopped pecans | 1 cup |
My Holiday Cookie Bites: A Sweet Little Story
I make these cookies every single year. My own grandma taught me the recipe. She called them her “jeweled treasures.” I still laugh at that. All those colorful bits of fruit look like little gems, don’t they? The smell in your kitchen will be pure magic. It reminds me of happy, snowy afternoons.
Let’s Get Baking
Let’s get our hands busy. First, we need to make our dough. It’s a simple start.
- Step 1: Turn your oven on to 300°F. This is a slow and gentle bake. Line your cookie sheet with parchment paper. I find this saves so much scrubbing later. My pans have seen many years of this.
- Step 2: Use a mixer to cream the butter and sugar. You want it light and fluffy. Then add the egg and all those lovely extracts. The almond and lemon together smell amazing. It makes the whole house feel festive.
- Step 3: Whisk the flour, salt, and baking soda in another bowl. Slowly add this to your butter mixture. Mix it until it’s just combined. Now, gently fold in the fruit and pecans. (A hard-learned tip: If your fruit is sticky, dust it with a little flour first. It won’t all clump together!).
- Step 4: Drop spoonfuls of dough onto your sheet. Give them room to spread. They bake for about 20-25 minutes. You’ll know they’re done when the edges are just golden. Let them cool for five minutes. Then move them to a rack. They keep for days in a tin. I think they taste even better the next day.
What’s your favorite holiday baking memory? Share below!
| Cook Time | 20–25 minutes |
| Total Time | 40 minutes |
| Yield | About 2 dozen cookies |
| Category | Dessert, Cookies |
Fun Twists on a Classic
This recipe is wonderful as it is. But you can also play with it. Try one of these fun ideas. They are all so delicious.
- Tropical Twist: Use dried mango and coconut instead of the cherries and pineapple.
- Chocolate Chip Swap: Skip the fruit and add chocolate chips and walnuts. My grandson’s favorite.
- Citrus Burst: Use all lemon extract and add dried cranberries. It’s so bright and cheerful.
Which one would you try first? Comment below!
Serving Your Sweet Creations
These cookies are perfect with a cold glass of milk. That’s how I always ate them as a girl. For a fancy touch, place them on a pretty plate. Add a few extra candied cherries on the side. It looks so lovely.
For a drink pairing, try a hot cup of spiced chai tea. It’s so cozy. For the grown-ups, a sweet dessert wine is a nice match. It sips nicely with the fruity cookies.
Which would you choose tonight?
Keeping Your Cookie Bites Fresh
These cookie bites stay yummy for days. Just put them in a sealed container. They can last even longer in the fridge.
You can freeze them for a special treat later. Wrap them up tight so they do not get freezer burn. I once forgot to wrap a batch properly. They tasted like my frozen peas the next time.
This matters because a good cookie is a little piece of joy. Batch cooking lets you share that joy anytime. Have you ever tried storing it this way? Share below!
Easy Fixes for Common Cookie Troubles
First, if your cookies spread too much, your butter was too warm. I remember when my cookies ran into each other. Now I make sure my butter is just soft.
Second, if the fruit sinks, toss it in a little flour first. This helps it stay put in the dough. Third, do not over-bake them. They are done when just golden.
Getting it right builds your cooking confidence. It also makes the flavor perfect every single time. Which of these problems have you run into before?
Your Cookie Questions Answered
Q: Can I make these gluten-free? A: Yes! Use your favorite gluten-free flour blend. It works just fine.
Q: Can I make the dough ahead? A: You can chill the dough for a day. Then just bake when you are ready.
Q: What if I do not like pecans? A: Swap them for walnuts. Or leave them out completely.
Q: Can I make a smaller batch? A: Of course. Just cut all the ingredients in half.
Q: Is the lemon extract important? A: It adds a nice little zing. But you can skip it if you want. Which tip will you try first?
A Little Note From My Kitchen
I hope you love making these vintage cookies. They are full of sweet, cheery colors. Fun fact: These were my grandfather’s favorite holiday treat.
I would love to see your baking creations. Sharing food is how we share love. Have you tried this recipe? Tag us on Pinterest!
Happy cooking!
—Emma Caldwell.

Vintage Holiday Cookie Bites: Creamy, Cheesy Perfection
Description
Unwrap the magic of Christmas past! These bite-sized vintage holiday cookies are your new festive tradition. Easy, adorable & deliciously nostalgic recipes.
Ingredients
Instructions
- Preheat the oven to 300°F and line a cookie sheet with a silicone mat or parchment paper. Set aside.
- Use a mixer to cream the butter and sugar together until fluffy. Add the egg, vanilla extract, almond extract, and lemon extract and mix well.
- In another bowl, whisk together the flour, salt, and baking soda. Gradually add the flour mixture to the butter mixture and mix well. Fold in the candied fruit and pecans.
- Drop the dough by heaping tablespoonsful onto the prepared cookie sheet about 3 to 4 inches apart. Bake for 20 to 25 minutes or until just golden brown. Allow to cool for about 5 minutes on the baking sheet before transferring to a wire rack to cool completely. Store in an airtight container for a few days or in the refrigerator for longer. Cookies can be wrapped tightly and frozen for a few months.


Leave a Reply