

My First Spaghetti Squash
I remember the first time I cooked a spaghetti squash. I was so surprised. The flesh came out in long, golden strands. It looked just like pasta. I still laugh at that.
It felt like a little kitchen magic. That’s why I love this recipe. It turns simple squash into a cozy, edible nest. Doesn’t that sound fun? What’s the first vegetable that surprised you in the kitchen?
Why Nests Matter
Food should be fun and nourishing. This dish is both. The squash nest holds a beautiful baked egg. It’s a complete little meal in one bite.
This matters because cooking is about joy. Making something pretty makes you smile. It also packs good stuff from the squash and eggs into your day. That’s a win.
Building Your Nests
Let’s get to it. First, cook your squash until it shreds easily. Sauté that onion in butter until it’s soft. Oh, that smell is amazing. It smells like home.
Mix everything in a big bowl. Press the mix into a muffin tin. Make a little well in the center for the egg. Bake until the edges get golden and crisp. *Fun fact: Spaghetti squash is a winter squash. It can be stored for months in a cool place!*
The Perfect Egg
Now, lower the oven heat. Crack an egg into each warm nest. This is the best part. Be gentle so the yolk stays whole.
Bake them just until the white is set. I like my yolk runny. Do you prefer a runny yolk or one that’s fully cooked? It’s your kitchen, so you choose.
Serving With Love
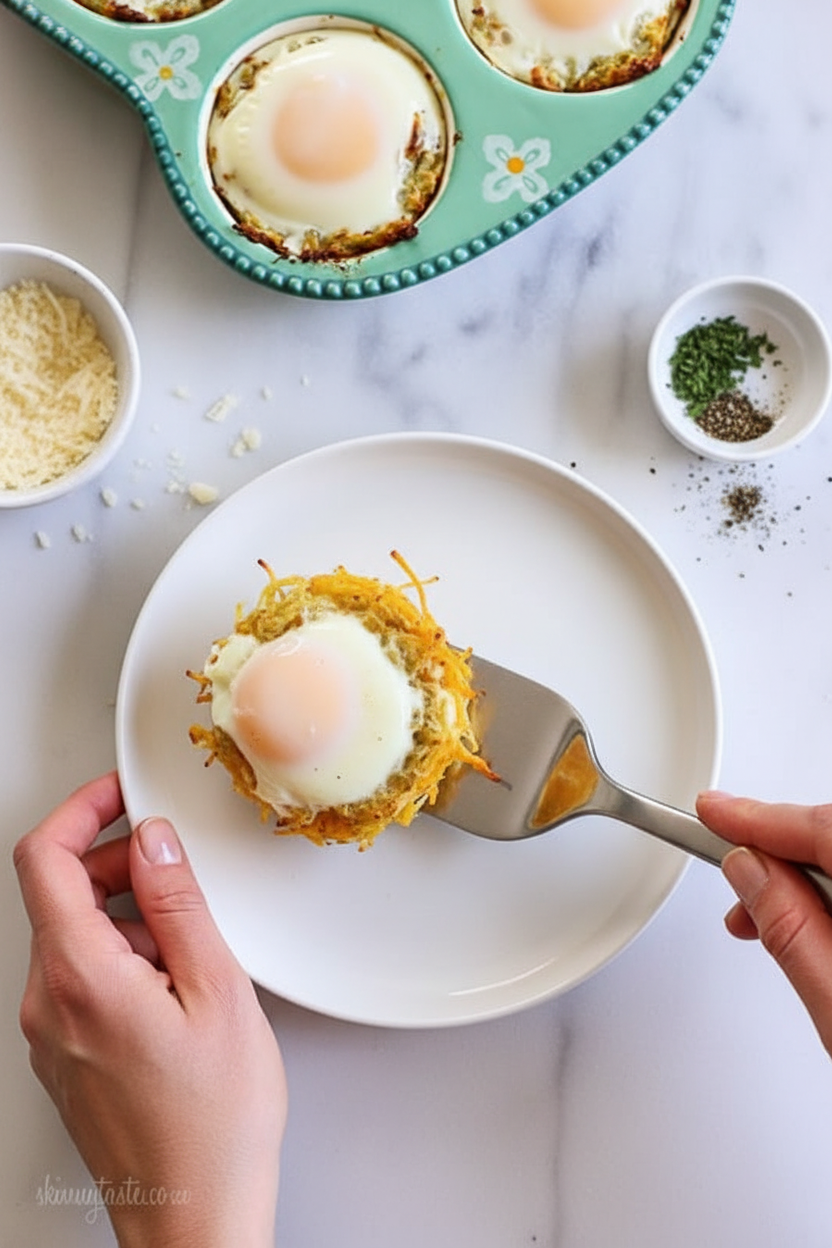
Let the nests cool for a minute. Then run a knife around the edges. They should pop right out. Serve them warm, maybe with a little extra cheese.
This recipe is great for a lazy weekend breakfast. It feels special. Would you make these for yourself or to share with family? Tell me if you try it.

Ingredients:
| Ingredient | Amount | Notes |
|---|---|---|
| cooking spray | as needed | for greasing |
| cooked spaghetti squash | 1 1/2 cups | from 1 medium squash |
| onion, minced | 1 small | |
| egg white | 1 large | |
| butter | 1 tbsp | |
| dried parsley | 2 tbsp | |
| garlic powder | 1 tsp | |
| kosher salt | 1 tsp | |
| black pepper | 1/8 tsp | |
| all purpose flour | 1/4 cup | or GF King Arthur flour |
| shredded Pecorino Romano cheese | 1/3 cup | |
| eggs | 6 large | for filling the nests |
My Cozy Spaghetti Squash Nests
Hello, my dear! Come sit with me. I want to share a recipe from my old notebook. It turns a simple squash into a cozy little nest. You crack an egg right into the middle. Doesn’t that sound fun? It’s perfect for a lazy weekend breakfast. Or a simple supper. I still laugh at that time I made these for my grandson. He called them “bird bowls” and ate two!
Let’s get our hands busy. First, you’ll need one spaghetti squash, already cooked. Just scrape it with a fork. It turns into lovely, golden strings. It always amazes me. Now, preheat your oven to 425°F. Give a muffin tin a quick spray with oil. This keeps our nests from sticking. A sticky pan is no fun to clean, I promise you.
- Step 1: Grab a medium skillet. Melt your tablespoon of butter in it. Toss in your minced onion. Cook them on medium-low heat. You want them soft and sweet, not brown. This takes about five minutes. Can you smell that? It smells like the start of something good.
- Step 2: Put your spaghetti squash strings in a big mixing bowl. Add the soft onions right from the pan. Now, add the egg white, parsley, garlic powder, salt, pepper, flour, and cheese. Mix it all together with your hands. Feel the cool squash and cheese. (A hard-learned tip: Dry your squash well with a towel first. Too much water makes a soggy nest!).
- Step 3: Scoop about 1/4 cup of the mix into each muffin cup. Press it up the sides to make a little cup. This is your nest! Bake them for 18 to 20 minutes. Watch for golden, crispy edges. They will smell wonderful. What vegetable makes “spaghetti” strings when you cook it? Share below!
- Step 4: Take the tin out of the oven. Be careful, it’s hot! Now, reduce the oven heat to 375°F. Here’s the fun part. Crack one egg into each warm squash nest. Try not to break the yolk. It’s okay if you do. They will still taste perfect.
- Step 5: Slide the tin back into the oven. Bake for 10 to 12 minutes more. This cooks your egg just right. I like my yolk a bit runny. You can bake it longer if you like it firm. Let them cool for a minute before you pop them out.
Cook Time: 35–40 minutes
Total Time: About 1 hour
Yield: 6 nests
Category: Breakfast, Brunch
Three Fun Twists to Try
You can make this recipe your own. It’s like a blank canvas. Here are three ideas I love. They change the feeling of the meal. My neighbor gave me the “Pizza Night” idea. Her kids gobble it up.
- The Garden Patch: Add chopped spinach and sun-dried tomatoes to the squash mix.
- Pizza Night: Mix a spoon of marinara and chopped pepperoni in. Top with mozzarella.
- Autumn Spice: Use a pinch of nutmeg and sage. Top with crispy crumbled bacon.
Which one would you try first? Comment below!
Serving Your Masterpiece
These nests are a whole meal by themselves. But I love to add a little something. A simple green salad with a lemony dressing is lovely. Some buttered toast soldiers for dipping are great, too. For a pretty plate, place one nest on a bed of fresh arugula.
What to drink? A glass of cold, crisp apple cider is wonderful. For the grown-ups, a mimosa with orange juice feels festive. It turns breakfast into a celebration. Which would you choose tonight?
Keeping Your Nests Cozy for Later
Let’s talk about storing these cute nests. They keep well in the fridge for two days. Just cover the muffin tin with foil. You can also freeze them before adding the final eggs. I once froze a whole batch for my grandson’s visit. It made our morning so easy.
Reheating is simple. Warm them in a 350°F oven for about 10 minutes. This keeps the nests crisp. Batch cooking saves you precious morning time. It means a good breakfast is always ready. Have you ever tried storing it this way? Share below!
Simple Fixes for Common Little Hiccups
Sometimes the squash mixture is too wet. Just add another tablespoon of flour. This helps the nests hold their shape. I remember when my first nests slumped. A bit more flour fixed it perfectly.
If your egg spills over, the nest might be too shallow. Press the squash firmly up the sides. Getting the nest right matters for a pretty presentation. It makes you feel proud of your cooking. For runny whites, bake the final eggs a few minutes longer. Which of these problems have you run into before?
Your Quick Questions, Answered
Q: Can I make this gluten-free?
A: Yes! Use the gluten-free flour listed. It works just the same.
Q: Can I prep parts ahead?
A: Absolutely. Make the squash nests a day early. Store them covered in the fridge.
Q: What cheese can I swap?
A: Parmesan or a sharp cheddar are both lovely swaps. Use what you have.
Q: Can I make fewer servings?
A: Of course. Just cut all the ingredients in half. Use every other muffin cup.
Q: Any fun extra tips?
A: A tiny sprinkle of paprika adds nice color. *Fun fact: Spaghetti squash gets its name from its stringy, pasta-like flesh!* Which tip will you try first?
From My Kitchen to Yours
I hope you love making these little nests. They always feel special. I would be thrilled to see your creations. Sharing food stories connects us all.
Have you tried this recipe? Tag us on Pinterest! Use our handle @EmmasCozyKitchen. I love seeing your family breakfasts. Happy cooking!
—Emma Caldwell.
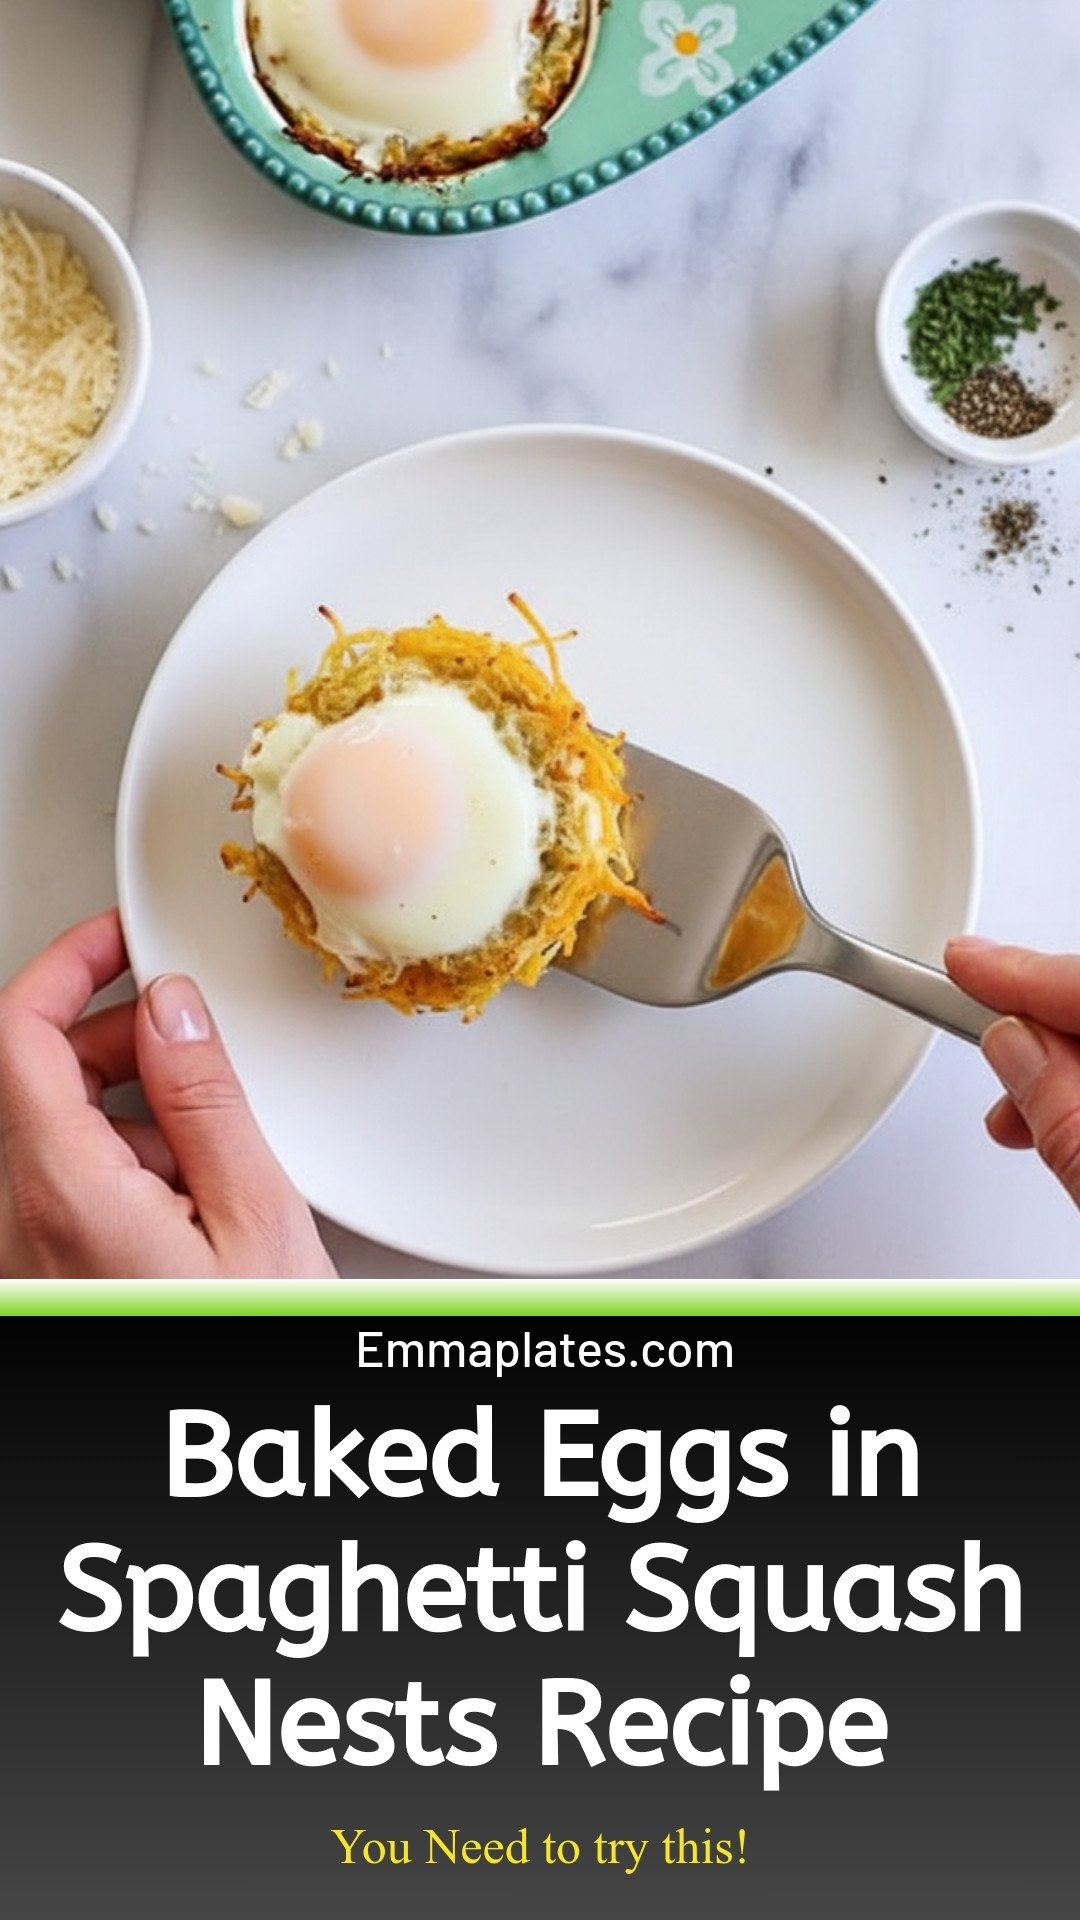
Baked Eggs in Spaghetti Squash Nests: Baked Eggs in Spaghetti Squash Nests Recipe
Description
Baked eggs nestled in roasted spaghetti squash for a healthy, low-carb breakfast or brunch. Easy, delicious, and naturally gluten-free.
Ingredients
Instructions
- Preheat the oven to 425°F. Spray a muffin tin with oil.
- Place the cooked spaghetti squash in a bowl.
- In a medium skillet, saute onions in butter on medium-low heat for about 5 minutes, or until soft.
- Add this to the bowl with the spaghetti squash along with the egg white, parsley, garlic powder, salt, pepper, flour and cheese and mix well.
- Scoop 1/4 cup into each tin, pressing up the side to create a nest.
- Bake 18 to 20 minutes, until the edges become golden and crisp.
- Reduce the heat to 375°F. Remove from oven and carefully crack 1 egg into each tin.
- Bake an additional 10-12 minutes, or longer depending on how you like your eggs.
Notes
- Nutrition per serving (1 nest): Calories: 152 kcal, Carbohydrates: 10 g, Protein: 10 g, Fat: 8 g, Cholesterol: 194 mg, Sodium: 352 mg, Fiber: 1 g, Sugar: 1 g


Leave a Reply