
My First Fruit Roll-Up Flop
Let me tell you about my first try. I used way too much fruit. I spread it way too thick. The result was a sticky, chewy mess. It never dried right. I still laugh at that.
But you know what? We ate it anyway. We scooped it up with spoons. It tasted wonderful. That’s the thing about cooking. Even the flops can be sweet. This matters because it teaches us to try. Perfection is not the goal. Fun is.
Why Make Your Own?
Store-bought roll-ups can have lots of extra sugar. And strange ingredients I cannot pronounce. When you make them, you control what goes in. You know it is just fruit, a little honey, and lemon.
It feels good to create a real food snack. You can taste the real strawberry or mango. Doesn’t that sound better? What is your favorite fruit to snack on? I would love to know.
How to Make Them Shine
The trick is in the spread. You want it very, very thin. Aim for the thickness of a nickel. A silicone spatula works best for this. Take your time to make it even.
Your oven’s lowest setting is your friend. Prop the door open a crack with a wooden spoon. This lets the steam out. The drying time takes patience. But the wait is worth it. Fun fact: This method is how people preserved fruit for centuries before refrigerators!
Flavor Adventures to Try
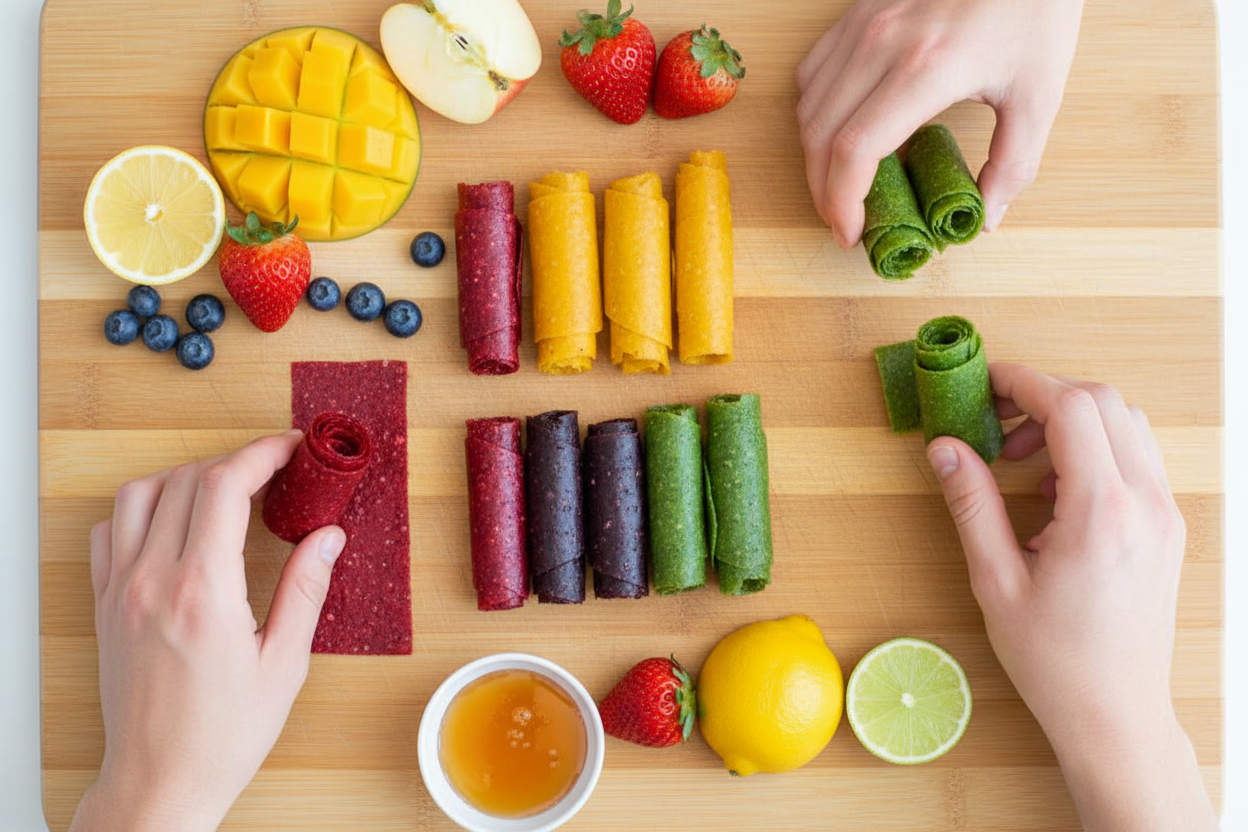
Do not just use one fruit. Mix them! Strawberry with a few basil leaves is magic. Mango and peach together are like sunshine. Try blueberry and apple for a classic taste.
Blend it all until it is super smooth. Give it a taste. You can add a touch more honey if you like. Which combo do you think your family would love most? Tell me your idea.
The Rolling-Up Joy
When it is cool and dry, peel it off the paper. Doesn’t that smell amazing? Use clean scissors to cut strips. Then roll them up. I like to tie them with a bit of string.
This last step matters. It turns flat fruit into a special treat. It becomes something you made with your own hands. It is a gift from your kitchen. Will you share your roll-ups or keep them all for yourself? I was always a sharer.

Ingredients:
| Ingredient | Amount | Notes |
|---|---|---|
| Fruit | 2-3 cups (300 to 350 g) | Main base ingredient |
| Honey | 2-3 Tbsp | Can sub sugar or sugar-substitute |
| Lemon Juice | 2 Tbsp (30 mL) | Adds brightness and helps with preservation |
My Sunny Kitchen Fruit Roll-Ups
Hello, my dear! Come sit at the table. Let’s make some sunshine. We are turning fresh fruit into chewy roll-ups. It’s like capturing summer in a strip of paper. I used to make these with my grandkids. Their sticky, smiling faces were the best reward. Doesn’t that sound like fun?
You just need fruit, a little honey, and some lemon juice. The oven does most of the work, slowly and gently. I still laugh at the first time I tried this. I was too impatient. I pulled them out early. What a sticky, delicious mess we had to eat with spoons!
Step 1: Gather your ripe fruit. Strawberries, mango, or peaches work wonderfully. Put everything into the blender. Add the honey and lemon juice. Now give it a good whir until it’s super smooth. Taste it with a clean spoon. Isn’t that flavor amazing? Add a bit more honey if your fruit is tart.
Step 2: Line your baking pan with parchment paper. Pour your fruity puree right onto the middle. Gently spread it out very thin with a spoon. You want it even. (My hard-learned tip: if the puree is too thick in spots, it won’t dry evenly. Be patient here!).
Step 3: Now, your oven needs to be very low. We are drying the fruit, not baking it. Slide the pan in. This takes a long nap’s worth of time. About 4 to 6 hours. It’s done when the center is not sticky to your touch. What fruit would make your favorite color? Share below!
Step 4: Let the big sheet cool completely. It will feel like fruit leather. Use clean scissors to trim the edges. Then cut it into long strips. Roll each one up into a little scroll. You did it! Time for a taste test.
Cook Time: 4–6 hours
Total Time: 4 hours 15 minutes
Yield: About 12 roll-ups
Category: Snack, Dessert
Three Fruity Adventures to Try
Once you know the basic tune, you can sing any fruit song! Here are my favorite twists. They make a simple recipe feel brand new. I love experimenting like this.
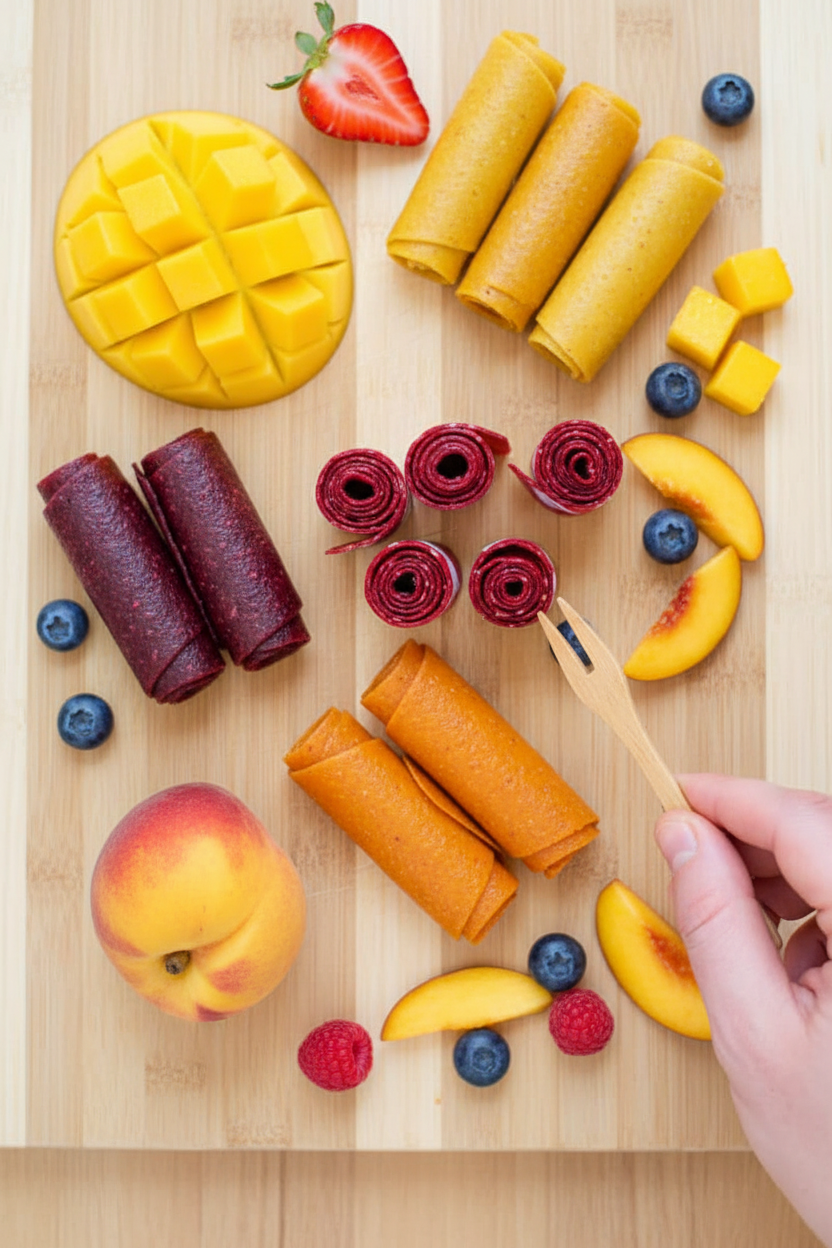
Berry Patch Mix: Use raspberries, blueberries, and blackberries together. It makes a deep, purple roll-up. It tastes like a walk through the berry bushes.
Tropical Vacation: Blend mango and a little coconut milk. It becomes creamy and sweet. It will whisk you away to a beach, I promise.
Apple Pie Spice: Use applesauce as your base. Add a pinch of cinnamon and nutmeg. It smells like autumn in your kitchen. Which one would you try first? Comment below!
Serving Your Sweet Creations
These roll-ups are perfect just as they are. But let’s think of other happy ways to enjoy them. I like to pack them in lunchboxes. They are a sweet surprise. You could also chop them into little pieces. Sprinkle them over vanilla yogurt or oatmeal.
For a drink, I think of contrasts. A cold glass of milk is a classic friend. It balances the sweet fruit so nicely. For the grown-ups, a crisp glass of rosé wine pairs beautifully. It feels very fancy for a homemade snack. Which would you choose tonight?
Keeping Your Fruit Roll-Ups Fresh
Let’s talk about keeping your treats tasty. Once cool, roll them up in fresh parchment paper. Store them in a sealed container at room temperature for a week. They can last a month in the fridge. For longer storage, freeze them in a single layer first.
I once made a huge batch of strawberry rolls. I froze them for my grandkids’ summer visit. They were a perfect, cool snack on a hot day. Batch cooking like this saves you time later. It means a healthy treat is always ready for you.
Why does this matter? It teaches you to plan ahead. You learn to make good food last. Have you ever tried storing it this way? Share below!
Fixing Common Fruit Roll-Up Troubles
Sometimes things don’t go as planned. That’s okay. If your puree is too thin, just cook it longer on the stove. A quick simmer thickens it right up. This makes spreading much easier.
If the middle is still sticky after baking, it needs more time. I remember when I was too impatient. I peeled a roll-up too soon. It tore and made a mess. Patience gives you a perfect, peelable sheet.
Are the edges getting too crispy? Just trim them off with scissors. Fixing small problems builds your cooking confidence. It also makes sure every bite tastes wonderful. Which of these problems have you run into before?
Your Quick Questions, Answered
Q: Is this recipe gluten-free? A: Yes, it is naturally gluten-free. Just use certified gluten-free oats if you add them.
Q: Can I make these ahead? A: Absolutely. They are perfect for making on a weekend. Store them for the whole week.
Q: What can I use instead of honey? A: Maple syrup or a little sugar work fine. Fun fact: Ripe bananas can sweeten it, too!
Q: Can I double the recipe? A: You can, but use two pans. Do not spread the puree too thick.
Q: Any optional tips? A: A pinch of cinnamon in apple puree is lovely. Which tip will you try first?
From My Kitchen to Yours
I hope you love making these colorful snacks. It is so fun to create your own flavors. I would love to see what you make. Sharing our kitchen stories connects us all.
Please show me your beautiful fruit roll-ups. Have you tried this recipe? Tag us on Pinterest! You can find me at @EmmasCozyKitchen. I cannot wait to see your creations.
Happy cooking!
—Emma Caldwell.
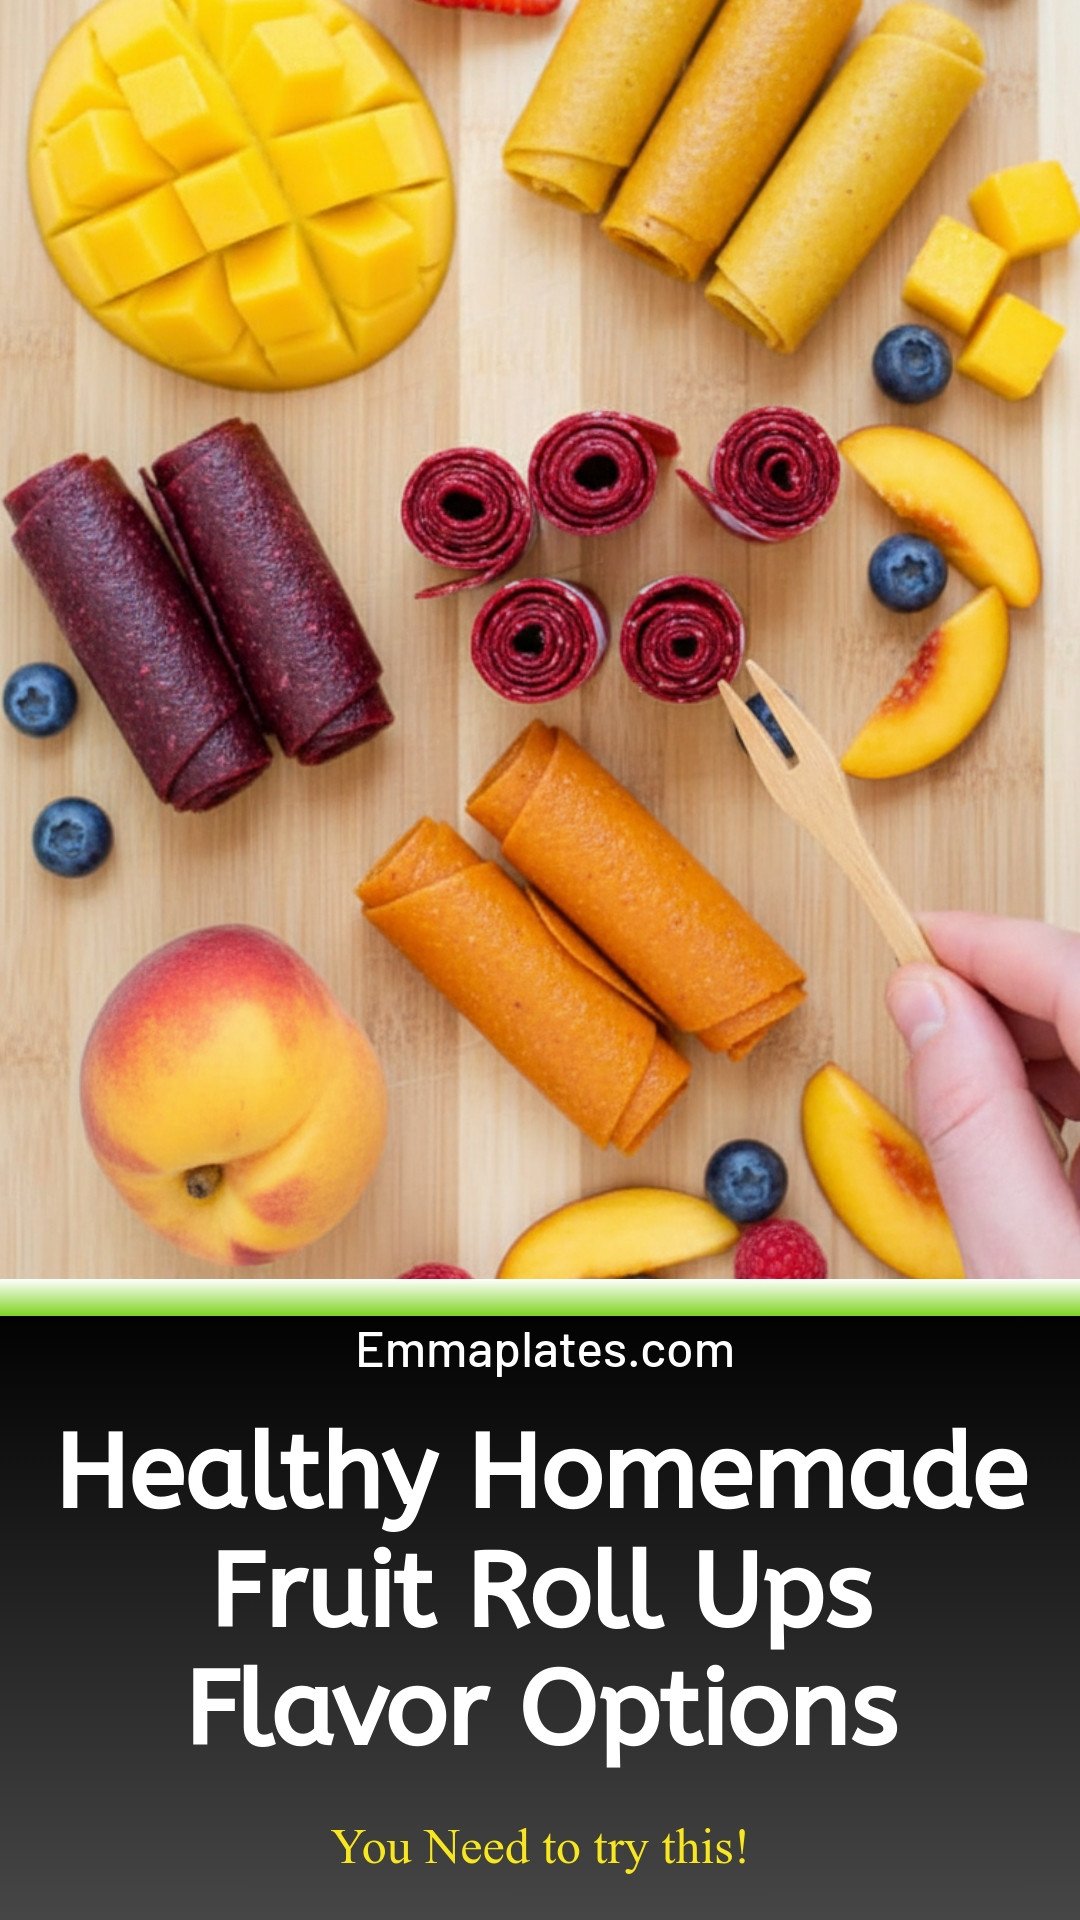
Healthy Homemade Fruit Roll Ups (Plus Flavor Options!): Healthy Homemade Fruit Roll Ups Flavor Options
Description
Healthy homemade fruit roll ups are an easy, natural snack! Kids love them. Try our delicious flavor variations for a fun treat.
Ingredients
Instructions
- Blend together all ingredients in food processor or blender until smooth. Taste and adjust sweetness as needed.
- Pour into a pan lined with parchment paper then spread out ⅛ to ¼ inch thick.
- Dehydrate in oven at 140 to 170°F (or as low as oven will go) for 4 to 6 hours, or until the middle is not longer tacky. It must be totally set in order to peel off the parchment paper, so if it needs more time to cook, keep cooking until the center is not tacky (this largely depends on the thickness).
- Allow to cool, then use clean scissors to trim off edges and cut into 1 inch wide strips. Roll each strip into a roll-up and enjoy!
Notes
- Nutrition per serving (1 fruit roll-up): Calories: 28 kcal, Carbohydrates: 7.2 g, Protein: 0.3 g, Sodium: 1 mg, Fiber: 0.8 g, Sugar: 6.2 g.


Leave a Reply