
Why I Love These Little Guys
I first made these cake balls for Halloween. My grandkids wanted something fun but not too messy. I laughed when they called them “mummies.” The name stuck. Now we make them for birthdays and school parties too. Doesn’t that sound like a good idea?
What makes them special is the hidden swap. We use Greek yogurt instead of oil and eggs. Nobody ever tastes the difference. I love sneaking in something healthy. It makes me feel like a smart kitchen-grandma.
A Little Trick I Learned
Here is a funny story. The first time I made these, I forgot to chill the cake balls. The chocolate slid right off. It looked like a sad, goopy mess. I still laugh at that memory. Now I always remember to refrigerate them for 45 minutes. That little wait helps the chocolate stick tight.
Why does this matter? Cold cake balls make a smooth coat. Warm ones make a puddle. It is a tiny step that saves big trouble. Have you ever had a kitchen oops that taught you something?
The Fun of Making Faces
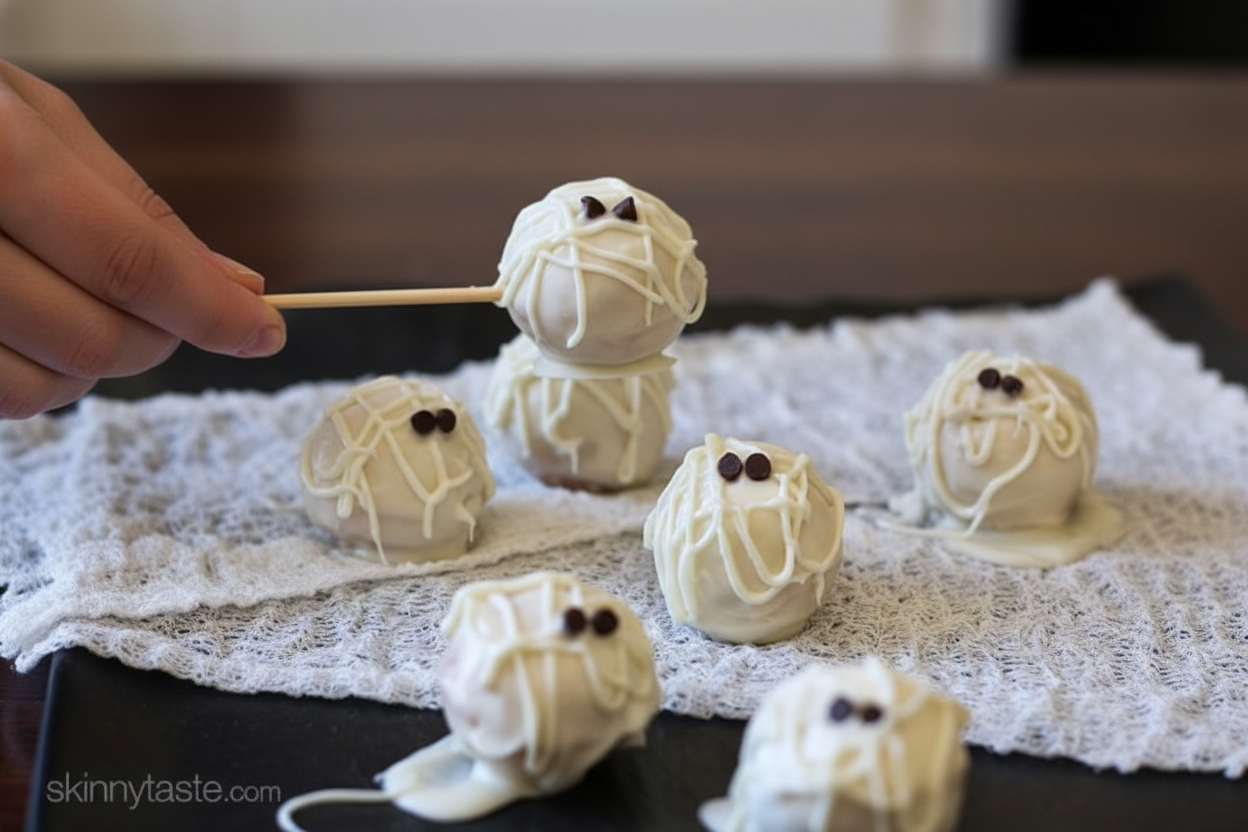
The best part is decorating. You use melted white chocolate to make mummy wraps. Just drizzle it in a criss-cross. Then add two mini chocolate chips for eyes. My grandson once made a mummy with three eyes. We all cracked up. You can make them silly or spooky.
Here is a *fun fact* call-out: These cake balls have only 102 calories each. That is about the same as an apple with peanut butter. So you can eat two without feeling guilty. Who says treats can’t be light?
Why This Recipe Sticks Around
This recipe uses simple ingredients you already have. Yellow cake mix, yogurt, egg whites, and water. That is it for the cake part. No fancy trips to the store. I like recipes that don’t fuss. They let you spend more time having fun.
Why does this matter? Because cooking should not stress you out. When a recipe is easy, you can share it with kids. They learn to measure and mix. They feel proud of what they make. That is a gift that lasts.
My Favorite Way to Serve Them
I put these on a big plate with white napkins. The mummies look cute against the bright paper. Sometimes I add a small sign that says “Mummy’s Little Treats.” It makes the kids giggle. You could also stick them in a mason jar. Do you like to dress up your food for parties?
If you make extra, they keep in the fridge for three days. My husband sneaks them for breakfast. I pretend not to notice. A little sweetness in the morning never hurt anybody.
Let’s Hear From You
I would love to know what you think. Will you try these with your family? Maybe you have a secret swap of your own. I once used lemon cake mix and they tasted like sunshine. Tell me your favorite cake mix flavor. We can trade ideas like old friends.
And if you make a funny face on your mummy, please share that too. I bet it will make me smile. Cooking is better when we do it together, even from far away.
A Quick Poll, Just for Fun
Here is a question for you: Which part sounds hardest? 1) Dipping in chocolate, 2) Making the drizzle wrap, or 3) Waiting for them to chill. I still get a little nervous with the dipping. But I promise it gets easier each time. You just need patience and a steady hand.
Remember, every mummy is beautiful in its own way. Even the ones with messy wraps taste amazing. That is the real secret of cooking. It is not about perfect looks. It is about the joy you put into every bite.
Ingredients:
| Ingredient | Amount | Notes |
|---|---|---|
| Yellow cake mix | 16.5 oz package | |
| Plain fat-free Greek yogurt (Chobani) | 6 oz | |
| Water | 1 cup | |
| Large egg whites | 2 | |
| Baking spray | as needed | |
| Baker’s white chocolate | 48 oz | Only 20 oz calculated in nutrition info* |
| Mini chocolate chips | as needed | For the eyes |
| Wooden skewer | 1 |
The Little Trick That Makes These Cake Balls So Good
I remember the first time I made cake pops with my granddaughter, Lily. She kept asking, “Grandma, why do they taste so light?” The secret is plain Greek yogurt. It swaps out oil and keeps everything moist. Every time I take a bite, I still think of her little giggle. Let me walk you through it, step by simple step.
Step 1: Preheat your oven to 350°F. Lightly spray your cake pop pan with baking spray. Don’t skip this—otherwise, your balls will stick. (Hard-learned tip: I once forgot the spray and had to chip cake out with a fork. Save yourself the trouble!)
Step 2: In a big bowl, combine the yellow cake mix, plain Greek yogurt, 1 cup water, and 2 egg whites. Beat it until it’s smooth. The batter will look thick and fluffy, like a happy cloud. Pour it into a pastry bag, or just snip the corner off a ziplock bag. Pipe it into each hole of the pan until it’s full.
Step 3: Bake for about 18 minutes—rotate the pan once halfway through. Let them rest 5 minutes before opening the pan. Pop each cake ball onto a wire rack. Use scissors to trim off any seams. My neighbor once asked, “Why do you cut the seams?” Because it makes the coating smooth! Now, pop the balls in the fridge for 45 minutes. Cold cake balls hold chocolate like magic.
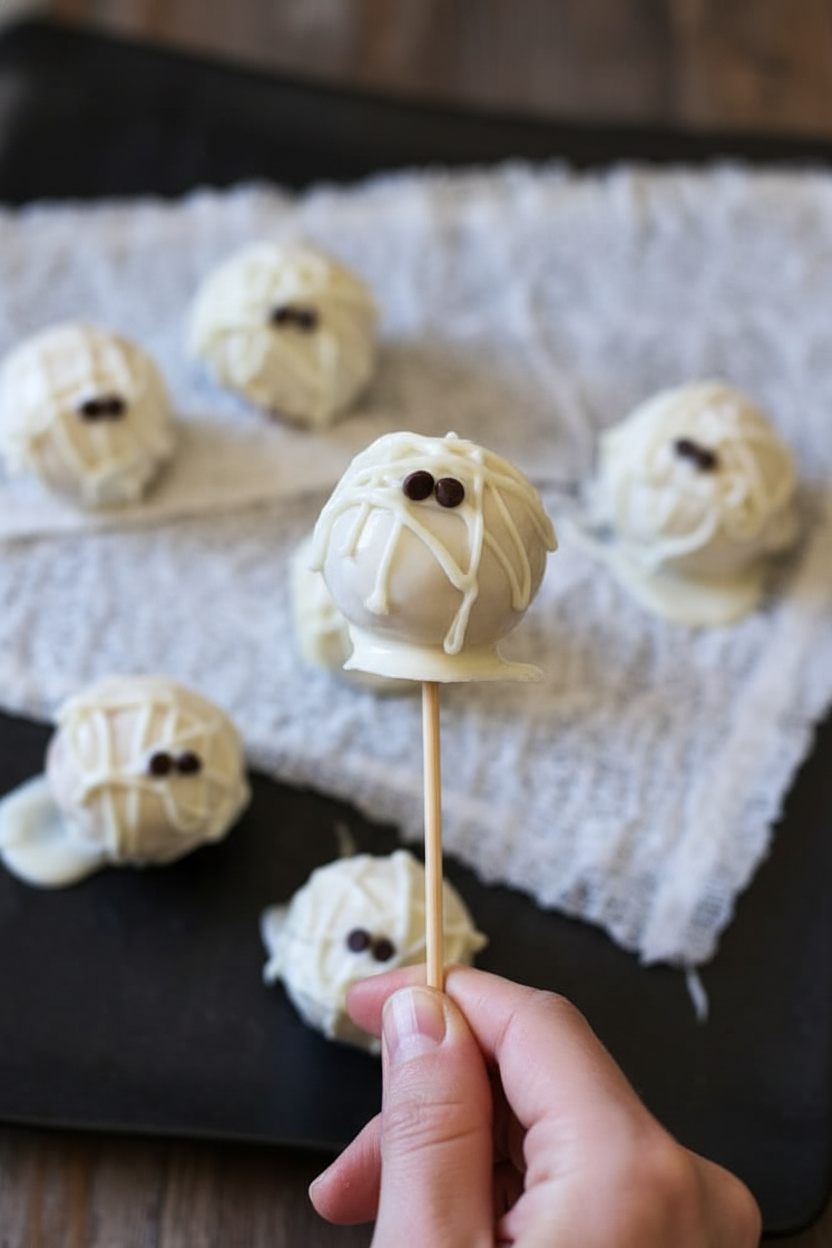
Step 4: Melt your white chocolate in the microwave—slowly, in 30-second bursts. Stir each time. If it gets too thick, add a tiny drop of oil. Stick a wooden skewer into a cake ball, then dip it in the chocolate. Let the extra drip off, then set it on wax paper. Doesn’t that smell amazing? Now, put the leftover chocolate in a piping bag. Drizzle it back and forth over the balls to look like mummy wraps. Press two mini chocolate chips on for eyes. Let everything dry. What Halloween treat are you most excited to make? Share below!
Cook Time: 18 minutes
Total Time: About 1 hour 30 minutes (with cooling)
Yield: About 30 cake balls
Category: Dessert, Halloween Treats
Three Fun Twists for Your Mummy Balls
Sometimes I get bored making the same thing twice. So here are three ways to change it up. They’re all simple and oh-so-yummy.
Pumpkin Spice Mummies: Swap the yellow cake mix for a spice cake mix. Add 1 teaspoon of pumpkin pie spice. It tastes like autumn in a bite.
Chocolate Surprise Inside: Before baking, hide a small chocolate chip or a raspberry in the center of each cake ball. When you bite in, it’s a little treasure.
Green Monster Mummies: Add 2 drops of green food coloring to the batter. Use candy eyes instead of chocolate chips. Kids go wild for the funny look. Which one would you try first? Comment below!
How to Serve and What to Sip
These mummy balls are best on a platter, all lined up like little ghosts. Sprinkle a pinch of powdered sugar on top for a spooky “dust.” Serve them next to sliced apples and caramel dip. It balances all the sweet.
For drinks, try a glass of cold milk. It’s a classic. For the grown-ups, a light white wine like Moscato works beautifully. The sweetness hugs the white chocolate. Which would you choose tonight?
How to Store Your Skinny Mummy Cake Balls
These little mummies keep well in the fridge for up to five days. Pop them in a sealed container with a lid. They taste best cold right from the fridge.
You can freeze them too. Place them on a baking sheet first and freeze for one hour. Then move them to a freezer bag. They will keep for one month.
To reheat, do not use a microwave or the chocolate will melt. Just let them sit on the counter for ten minutes. That is all they need to soften.
I once made a double batch for Halloween and stored half in the freezer. A week later, I forgot I had them. It felt like a fun surprise when I found them again.
Batch cooking and storing matters because it saves you time on busy days. When a sweet tooth hits, you have a treat ready in minutes. Have you ever tried storing it this way? Share below!
Common Problems and Easy Fixes
The first problem is melted chocolate that is too thick. If it gets thick, add one drop of vegetable oil. Stir slowly until it becomes smooth again.
I remember the first time I dipped these. My chocolate was a clumpy mess. A little oil saved the whole batch. It works every time.
The second issue is cake balls falling off the skewer. This happens when they are too warm. Always chill them for a full 45 minutes before dipping.
The third problem is the chocolate dripping off too fast. Dip the ball once, let it drip, then chill it for five minutes. Dip a second time for a thicker coat.
Fixing these small issues matters because you will feel proud of your finished treat. Good technique makes the process fun, not frustrating. Which of these problems have you run into before?
Your Top 5 Questions Answered
Q: Can I make these gluten-free?
A: Yes. Use a gluten-free yellow cake mix. All other ingredients are naturally gluten-free.
Q: Can I make them ahead of time?
A: Yes. Make them two days early and store them in the fridge. The taste stays fresh.
Q: Can I swap the Greek yogurt?
A: Yes. Use plain low-fat yogurt or applesauce instead. The texture will be a little different but still good.
Q: How do I scale the recipe up?
A: Just double all ingredients. Bake in two batches if you only have one cake pop pan.
Q: Can I skip the white chocolate drizzle?
A: Yes. Just dip the balls once and add eyes. They look like little ghosts instead. Which tip will you try first?
A Warm Send-Off from Emma
I hope you have fun making these spooky little treats with your family. They are perfect for a Halloween party or a cozy night in.
I love seeing how yours turn out. Please snap a photo and share it with us. It makes my heart happy to see your kitchen creations.
Have you tried this recipe? Tag us on Pinterest! We want to see your mummy faces. Happy cooking! —Emma Caldwell.
*Fun fact: These cake balls have only 102 calories each. That is less than a small candy bar.
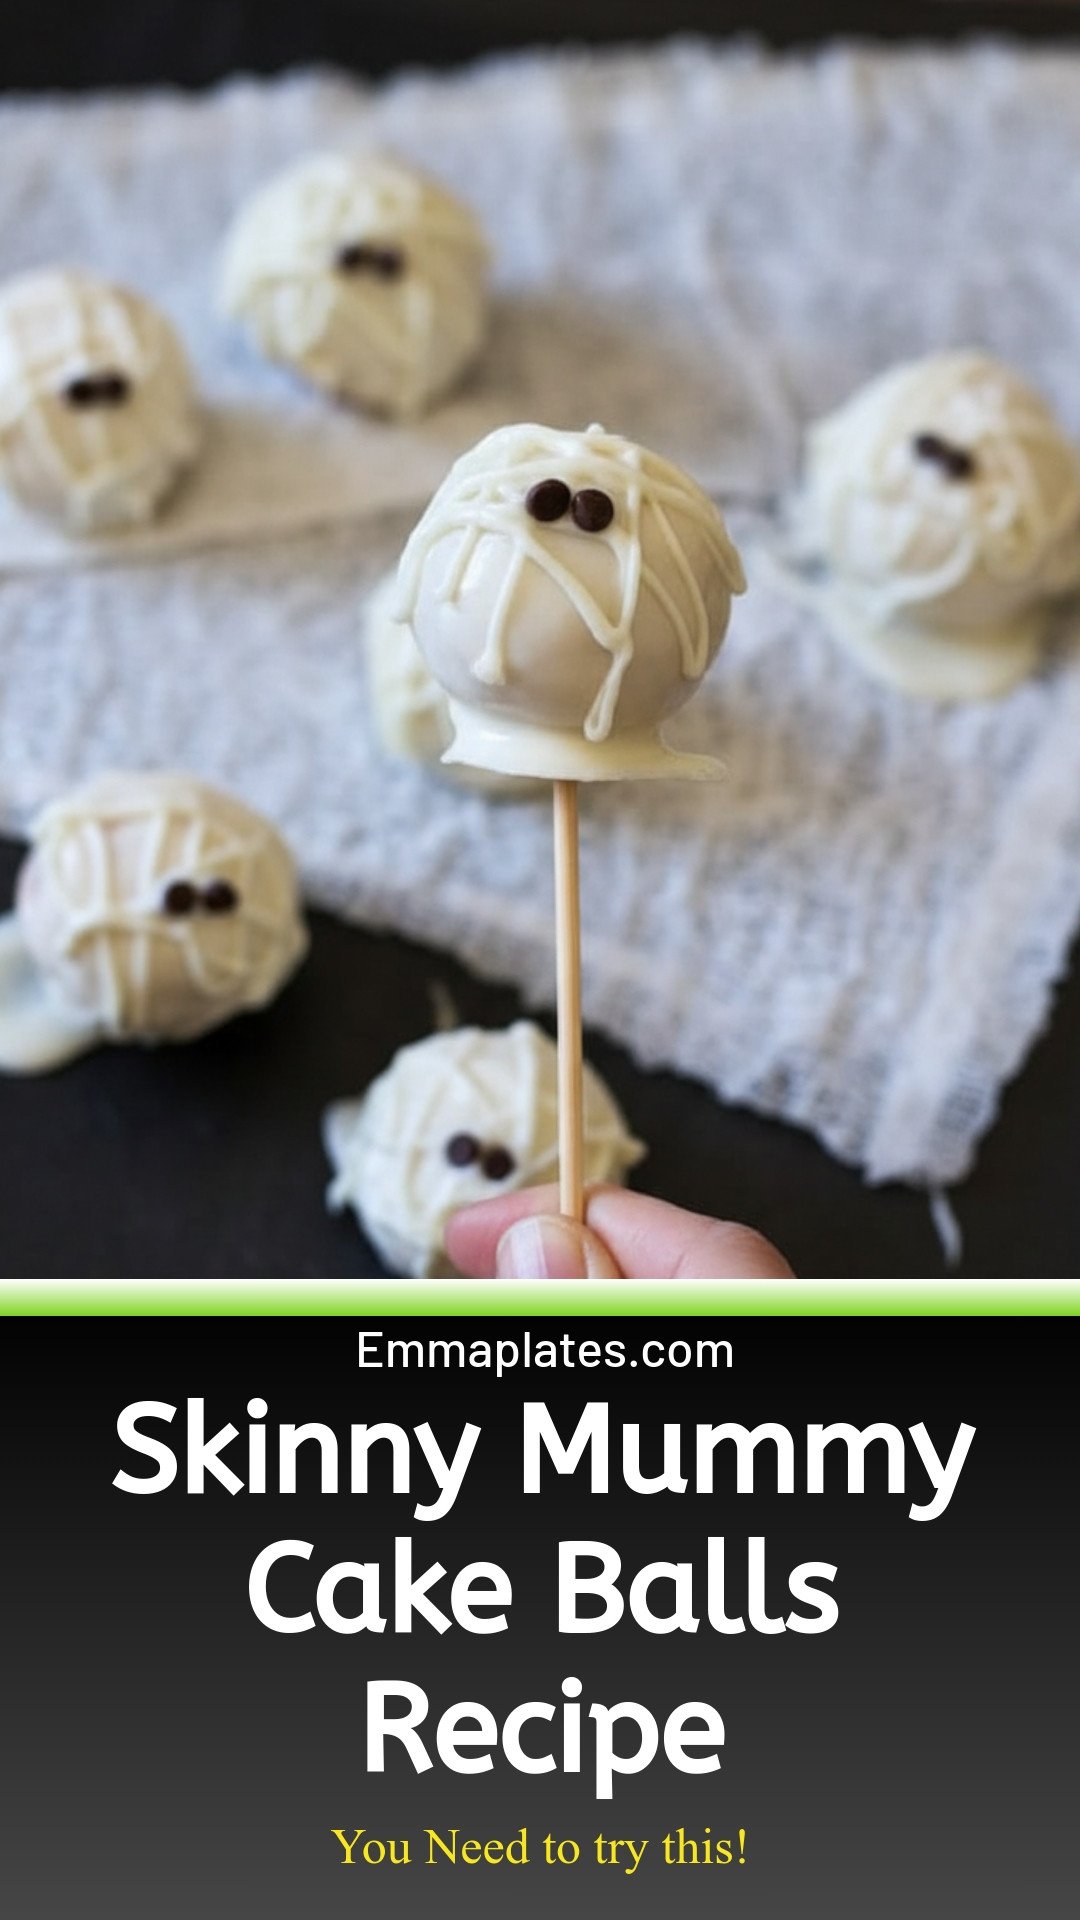

Skinny Mummy Cake Balls: Skinny Mummy Cake Balls Recipe
Description
delicious low-cal Halloween treats that are guilt-free, easy, and perfect for spooky parties.
Ingredients
Instructions
- Preheat oven to 350°F. Lightly spray a the cake pop pan with baking spray.
- Combine the cake mix, yogurt, 1 cup water and egg whites in a large mixing bowl and beat until combined. Place the batter into a pastry bag or large ziplock bag with the tip cut off.
- Pipe the batter into the prepared cake pop pan and bake about 18 minutes (I rotated the pan after 10 minutes to be sure they baked evenly). Let it rest 5 minutes before opening the pan.
- Place the cake balls on a wire rack and repeat with remaining batter. Using a scissor, cut the seam off the balls.
- Refrigerate the cake balls for about 45 minutes, this helps the chocolate stick to the cake.
- Melt some of the chocolate in the microwave according to package directions, careful not to over heat the chocolate. If it’s too thick add a drop of oil to thin out.
- Use the wooden skewer and insert into the cake ball, then dip in melted chocolate. Let the excess drip off then place each ball on parchment or wax paper.
- Place remaining chocolate into a piping bag and drizzle onto the tops of the balls to make a criss-cross effect to resemble a mummy wrap.
- Place the mini chocolate chips over the chocolate for eyes and set aside to dry.
Notes
- *Note: Recipe calls for 48 oz of chocolate, but only 0.4 oz per cake ball is calculated in the nutrition info. Nutrition (per 1 cake pop): Calories: 102.5 kcal | Carbohydrates: 15 g | Protein: 1.5 g | Fat: 4 g | Saturated Fat: 2.2 g | Cholesterol: 2 mg | Sodium: 68 mg | Sugar: 7 g


Leave a Reply