

My First Brownie Mistake
The first time I tried to make gluten-free brownies, they came out like crunchy cookies. My grandson took one bite and said, “Grandma, is this a brick?” I still laugh at that. It took me many tries to learn the secret. You cannot rush the mixing or skip the cooling time. These brownies taught me patience. Have you ever made a dessert that turned into something totally different than you planned?
Why This Recipe Works
Getting a fudgy brownie without wheat or dairy is tricky. Regular flour soaks up butter in a special way. Almond flour acts different. It needs extra love from wet ingredients like maple syrup and coconut oil. That is why we use two sugars. One gives sweetness, the other helps with chewiness. The coconut oil stays soft at room temperature, which keeps the brownies moist. This matters because you want a treat that feels special, not dry or crumbly. Doesn’t that smell amazing when it bakes?
I once brought these to a potluck. A lady asked for the recipe three times. She could not believe there was no flour or butter. That is the best compliment a baker can get. *Fun fact: Almond flour has more protein than white flour, so these brownies will keep your tummy full longer.*
The Little Steps That Count
Listen close to this part. Do not skip whisking the dry ingredients alone first. It sounds boring, but it spreads the baking powder evenly. If you dump everything together, you get a lump of salty cocoa in one bite. Nobody wants that. Also, melt your coconut oil gently. Too hot, and it will cook your eggs when you mix them. I learned that the hard way. Scrambled eggs in brownie batter is not a good look.
Why does this matter? Because small mistakes make a big difference in taste. Baking is like building with blocks. Each step holds up the next. Take your time, and you will feel proud when you pull that pan out of the oven. What is one baking tip your family passed down to you?
How to Know They Are Done
Ovens are all different. My old oven runs hot, so I check at 18 minutes. Stick a toothpick in the middle. You want it to come out with moist crumbs, not wet batter. If it is totally clean, you baked them too long. That gives you cakey edges, not fudgy centers. I like them a little gooey in the middle myself. Let them cool in the pan for 20 full minutes. I know it is hard to wait. I sometimes tap my fingers on the counter. But trust me, they need that time to set or they will fall apart.
This is why cooling matters. Hot brownies are fragile. Warmth keeps the coconut oil liquid. As they cool, the oil firms up and holds everything together. If you cut too early, you get a chocolate puddle. Still tasty, but messy. Have you ever burned your tongue because you could not wait for dessert to cool?
Make Them Your Own
The recipe says you can add nuts or chocolate chips. I always add both. Walnuts give a nice crunch against the soft chocolate. My neighbor likes to throw in dried cherries. That sounds fancy, right? You can also swap the almond milk for oat milk if that is what you have. The brownies will still turn out rich and dark. This recipe is forgiving, like a good friend. It does not yell at you for changing things up.
Why does this matter? Because cooking should feel fun, not stressful. You are the boss of your own kitchen. If you love peanut butter, swirl a spoonful on top before baking. If you hate coconut, use any other oil you like. Baking is about joy, not rules. Tell me, what is one ingredient you always add to your brownies to make them extra special?
Ingredients:
| Ingredient | Amount | Notes |
|---|---|---|
| Almond flour | 1 cup | |
| Cocoa powder (unsweetened) | ¾ cup | |
| Maple syrup | ⅓ cup | |
| Coconut sugar | ⅓ cup | |
| Coconut oil (melted) | ⅓ cup | |
| Almond milk (or any plant-based milk) | ¼ cup | |
| Large eggs (or 2 flax eggs) | 2 | |
| Baking powder | 1 teaspoon | |
| Fine sea salt | ¼ teaspoon | |
| Pure vanilla extract | 1 teaspoon | |
| Nuts (walnuts, pecans, or crushed peanuts) | ½ cup | Optional |
| Dairy-free chocolate chips | ¼ cup | Optional |
My Love for These Fudgy Brownies
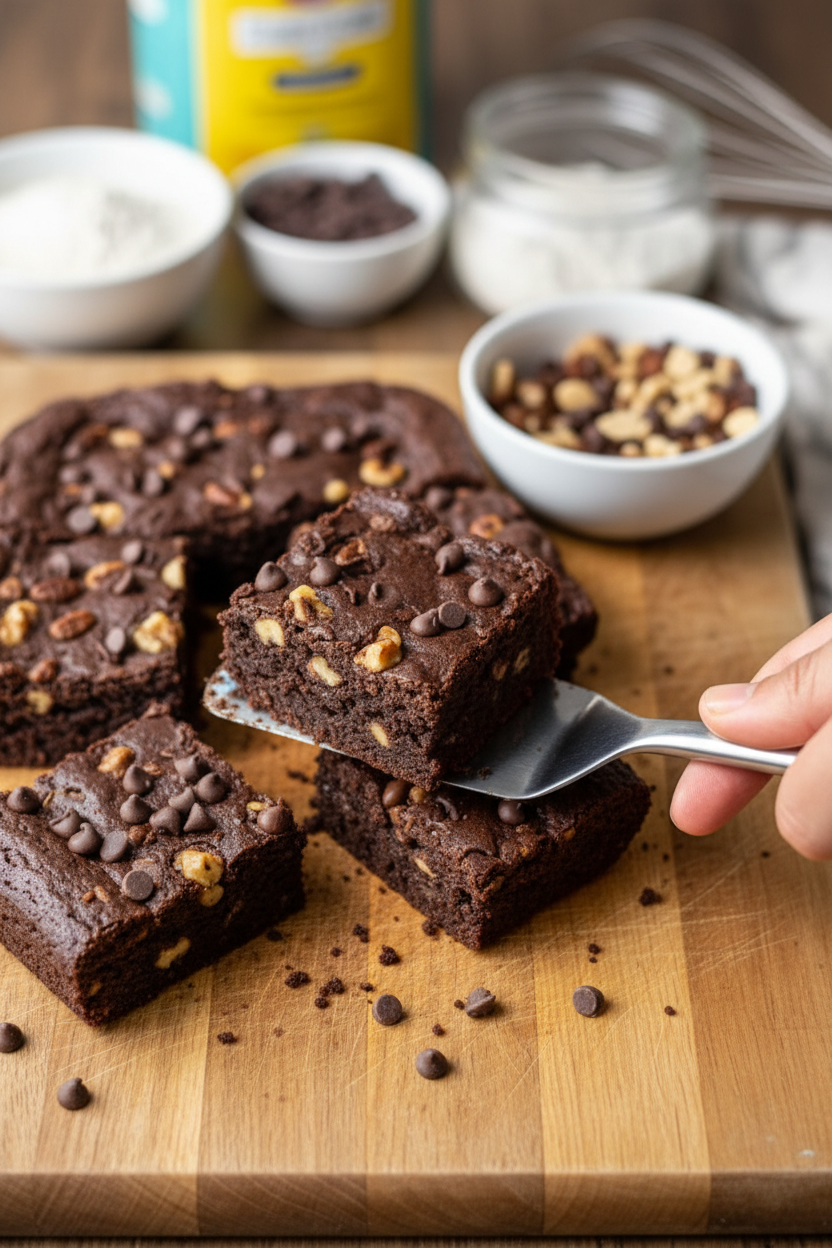
I remember the first time I tried making brownies without wheat or butter. I was sure they’d taste like cardboard. Oh, how wrong I was! These came out so fudgy and rich, my grandson asked for three pieces. Doesn’t that smell amazing when they bake? The secret is in the almond flour and coconut oil. They make everything feel special and cozy. I still laugh at how nervous I was before that first bite.
These brownies are perfect for anyone with tummy troubles or food allergies. But honestly, you’d never guess they were “free” of anything. They’re just pure chocolate happiness. My neighbor, who eats everything, couldn’t tell the difference. That’s when I knew this recipe was a keeper. Now let me walk you through how to make them yourself.
Step 1: First, preheat your oven to 350 degrees Fahrenheit. That’s 175 degrees Celsius if you use the other kind of oven. Grease an 8×8 inch square pan with a little oil, or line it with parchment paper. I always forget to do this and then have to scrape brownie bits off the pan. Don’t be like me. (Hard-learned tip: Parchment paper with overhanging edges makes lifting the whole slab out so much easier. Trust me on this.)
Step 2: In a big bowl, whisk together the almond flour, cocoa powder, baking powder, and sea salt. My granddaughter loves helping with this part. She calls it “making chocolate snow.” Just make sure there are no lumps. The cocoa can get sneaky and hide in clumps. That’s no good for a fudgy brownie.
Step 3: In another bowl, mix the wet ingredients. That’s the maple syrup, coconut sugar, melted coconut oil, almond milk, eggs, and vanilla. Whisk them together until they look smooth and happy. I like to use a fork for this, but a whisk works too. The coconut sugar might look a little grainy at first. Don’t worry, it will dissolve in the oven.
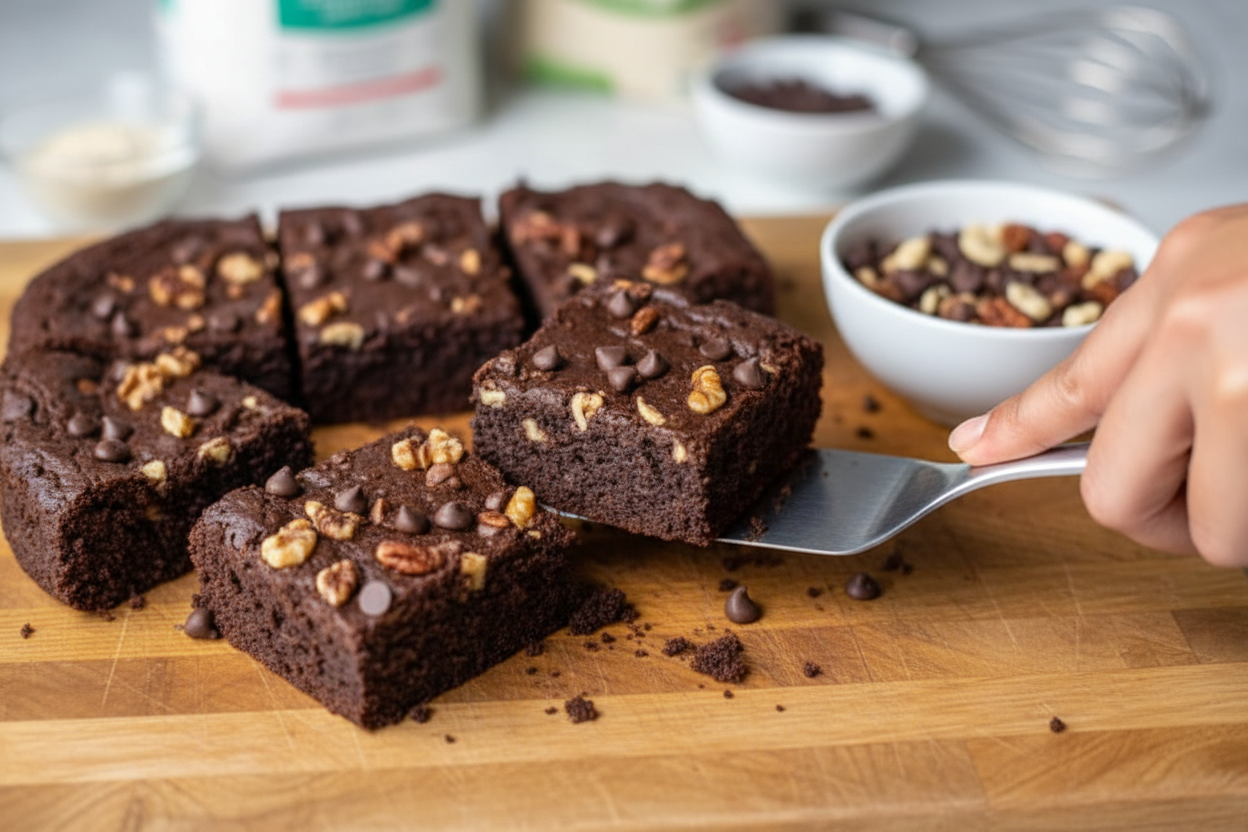
Step 4: Now pour the wet mix into the dry mix. Stir them together gently, just until you can’t see any dry flour anymore. Don’t overmix! That makes brownies tough and cakey. We want them soft and fudgy. Fold in any extras you like now, like walnuts or chocolate chips. I always add a handful of pecans for crunch.
Step 5: Pour the batter into your prepared pan and smooth the top with a spatula. Bake for 20 to 25 minutes. Here’s the tricky part: check them with a toothpick. You want a few moist crumbs stuck to it, not clean. If it comes out clean, you’ve overbaked them. I pulled a batch too early once and they were gooey in the middle. Still delicious, just messy. What’s your biggest kitchen oops moment? Share below!
Step 6: Let the brownies cool in the pan on a wire rack for at least 20 minutes. This step is super important. I know it’s hard to wait, but it helps them set. If you cut them too soon, they’ll fall apart. Use a sharp knife to slice them into squares. They are rich, chocolatey, and just the right amount of sweet.
Cook Time: 20–25 minutes
Total Time: 45 minutes including cooling
Yield: 9 to 12 brownies
Category: Dessert, Snack
Three Fun Twists to Try
Sometimes I like to change things up a little. These twists keep the brownies exciting. You can try them one at a time or mix and match. Which one would you try first? Comment below!
Mint Chocolate Chip Swirl: Add half a teaspoon of peppermint extract to the wet mix. Fold in a handful of dairy-free chocolate chips. It tastes like a Girl Scout cookie, but better.
Peanut Butter Surprise: Drop spoonfuls of creamy peanut butter on top of the batter before baking. Swirl it around with a knife for a beautiful pattern. Salty and sweet together is my favorite trick.
Spicy Mexican Brownies: Add half a teaspoon of cinnamon and a pinch of cayenne pepper to the dry mix. The warmth sneaks up on you after a bite. My husband calls these “adventure brownies.”
How to Serve and Sip
These brownies are lovely all on their own. But a little something extra makes them feel like a real treat. I like to dust them with a tiny bit of powdered sugar. Or serve them warm with a scoop of dairy-free vanilla ice cream. A drizzle of melted dark chocolate on top is pure luxury.
For something to drink alongside, I have two favorite ideas. A tall glass of cold oat milk is perfect for kids and grown-ups alike. For the adults, a small cup of hot black coffee balances the sweetness. The bitter and rich flavors dance together beautifully. Which would you choose tonight?
How to Store Your Brownies So They Stay Fudgy
These brownies keep best in a sealed container on the counter. They will stay moist for about three days. If you live in a hot kitchen, pop them in the fridge. The cold keeps them firm and fudgy.
For longer storage, wrap each square in wax paper. Then place them in a freezer-safe bag. They will keep for up to three months. I once forgot a batch in my freezer for a month. When I thawed one, it tasted just as rich as the day I baked it. That was a happy surprise.
To reheat, warm a single brownie in the microwave for ten seconds. It will taste freshly baked. You can also let it sit on the counter for an hour. This matters because storing food right saves you time. You can bake once and enjoy treats all week. Have you ever tried storing it this way? Share below!
Three Common Brownie Problems and Easy Fixes
Problem one: your brownies are dry. This usually means you baked them too long. Check them at 20 minutes with a toothpick. You want moist crumbs, not a clean stick. I remember pulling out a dry pan once. My family called them brownie bricks. We still ate them, but it taught me to watch the clock.
Problem two: the batter feels too thick. This is normal with almond flour. Just add an extra tablespoon of almond milk. Stir gently until it comes together. Problem three: the brownies are too crumbly. This happens if you skip the cooling step. Let them sit in the pan for a full 20 minutes. Why does this matter? Fixing these problems helps you bake with confidence. You will learn what your oven likes. That makes every batch better.
Why else does this matter? When you know how to fix mistakes, you stop fearing recipes. You feel proud of what you make. Which of these problems have you run into before?
Your Brownie Questions Answered
Q: Are these brownies really gluten-free?
A: Yes. Almond flour has no gluten. Always check your cocoa powder label to be safe.
Q: Can I make them ahead of time?
A: Yes. Bake them the day before. They taste even fudgier after resting overnight.
Q: Can I swap maple syrup for honey?
A: Yes. Honey works well. Just note it has a stronger flavor.
Q: How do I double the recipe?
A: Use a 9×13 inch pan. Bake for 30 minutes instead of 25.
Q: What if I don’t have coconut sugar?
A: Use regular brown sugar. The brownies will be a little less rich but still tasty.
Which tip will you try first? I love hearing what works for your kitchen.
A Final Note from My Kitchen to Yours
Thank you for baking with me today. I hope these brownies bring you joy. They are perfect for a quiet afternoon or a family dessert. I love seeing your creations in the wild. It makes me feel like we are cooking side by side.
*Fun fact: Almond flour brownies get fudgier after a night in the fridge.* So do not eat them all right away. Save a few for tomorrow. Have you tried this recipe? Tag us on Pinterest! Happy cooking! —Emma Caldwell.
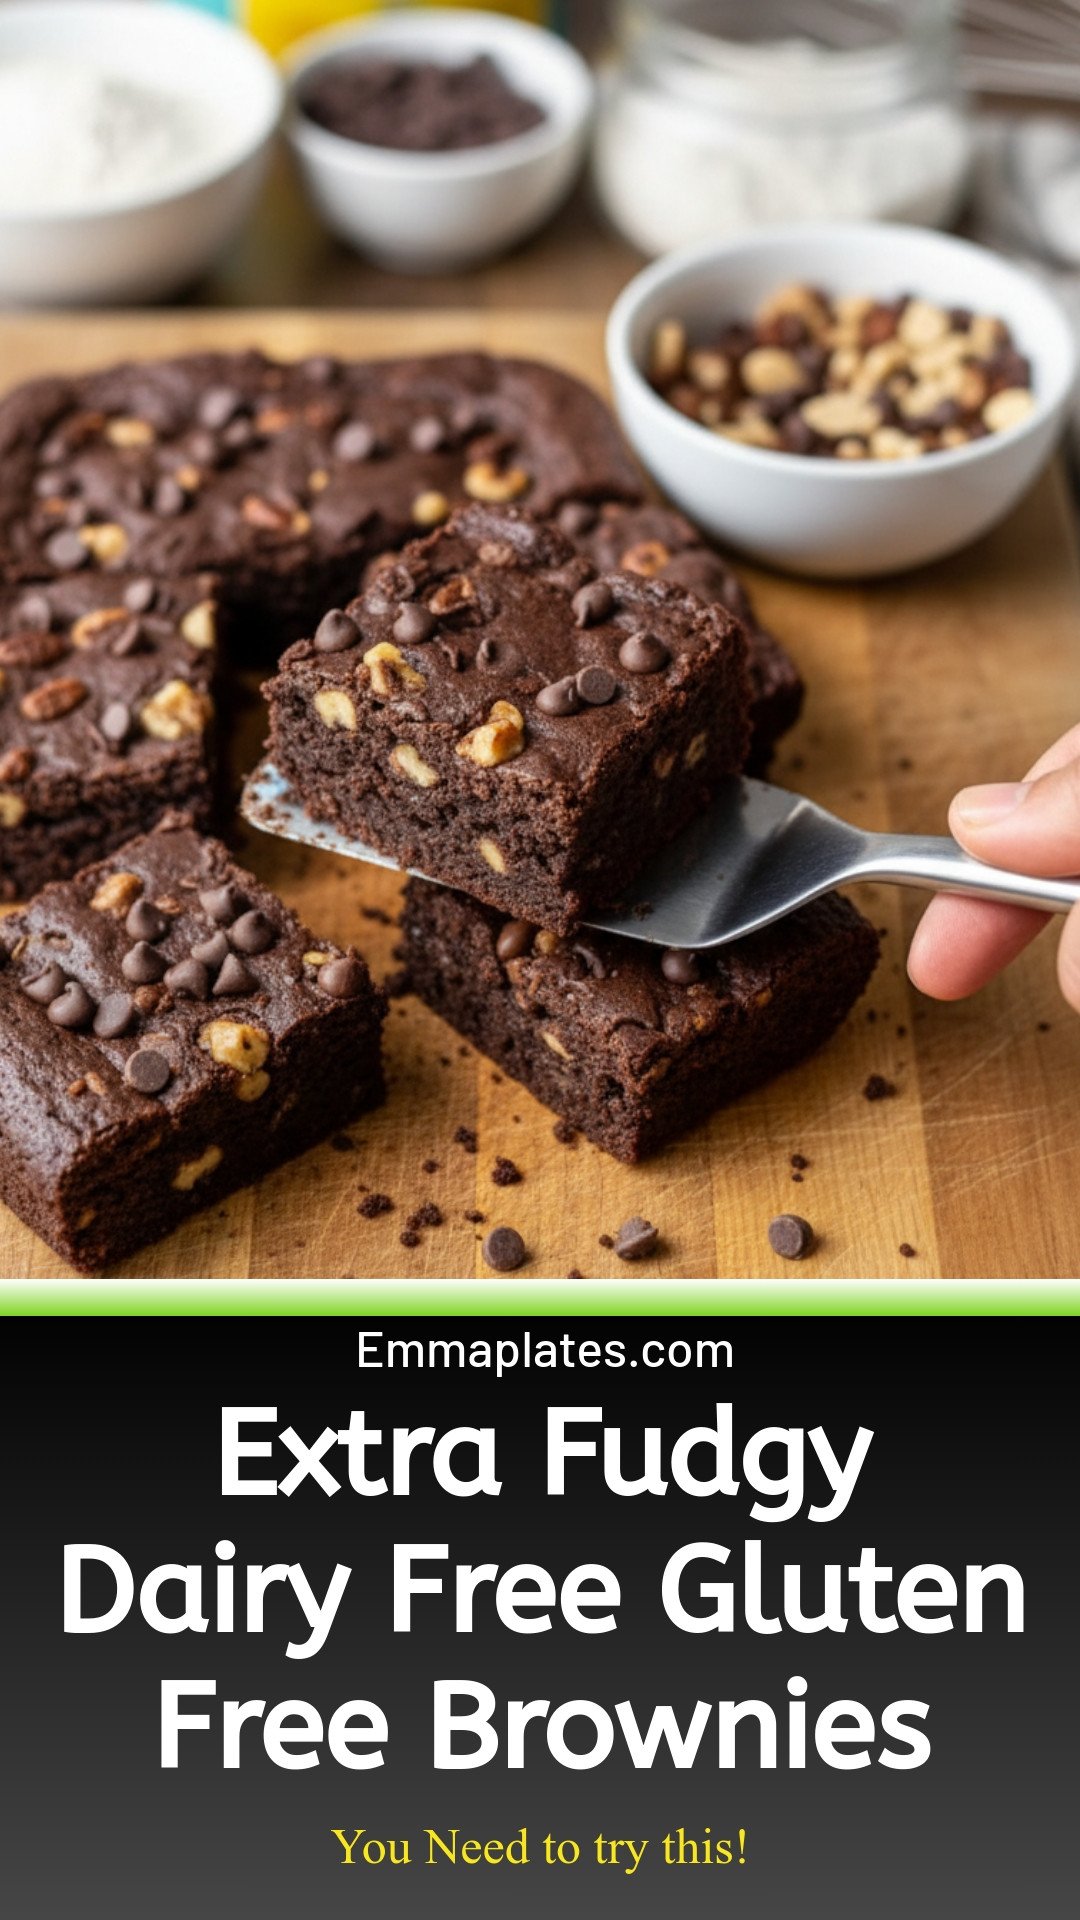
Dairy Free Gluten Free Brownies (Extra Fudgy): Extra Fudgy Dairy Free Gluten Free Brownies
Description
Indulge in extra fudgy dairy free gluten free brownies that taste just like the real thing. Rich, decadent, and perfectly chewy.
Ingredients
Instructions
- Preheat Oven & Prep Pan: Heat your oven to 350°F (175°C). Line an 8×8 inch square pan with parchment or lightly grease it.
- Dry Mix: In a large mixing bowl, whisk together almond flour, cocoa powder, baking powder, and sea salt.
- Sweetener Mix: In a separate bowl, combine the maple syrup, coconut sugar, melted coconut oil, almond milk, eggs (or prepared flax eggs), and pure vanilla extract. Use a whisk or electric mixer to blend until fully integrated.
- Combine Wet and Dry: Gradually mix the wet ingredients into the dry, stirring just until combined to ensure a better texture.
- Extras: Fold in optional nuts and chocolate chips evenly into the batter for chewy brownies with more character.
- Bake: Pour the batter into the prepared pan, smoothing the top. Bake for 20-25 minutes, checking for moist crumbs with a toothpick to avoid overbaking.
- Cool: Allow the brownies to cool in the pan on a wire rack for at least 20 minutes. This step is crucial for setting the texture.
- Slice & Serve: Cut into squares and enjoy these moist, cakey brownies that boast a complex sweetness and rich, chocolatey flavor.


Leave a Reply