
The Story Behind the Pie
My grandson calls this his “hug in a pie dish.” I still laugh at that. I first made this pie for him on a rainy autumn day. The whole house smelled like warm sugar and maple. It just makes you feel safe and happy.
That is why this recipe matters. It is more than just a dessert. It is a feeling of comfort. It is about making a memory with someone you love. Do you have a food that feels like a hug to you? I would love to hear about it.
Getting Your Crust Ready
First, we get the pie crust ready. You pre-bake it a little. This is called blind baking. It stops the crust from getting soggy later. I always put the pie pan on a cookie sheet. It makes things so much easier.
You prick the crust with a fork. Then you line it with foil and add pie weights. No weights? Use dried beans from your pantry. They work just fine. This little step makes a big difference for a crisp crust.
Making the Magic Filling
Now for the good part. You mix the flour and sugars in a pan. Use a whisk to get all the lumps out. Doesn’t that brown sugar smell amazing? It smells like cookies and fall.
Then you add the cream, milk, and vanilla. You cook it on the stove. You must whisk it a lot. This keeps the milk from burning. You will see it get thick and creamy. It is like magic.
A Little Secret and a Fun Fact
Here is a secret. Pour the hot filling into the hot pie shell. This helps everything come together perfectly. Then it bakes for about an hour. Your kitchen will smell wonderful.
Fun fact: The nutmeg in this recipe is very old. People have used it in cooking for over a thousand years. Isn’t that something? It connects us to grandmas from long, long ago.
The Hardest Part: Waiting
When the pie comes out, it will jiggle. Do not worry. This is normal. Let it cool on the counter. It will firm up as it sits. This is the hardest part, waiting.
This is why patience matters in baking. Good things take time. The wait is always worth it. Do you find it hard to wait for treats to cool down? I know I do.
Your Turn in the Kitchen
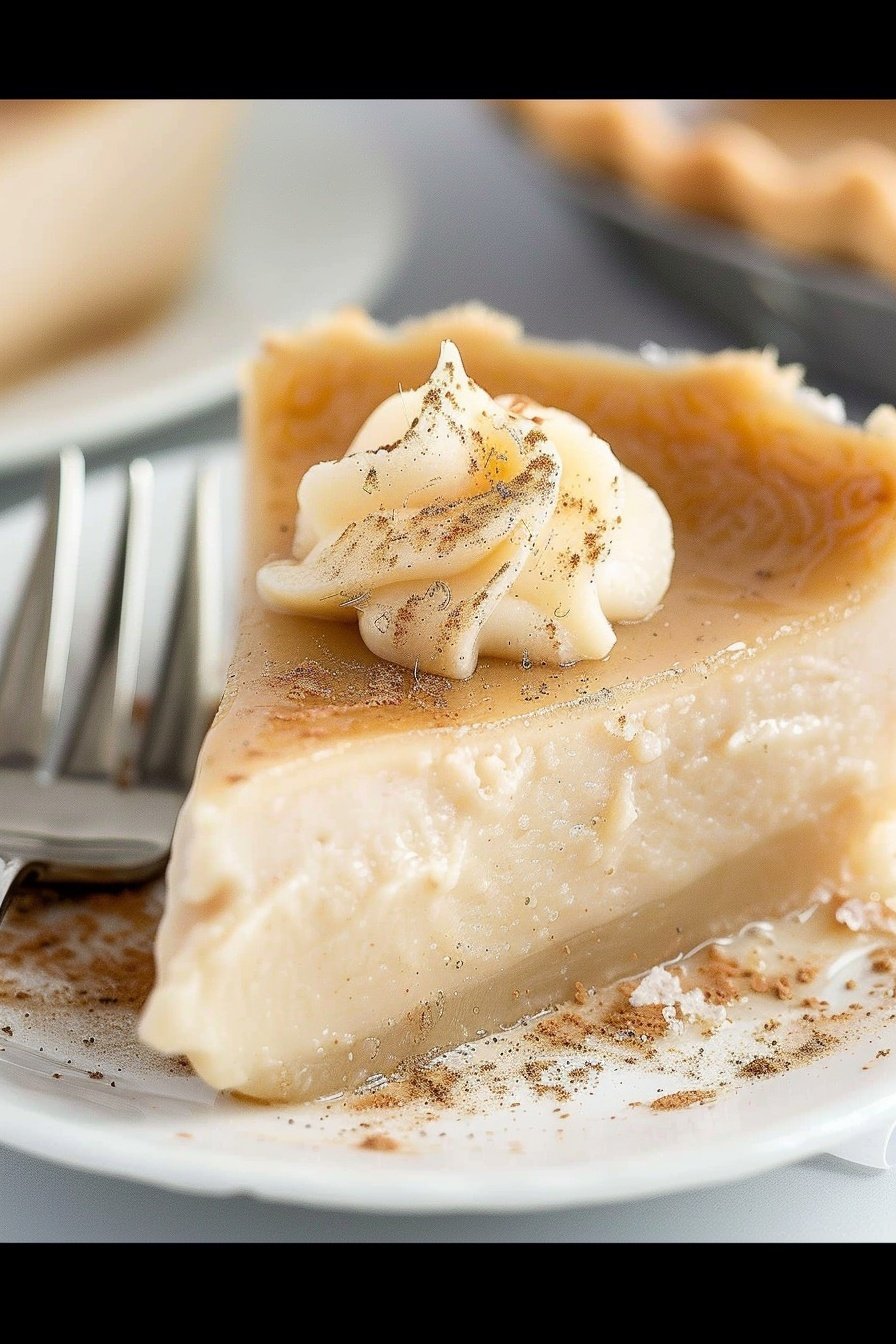
Now you have the recipe. It is your turn to make a memory. This pie is perfect for sharing. It is sweet, but not too sweet. A little dollop of cool whip on top is lovely.
I hope you try it. What is your favorite pie to bake for people you care about? Tell me all about it. I love hearing your kitchen stories too.
Ingredients:
| Ingredient | Amount | Notes |
|---|---|---|
| all-purpose flour | ¼ cup | |
| sugar | ½ cup | |
| light brown sugar | ½ cup | packed |
| nutmeg | ¼ teaspoon | |
| salt | ¼ teaspoon | |
| heavy cream | 1 cup | |
| milk | 1 cup | whole is best |
| vanilla extract | 1 teaspoon | |
| pie shell | 1 | store-bought or use our pie shell recipe |
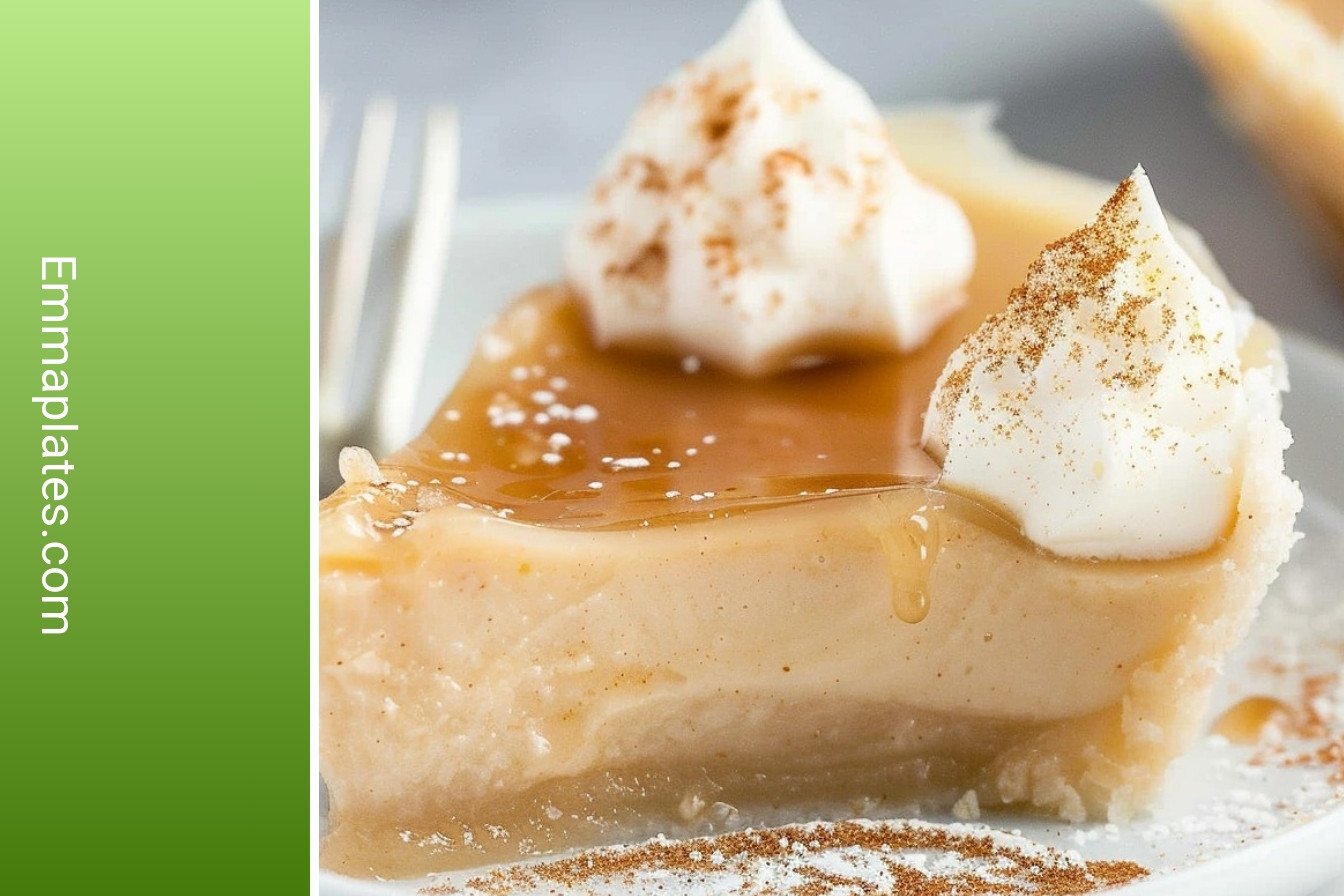
My Maple Custard Delight
This pie is my favorite thing to make on a quiet afternoon. It reminds me of my own grandma’s kitchen. The smell of maple and nutmeg is just pure comfort. It fills the whole house with a sweet, cozy hug. I still smile thinking of her.
This recipe is simple, but it asks for your attention. You get to stir a creamy, dreamy mixture on the stove. It’s like making a sweet, warm cloud. Doesn’t that sound wonderful? Let’s get our pie pan ready.
- Step 1: First, heat your oven to 325°F. We need to bake the empty pie shell a little first. Put your pie crust in its pan and crimp the edges. Prick the bottom with a fork so it doesn’t puff up. Then, line it with foil and add some dried beans as weights. (I use the same bag of beans every time!). Bake it for 12 minutes.
- Step 2: Now, turn the oven down to 300°F. This lower heat is the secret. It helps the custard bake gently and smoothly. It keeps it from getting curdled or cracking. I learned this the hard way with my first pie!
- Step 3: While the crust bakes, let’s make the filling. In a saucepan, mix the flour, both sugars, nutmeg, and salt. A good whisk gets out all the little lumps. It feels like you’re making sweet, spiced sand. I love this part.
- Step 4: Pour in the cream, milk, and vanilla. Now comes the cozy part. Put the pan on medium heat and whisk, whisk, whisk. You’ll cook it for about 15 minutes until it’s thick. (A hard-learned tip: Don’t walk away! The milk can burn if you don’t keep it moving). Doesn’t that smell amazing?
- Step 5: Carefully pour your thick, creamy filling into the warm pie shell. Using a hot crust helps the pie set up beautifully. I still laugh at the first time I did this. I was so nervous I’d spill it!
- Step 6: Bake your pie for about 60 minutes. It will still be a little jiggly in the very center. That’s perfect! It will firm up as it cools. Let it sit for an hour, then pop it in the fridge. What’s your favorite cozy dessert to eat on a cool day? Share below!
Cook Time: About 75 minutes
Total Time: 2 hours 30 minutes (includes cooling)
Yield: 8 lovely slices
Category: Dessert, Pie
Three Fun Twists to Try
This recipe is like a good friend. It’s happy to change things up. Here are a few ways to make it your own. I think they are all such fun ideas.
- Autumn Spice: Swap the nutmeg for pumpkin pie spice. It tastes like a crunchy leaf pile feels.
- Berry Swirl: Gently swirl some raspberry jam on top before baking. You get pretty pink ribbons.
- Salty Crunch: Sprinkle a little sea salt on top after it cools. It makes the maple flavor sing.
Which one would you try first? Comment below!
Serving Your Sweet Masterpiece
This pie is wonderful all on its own. But a little extra touch makes it feel special. I love seeing happy faces at the table. It makes all the whisking worth it.
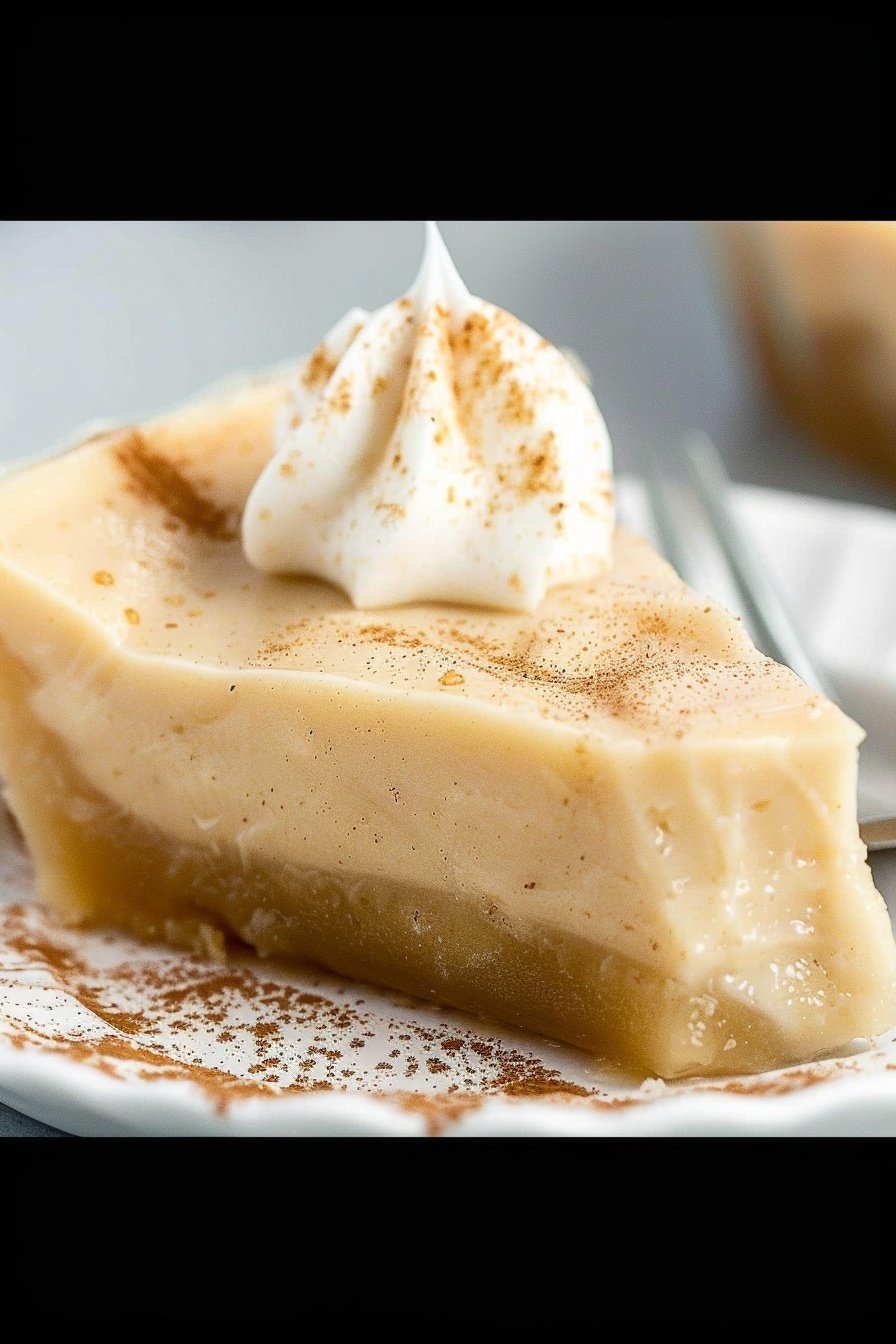
For serving, a dollop of cool whip is classic. A few fresh raspberries look so pretty. Or just a simple dusting of powdered sugar. It looks like a light snowfall. For a drink, a glass of cold milk is perfect for the kids. For the grown-ups, a small glass of sweet sherry pairs nicely.
Which would you choose tonight?
Keeping Your Maple Custard Delight Perfect
This pie loves the fridge. Cover it loosely with foil first. It will stay dreamy for three days. You can freeze it for one month. Thaw it slowly in the refrigerator.
I do not recommend reheating the whole pie. The custard can get weepy. Just slice a cold piece and let it sit out for ten minutes. It will be the perfect cool, creamy treat.
You can make the filling ahead of time. Just pour it into the crust right before baking. I once made the filling for a busy Tuesday. It saved me so much time. Batch cooking helps on hectic days.
Storing food well means less waste. It also means a sweet treat is always ready. Have you ever tried storing it this way? Share below!
Simple Fixes for Common Custard Troubles
Is your filling too thin? You might not have cooked it long enough. It needs a full 13 to 15 minutes on the stove. Keep whisking until it coats the back of a spoon.
I remember when my first custard was runny. I was too impatient. Getting the thickness right matters for the final texture. It makes your pie slice beautifully.
A soggy bottom crust is no fun. Always pre-bake your crust. This creates a protective barrier. Also, pour the filling into a hot crust. This helps the bottom cook faster.
Do not worry if the center jiggles after baking. That is completely normal. It will firm up as it cools. Understanding this builds your cooking confidence. Which of these problems have you run into before?
Your Quick Custard Questions Answered
Q: Can I make this gluten-free? A: Yes! Just use a gluten-free pie crust and a gluten-free flour blend.
Q: How far ahead can I make it? A: You can bake it two days before you need it. Keep it covered in the fridge.
Q: What can I use instead of heavy cream? A: For a lighter version, try using half-and-half. The texture will be a bit less rich.
Q: Can I make a bigger batch? A: I do not recommend doubling this recipe. The filling may not set correctly. Make two separate pies instead.
Q: Is the nutmeg necessary? A: It adds a lovely warm flavor. But you can leave it out if you prefer. Which tip will you try first?
A Final Word From My Kitchen
I hope you love making this pie. It always makes my kitchen smell wonderful. Sharing food is one of life’s great joys. I would love to see your creation.
*Fun fact: Real maple syrup comes from tapping sugar maple trees. It takes about 40 gallons of sap to make one gallon of syrup!
Have you tried this recipe? Tag us on Pinterest! I enjoy seeing all your beautiful bakes. It makes my day to see your kitchen successes.
Happy cooking!
—Emma Caldwell.
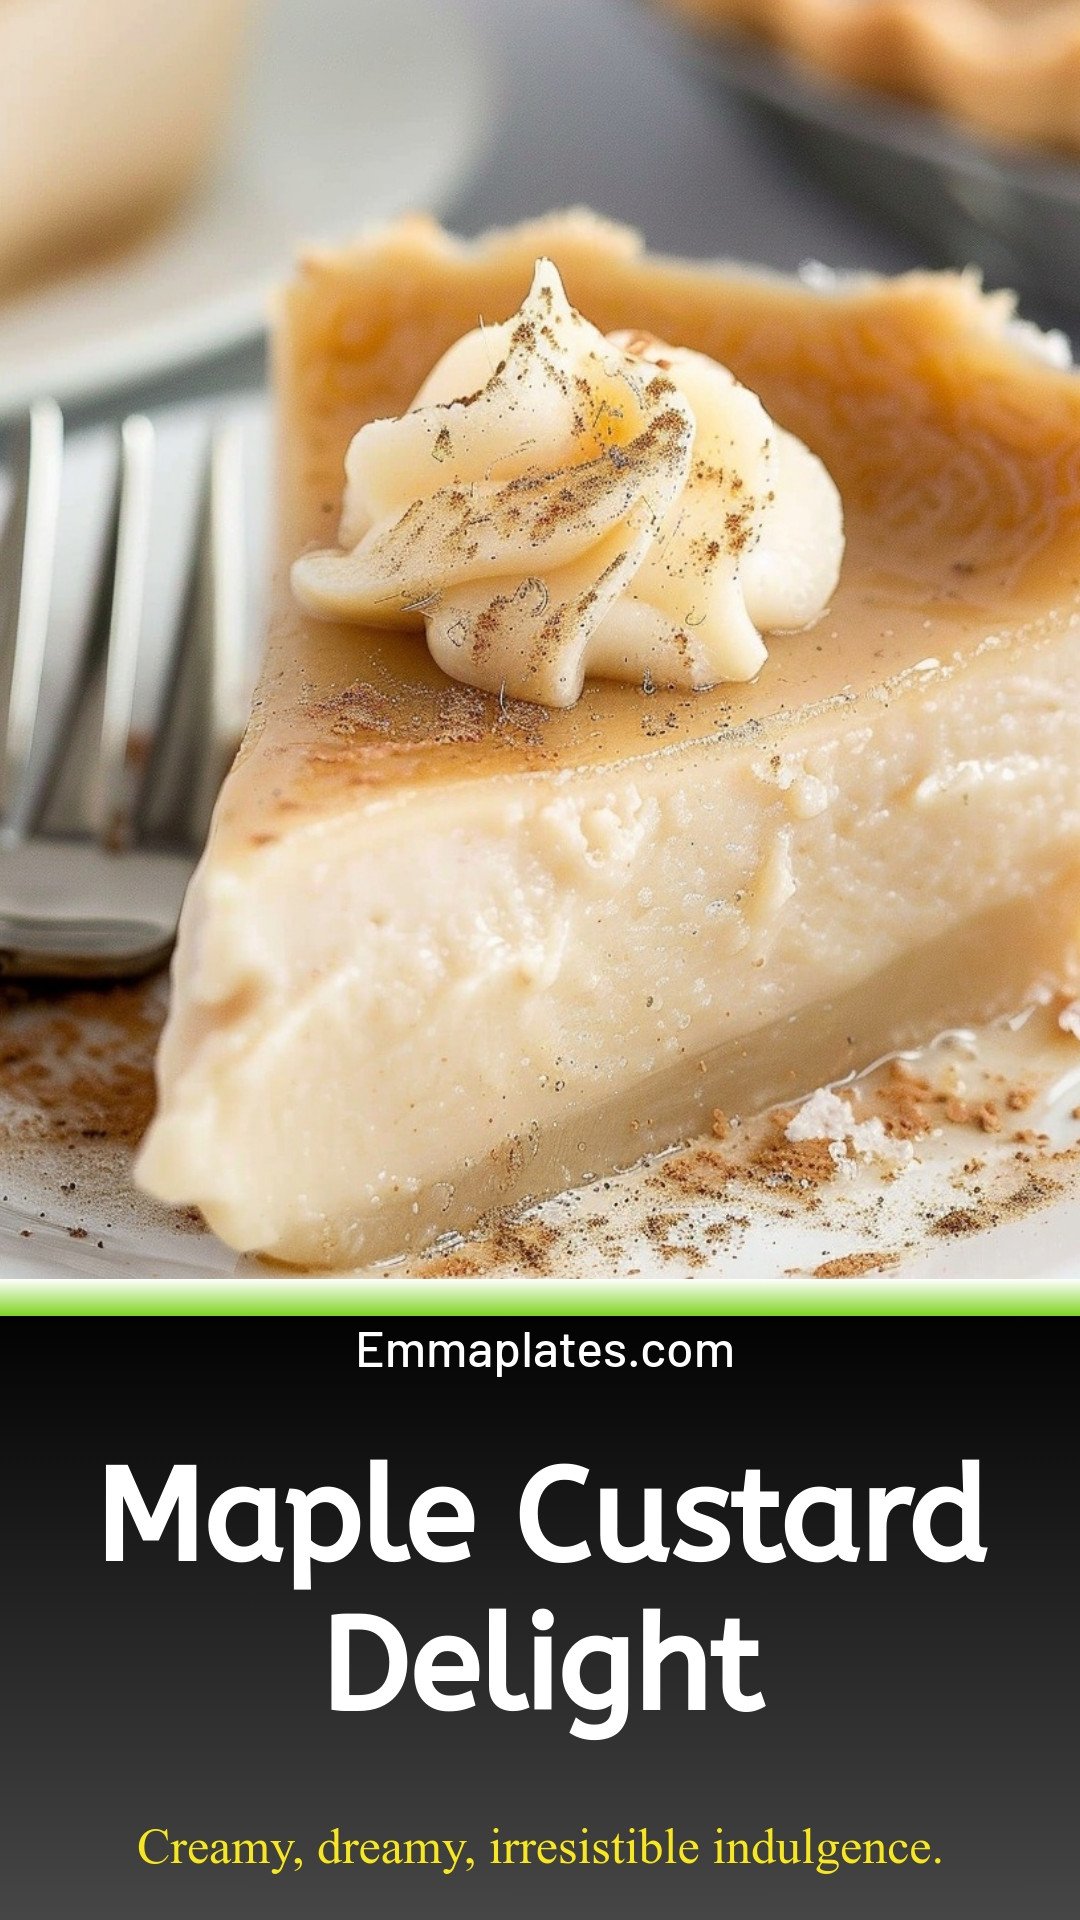
Maple Custard Delight: Creamy, dreamy, irresistible indulgence.
Description
Indulge in the ultimate fall dessert! This easy Maple Custard Delight is creamy, dreamy, and the perfect cozy treat your family will love.
Ingredients
Instructions
- Preheat oven to 325°F. You are going to partially bake your pie crust. Place your 9-inch pie pan on a cookie sheet (which makes transporting in and out of the oven easier). Prepare your pie crust by placing it in your pie pan. Crimp the pie edges, and prick the bottom and sides with a fork. Place foil inside the pie crust and add pie weights or dried beans. Bake for 12 minutes. Remove from oven and set aside. Remove the foil and pie weights.
- Reduce the oven to 300°F.
- While the pie crust is prebaking, in a 3-quart saucepan, place the flour, sugar, brown sugar, nutmeg and salt. Use a whisk to stir together to remove any clumps and to mix.
- Next, add the heavy cream, milk and vanilla extract. Place the pan over medium heat and whisking frequently, cook until thick and creamy (about 13 to 15 minutes). It should not come to a boil. You need to whisk or stir frequently to keep the milk from burning.
- Pour into a partially baked, yet still hot, pie shell.
- Bake for 60 minutes (if using a glass dish, 50 minutes if using metal). It will be a little jiggly in the middle still when time is up, but most of the pie will not jiggle. Remove from oven and let it cool. As it cools, it will begin to firm up. Let the pie cool for about an hour, and then you can place it in the fridge to continue to firm up.
- Optional cool whip dollop when served.
Notes
- For added flavor, top with optional cool whip when served.


Leave a Reply