
A Happy Little Accident
I first made this pie by mistake. I meant to make a chocolate one. But I grabbed the pistachio pudding box instead. I decided to just go with it. I still laugh at that.
It turned out to be the best mistake ever. My grandson said it tasted like a sweet, creamy dream. That’s how it got its name. Have you ever made a happy mistake in the kitchen?
Why This Pie Matters
This pie is more than just a dessert. It is a reminder to be kind to yourself. Even a “mistake” can turn into something wonderful. That is a good lesson for cooking and for life.
It also matters because it is so easy. You do not need to be a fancy baker. This is why I love it. It lets anyone feel like a kitchen star.
Let’s Get Mixing
First, whisk that pudding and milk. It will get thick and happy. Then, beat the cream cheese and marshmallow fluff. Make sure it is nice and fluffy.
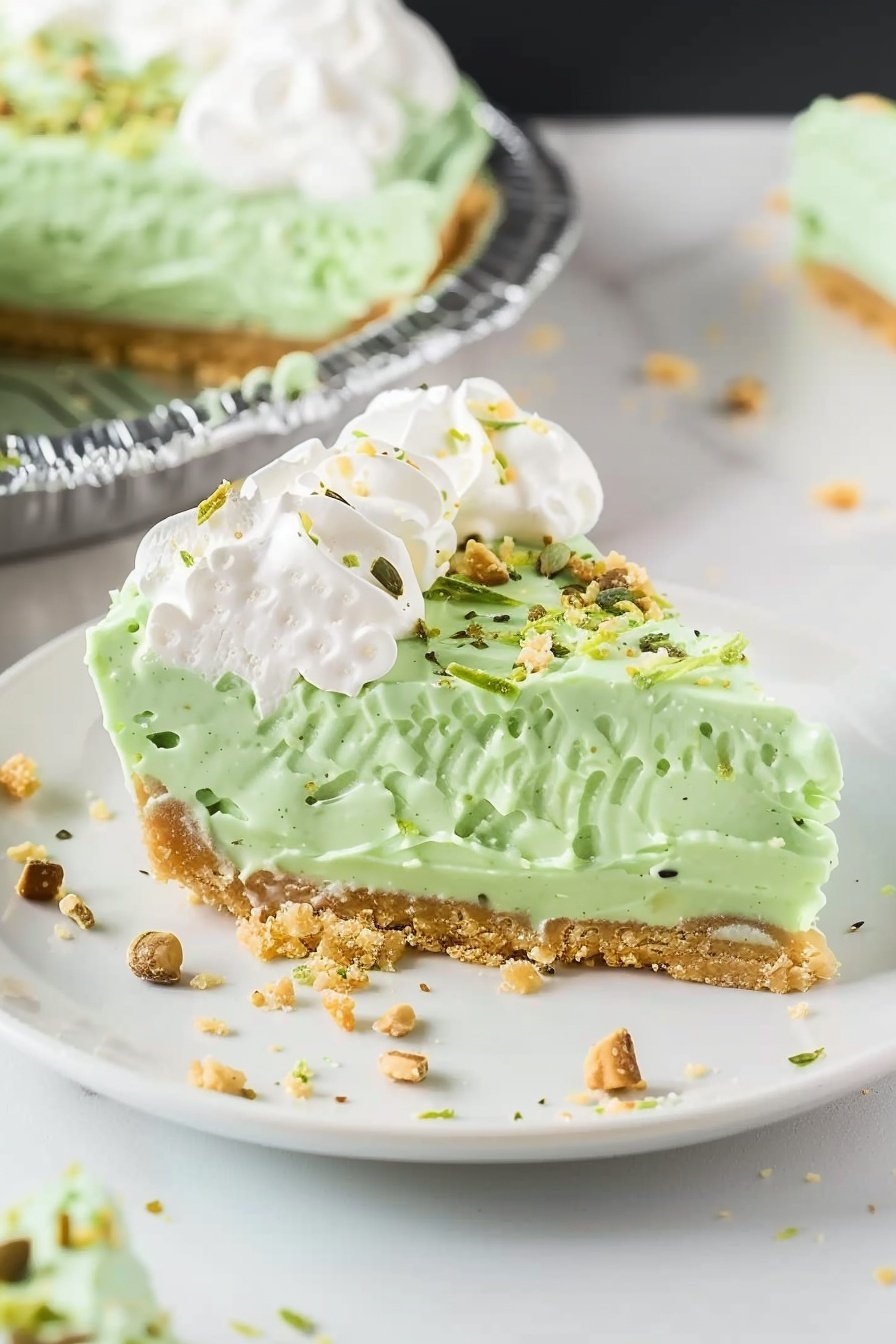
Now, fold everything together. Gently does it. You want a soft, green filling. Doesn’t that color make you smile? Spread it into your crust and smooth the top.
The Waiting Game
This is the hardest part. The pie needs to rest in the cold for hours. I know, waiting is tough. But it makes the pie set perfectly.
While you wait, think about your favorite dessert. What is the one treat that always makes you feel good? I would love to know.
A Fancy Finish
Time to make it pretty. You can pipe the whipped topping around the edge. Or you can just spoon it on. There are no rules here.
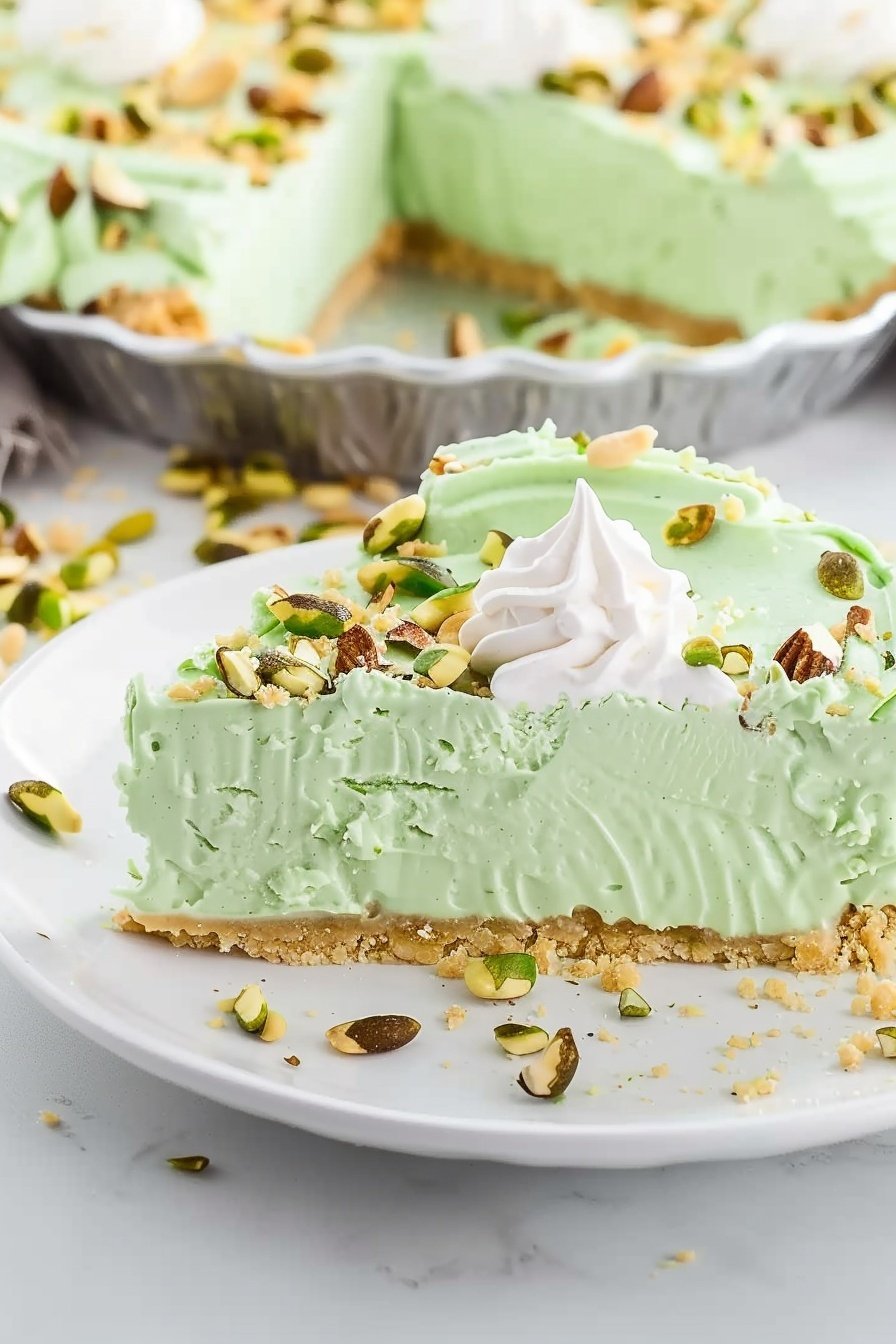
Sprinkle the rest of the chopped pistachios on top. They give a lovely little crunch. *Fun fact: Pistachios are actually a seed, not a nut!*
Your Turn to Share
I have shared my story with you. Now I would love to hear yours. Will you be making this creamy green dream? Tell me what you think.
Or, tell me about your favorite no-bake treat. Is there a simple recipe your family loves? Sharing our kitchen stories is the best part.
Ingredients:
| Ingredient | Amount | Notes |
|---|---|---|
| pre-made graham cracker crust | 6 ounce | 9-inch |
| instant pistachio pudding mix | 3.4 ounces | |
| whole milk | 1 cup | |
| cream cheese | 8 ounces | softened to room temperature |
| marshmallow fluff | 1 cup | |
| extra creamy Cool Whipped Topping | 8 ounces | thawed and divided |
| lightly salted pistachio nuts | ½ cup | finely chopped |
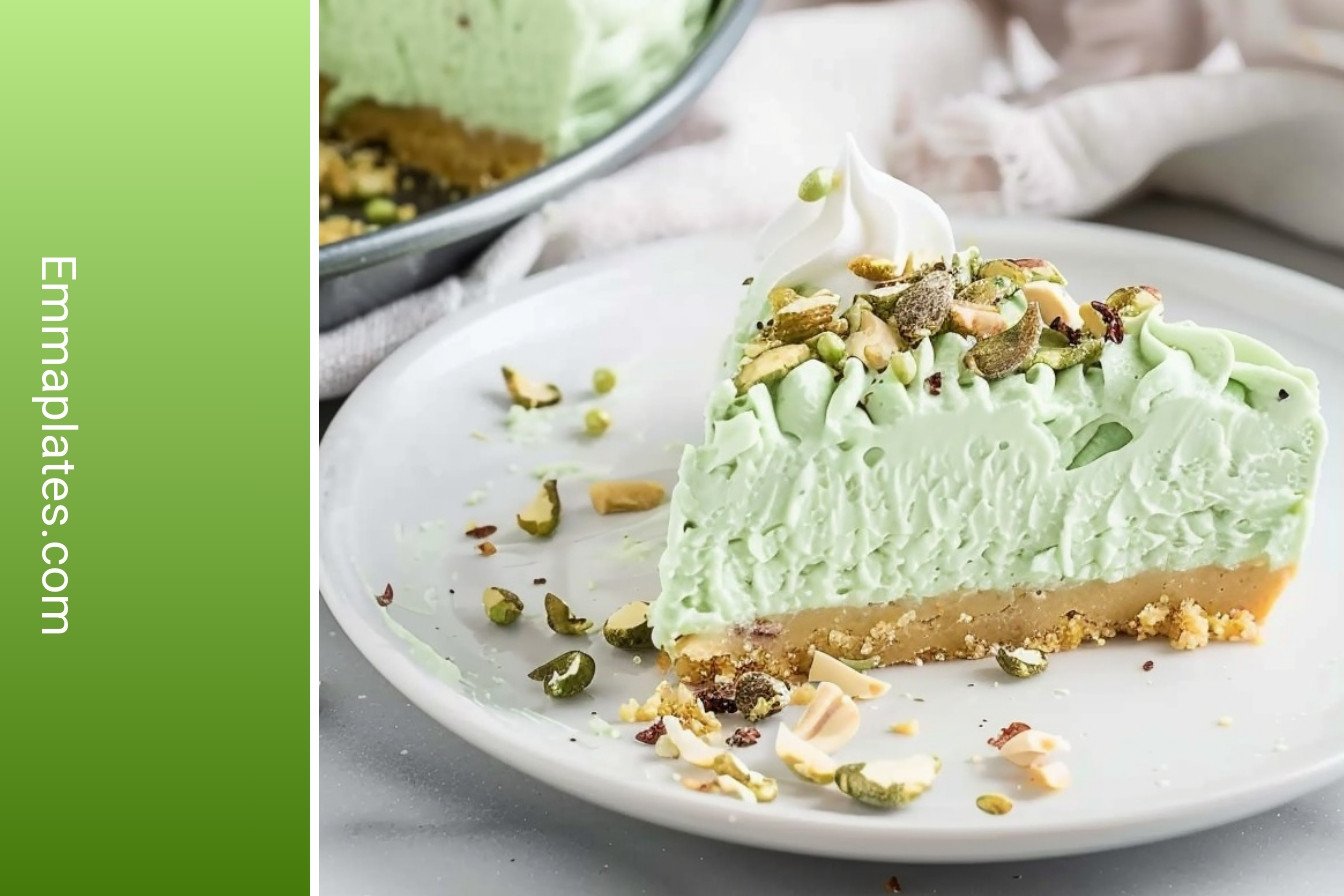
My Creamy Green Dream Slice
Oh, this recipe brings back such happy memories. My grandson Leo calls it my Green Dream. It’s his absolute favorite. I love how easy it is to make. You don’t even need to turn on the oven. Doesn’t that sound nice for a warm day?
Let’s get our bowl and mixer ready. I’ll walk you through it step-by-step. It’s like building a delicious, creamy tower. Just follow along with me. We’ll have a wonderful treat in no time.
Ingredients
- 1 prepared graham cracker crust
- 1 package (3.4 oz) instant pistachio pudding mix
- 1 cup cold milk
- 1 package (8 oz) cream cheese, softened
- 1 jar (7 oz) marshmallow fluff
- 1 container (8 oz) frozen whipped topping, thawed and divided
- 1/2 cup chopped pistachios, plus more for garnish
Instructions
Step 1: First, take your graham cracker crust. Gently pull off that plastic lid. Now, don’t you dare throw that lid away. We’ll need it later to cover our pie. I learned that the hard way once. My pie tasted like last night’s onions! (Hard-learned tip: Always save that lid for storage.)
Step 2: Grab a medium bowl. Whisk the pistachio pudding mix with the milk. Keep whisking for a minute or two. You’ll see it get nice and thick. I always think it looks like green clouds. Isn’t that a fun thought?
Step 3: Now for the big bowl. Beat the cream cheese and marshmallow fluff together. Make sure your cream cheese is soft. If it’s not, you’ll get little lumps. We want everything smooth and fluffy. Beat it until it looks like a happy, white dream.
Step 4: Time to bring it all together. Add the green pudding to the fluffy cream cheese. Then, scoop in half of the whipped topping. Don’t forget the chopped pistachios. Gently fold it all with a big spoon. What’s your favorite nut to bake with? Share below!
Step 5: Carefully spoon your filling into the crust. Smooth the top so it’s nice and even. This part is very satisfying. I like to make it as smooth as a pond.
Step 6: Now, the hardest part. You have to wait. Pop the pie into the fridge for at least four hours. Let it sleep overnight if you can. This lets all the flavors become best friends.
Step 7: Once it’s set, it’s time to dress it up. Use the rest of the whipped topping to pipe pretty edges. Then, sprinkle the last of the pistachios on top. It makes it look so special, like it’s wearing a fancy hat.
Cook Time: 4–6 hours
Total Time: 4 hours 15 minutes
Yield: 8 servings
Category: Dessert, No-Bake
Three Fun Twists on the Green Dream
This recipe is wonderful as it is. But sometimes, it’s fun to play with your food. Here are a few ideas to make it your own. I still laugh at the time I added chocolate chips for Leo. He was so surprised!
Rainbow Sprinkle Surprise: Mix a handful of colorful sprinkles right into the filling. It will look like a party in every slice.
Chocolate Crust Switch-Up: Use a chocolate cookie crust instead of graham cracker. The chocolate and pistachio taste is simply divine.
Fruity Swirl Delight: Gently swirl in some raspberry jam before it chills. You’ll get pretty pink ribbons in your green dream.
Which one would you try first? Comment below!
Serving Your Slice of Dream
This pie is a star all on its own. But I love making a whole event out of it. For a special touch, place each slice on a pretty plate. Add a few extra whole pistachios on the side. It makes everyone feel so fancy.
For a drink, a hot cup of coffee is just perfect. The bitter taste loves the sweet cream. For the kids, a tall glass of cold milk is the best friend for this pie. It’s a classic for a reason.
Which would you choose tonight?
Keeping Your Green Dream Slice Perfect
This creamy slice is best kept in the fridge. Just use that plastic lid from the crust box. It will stay fresh for about three days. You can also freeze it for a month.
Thaw it overnight in the fridge before serving. I once tried to freeze a slice in a paper bag. What a mess! The bag stuck to the topping. Now I always use the plastic lid.
Storing food well saves money and time. It means you always have a sweet treat ready for guests. Have you ever tried storing it this way? Share below!
Simple Fixes for Common Slice Troubles
Is your cream cheese lumpy? Make sure it is very soft. I remember when my cream cheese was too cold. The lumps would not go away. Now I leave it on the counter for an hour.
Is the filling not setting? Be patient and let it chill the full four hours. If you rush, it will be soupy. A well-set slice is easier to cut and serve neatly.
Is the whipped topping too soft? Keep it in the fridge until the last second. This keeps it fluffy for piping. Fixing small problems makes you a more confident cook. Which of these problems have you run into before?
Your Green Dream Slice Questions Answered
Q: Can I make this gluten-free? A: Yes! Just use a gluten-free graham cracker crust from the store.
Q: How far ahead can I make it? A: You can make it the night before. This actually makes it better.
Q: Can I swap the nuts? A: Sure. Try chopped almonds for a different crunch. *Fun fact: Pistachios are actually seeds, not nuts!*
Q: Can I double the recipe? A: Absolutely. Make two and share one with a friend.
Q: Do I have to pipe the topping? A: No. You can just spoon it on. Which tip will you try first?
Share Your Kitchen Creations
I hope you love making this creamy slice. It always reminds me of spring picnics. I would love to see your version of it.
Your stories and photos make my day. They inspire other cooks to try new things. Have you tried this recipe? Tag us on Pinterest!
Happy cooking!
—Emma Caldwell.
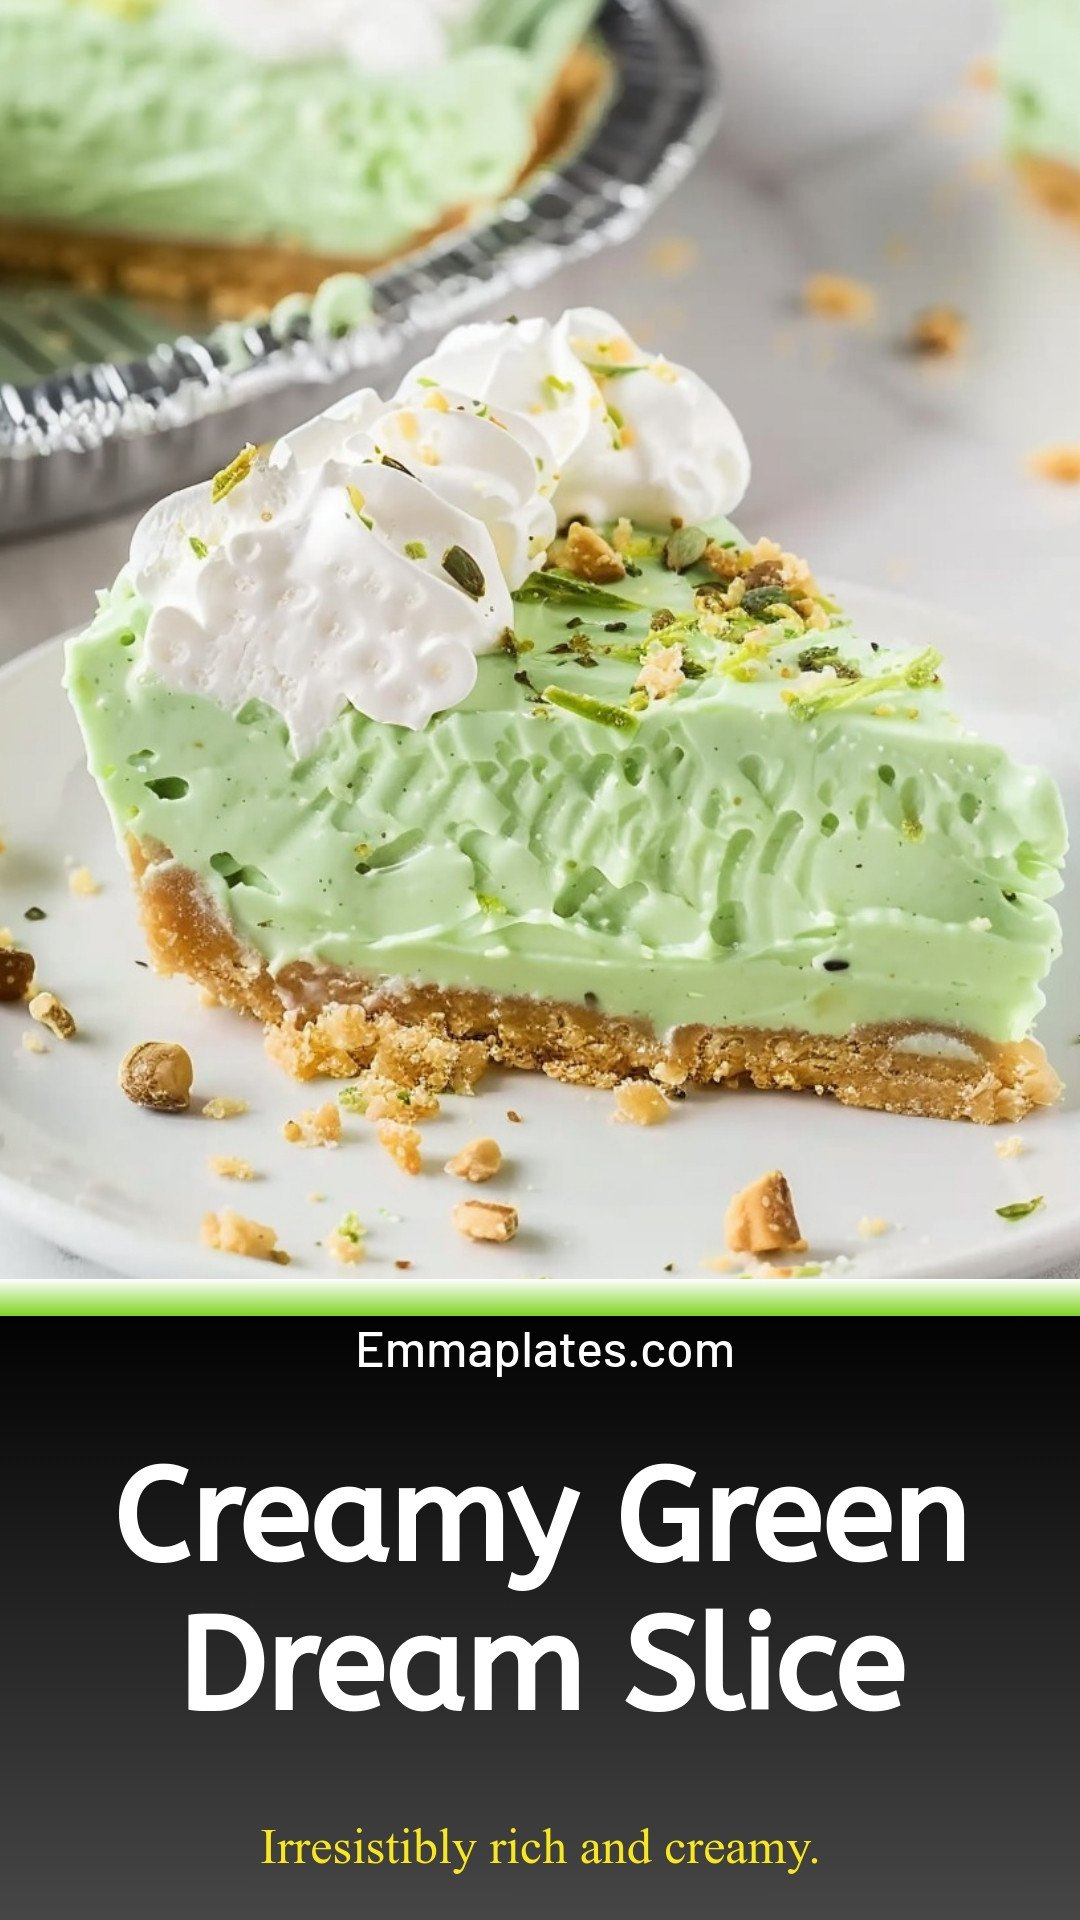
Creamy Green Dream Slice: Irresistibly rich and creamy.
Description
Indulge in this no-bake creamy green dream slice! A vibrant, healthy vegan dessert with a nutty base and zesty lime filling. Easy, delicious, and gluten-free.
Ingredients
Instructions
- Remove the plastic insert to the ready-made graham cracker crust. Save the plastic insert to use as a lid for storing the pie while refrigerated.
- In a medium bowl, whisk together the instant pistachio pudding and whole milk for 1 to 2 minutes or until it thickens. Set aside.
- In a large mixing bowl on medium speed with a handheld mixer, beat the softened cream cheese and marshmallow fluff for 1 to 2 minutes or until fluffy and no lumps remain.
- Add the prepared pistachio pudding to the beaten cream cheese, 4 ounces (half an 8-ounce container) of the thawed extra creamy whipped topping, and ¼ cup of the finely chopped pistachio nuts. Fold all the ingredients together until well combined.
- Transfer the pistachio pie filling into the prepared graham cracker crust and smooth the top in an even layer.
- Refrigerate the pie for 4 hours or up to overnight to allow the filling to fully set and chill.
- Once chilled, you can garnish your pistachio pie by placing the remaining 4 ounces of extra creamy whipped topping into a piping bag or large plastic zip-top bag fitted with a piping tip and piping the whipped topping around the edges of the pie.
- Sprinkle the remaining ¼ cup of finely chopped pistachio nuts over the top of the pie.
Notes
- Save the plastic insert from the graham cracker crust to use as a lid for easy storage in the refrigerator.


Leave a Reply