
The Heart of the Table
This pie is my November. The smell fills my whole house. It feels like a hug from my mom.
She made this every year. We would wait for it to cool. It was so hard to wait! I still laugh at that. Why does this matter? Food is more than eating. It is a memory you can taste.
Secrets of a Good Crust
Do not fear the crust. The secret is cold butter and cold hands. Work fast and be gentle.
I use my fingers to mix. You want little bits of butter in the dough. Fun fact: Those butter bits melt in the oven. They make the crust wonderfully flaky. Do you have a pie crust tip? I would love to hear it.
The Spice of Life
Now for the filling. Doesn’t that smell amazing? Cinnamon, ginger, nutmeg, and a tiny pinch of cloves. This is the soul of the pie.
My mom used a vanilla bean. She would scrape the tiny seeds into the bowl. It felt so special. Why this matters? These spices are warm and cozy. They tell your family that the holidays are here.
A Little Patience, Please
The hardest part is waiting. You must let the pie cool completely. For at least three hours!
This lets the filling set perfectly. It becomes creamy and smooth. If you cut it warm, it will be soupy. Trust me, I learned this the hard way. What is the hardest food for you to wait for?
Your Pie, Your Way
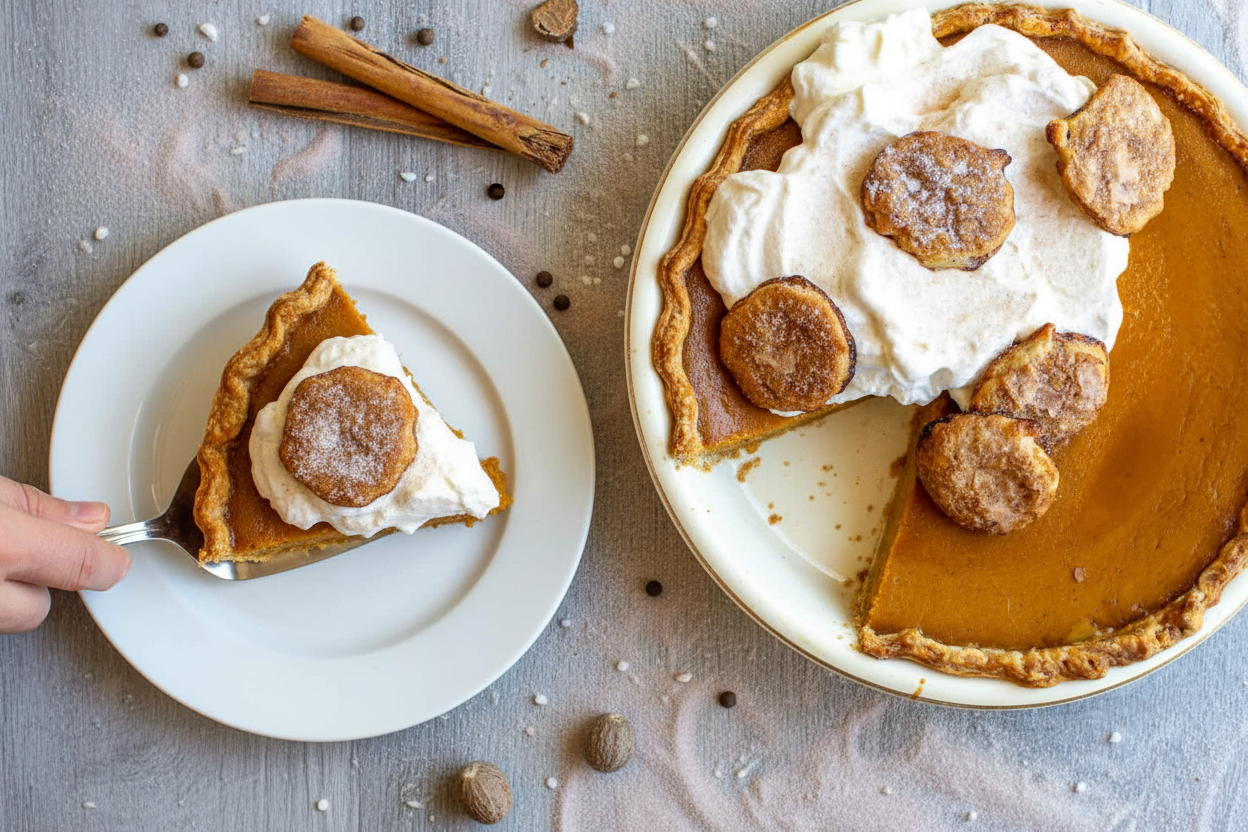
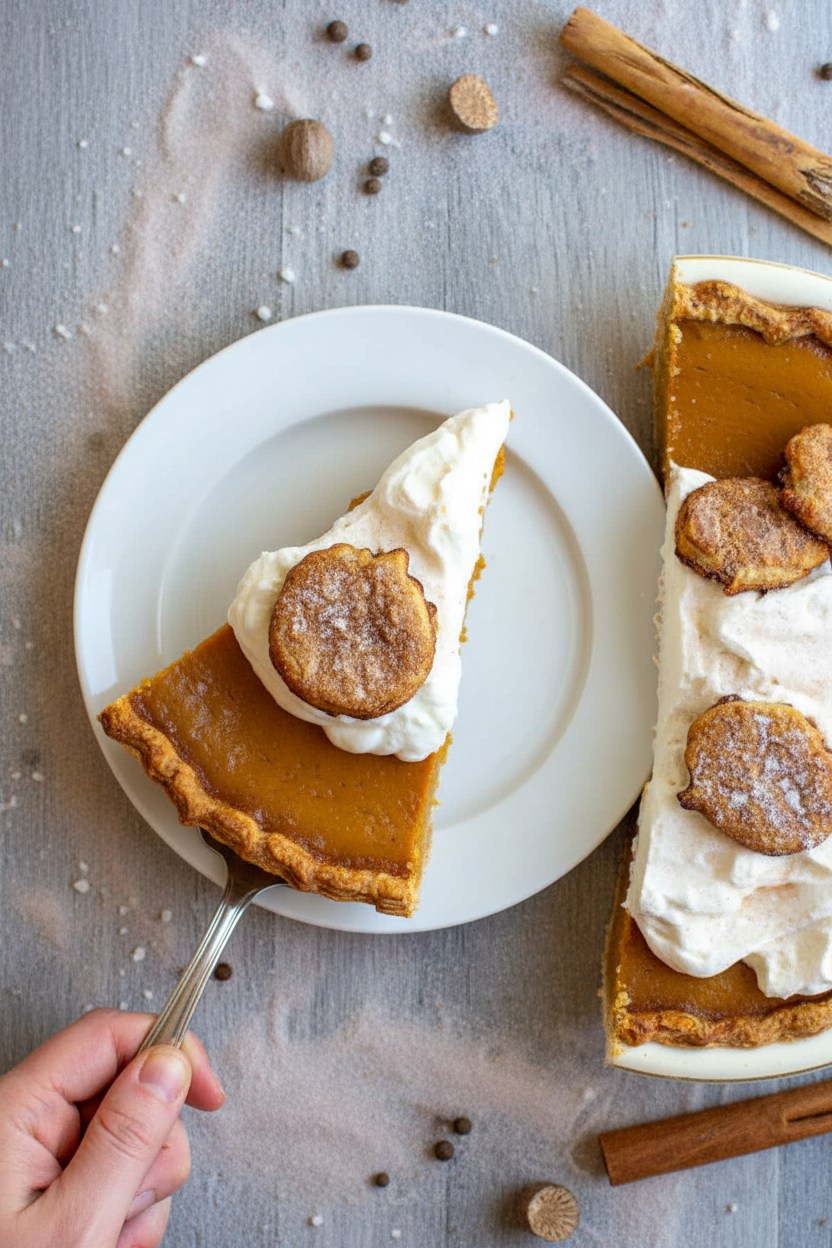
This pie is wonderful cold from the fridge. It is also great at room temperature. Always add a big dollop of whipped cream.
My grandson likes his with a sprinkle of extra cinnamon. That is his special touch. Making it your own is part of the fun. Will you serve yours with whipped cream or something else?

Ingredients:
| Ingredient | Amount | Notes |
|---|---|---|
| All-purpose flour | 1 1/2 cups | For the crust |
| Granulated sugar | 2 teaspoons | For the crust |
| Kosher salt | 1 teaspoon | For the crust |
| Cold unsalted butter | 1 stick (8 tablespoons) | For the crust, cubed |
| Ice water | 4-6 tablespoons | For the crust |
| Large egg | 1 | For the crust, beaten |
| Pumpkin puree | 1 (15-ounce) can | For the filling |
| Half-and-half | 1 cup | For the filling |
| Large eggs | 3 | For the filling |
| Light brown sugar | 1/3 cup | For the filling, packed |
| Granulated sugar | 1/3 cup | For the filling |
| Vanilla extract or vanilla bean seeds | 1 teaspoon or seeds from 1 bean | For the filling |
| Cinnamon | 1 teaspoon | For the filling |
| Ground ginger | 1/2 teaspoon | For the filling |
| Kosher salt | 1/2 teaspoon | For the filling |
| Ground nutmeg | 1/2 teaspoon | For the filling |
| Ground cloves | pinch | For the filling |
| Whipped Cream | for serving | For serving |
Mom’s Pumpkin Pie: A Slice of Autumn
Hello, dear! Come sit at the table. Let’s talk about pumpkin pie. This recipe is my mother’s. It tastes just like the classic one you know. But it’s made with love and your own two hands. The kitchen will smell like cinnamon and memories. I still smile thinking of her rolling out the crust. Doesn’t that sound wonderful?
Making pie is a little adventure. It’s not hard, I promise. We go step-by-step. First, we make the crust. The secret is cold butter and cold water. (My hard-learned tip: Handle the dough gently. Too much squeezing makes it tough!). Ready? Let’s begin.
Step 1: The Crust – Mixing
Mix the flour, sugar, and salt in a bowl. Drop in the cold butter cubes. Use a pastry cutter to chop the butter into tiny bits. They should look like little peas. This makes the crust flaky. My mom used to let me do this part. I loved the feeling.
Step 2: The Crust – Bringing It Together
Now, sprinkle ice water over the mix. Use your fingers to gently toss it. Pretend you are lightly fluffing feathers. Squeeze a bit of dough in your hand. Does it stick together? If it’s crumbly, add a touch more water. Then shape it into a flat disk. Wrap it up and let it rest in the fridge.
Step 3: Rolling & Blind Baking
Roll the dough on a floured counter. Roll from the center out. Turn it as you go. Lift it into your pie plate. Trim the edges and pinch them pretty. Prick the bottom with a fork. Line it with paper and fill with dried beans. This is called blind baking. It keeps the crust from getting soggy. What’s your favorite pie crust design? Share below!
Step 4: Baking the Crust
Bake the empty crust for 15-20 minutes. Take out the beans and paper. Brush the inside with a beaten egg. This seals it. Bake it a little more until it’s light gold. Let it cool on a rack. Your house already smells amazing, doesn’t it?
Step 5: The Filling
Time for the filling! Whisk everything in a big bowl. Pumpkin, cream, eggs, sugars, and all those lovely spices. Whisk until it’s perfectly smooth. Pour this golden mixture into your waiting crust. It looks so rich and inviting already.
Step 6: The Final Bake
Bake your pie at 350°F. It needs about 50-60 minutes. It’s done when the edges are puffed and the middle has a tiny jiggle. Like a wobbly custard. The hardest part is next. You must let it cool for hours. I know, the wait is tough! But it’s worth it.
| Cook Time | 1 hour 20 minutes |
| Total Time | About 5 hours (includes cooling) |
| Yield | 10 happy servings |
| Category | Dessert, Holiday |
Three Fun Twists on Tradition
Once you master the classic, try a little change. It’s fun to play with flavors. Here are three ideas my grandkids love.
- Ginger Snap Crust: Swap the regular crust for one made with crushed ginger snap cookies. It adds a spicy, crunchy surprise.
- Maple Whipped Cream: Use real maple syrup in your whipped cream instead of sugar. It tastes like a fall forest.
- Chocolate Swirl: Melt some chocolate and swirl it into the filling before baking. It’s a magical, marbled treat.
Which one would you try first? Comment below!
Serving Your Masterpiece
A slice of pie is a beautiful thing. Make it extra special. Serve it with a giant dollop of freshly whipped cream. A sprinkle of cinnamon on top is pretty. For a party, add a small bowl of toasted pecans on the side. Let people sprinkle their own.
What to drink? A cold glass of apple cider is perfect. It’s sweet and tangy. For the grown-ups, a small glass of sweet sherry pairs wonderfully. It’s cozy and old-fashioned. Which would you choose tonight?
Keeping Your Pumpkin Pie Perfect
Let’s talk about keeping your pie lovely. Cool it completely first. Then wrap it tight in plastic. It will be happy in the fridge for four days. You can freeze a whole pie, too. Just wrap it well in foil first. Thaw it overnight in the fridge when you’re ready.
I love making two pies at once. One for now, one for later. This is called batch cooking. It saves so much time during the busy holidays. I remember my first frozen pie. I was so proud to have dessert ready for surprise guests! Storing food well means less waste and more sharing. That matters a lot in my kitchen.
Have you ever tried storing it this way? Share below!
Pie Problems? Easy Fixes Right Here
Sometimes a crust can get soggy. Always bake your crust first. This is called blind baking. It makes a strong, crispy base for the filling. I once skipped this step. My pie was a delicious mess!
Is your filling cracking? The oven was likely too hot. Bake your pie low and slow. A perfect pie should jiggle just a little in the middle. Getting this right builds your cooking confidence. It also makes the flavor smooth and wonderful.
What if the crust edges burn? Shield them with foil strips. This simple trick protects them. It lets the filling cook through without over-browning. Fun fact: My grandma used pie crust shields made from old foil!
Which of these problems have you run into before?
Your Pumpkin Pie Questions, Answered
Q: Can I make this gluten-free? A: Yes! Use your favorite gluten-free flour blend for the crust. It works just fine.
Q: How far ahead can I make it? A: You can bake it one full day before serving. Keep it covered in the fridge.
Q: I don’t have half-and-half. A: Use 1/2 cup milk mixed with 1/2 cup heavy cream. It’s a great swap.
Q: Can I make a bigger pie? A: For a deep-dish pie, increase the filling by half. Bake it a little longer.
Q: Any special tip? A: Let the pie cool fully. This helps the filling set perfectly for neat slices.
Which tip will you try first?
From My Kitchen to Yours
I hope this recipe brings you joy. Baking is about sharing love and stories. I would love to see your beautiful pies. Share a photo of your kitchen creation with me. It makes my day to see your family traditions.
Have you tried this recipe? Tag us on Pinterest! You can find me at @EmmaCaldwellsKitchen. Thank you for baking with me today.
Happy cooking!
—Emma Caldwell.
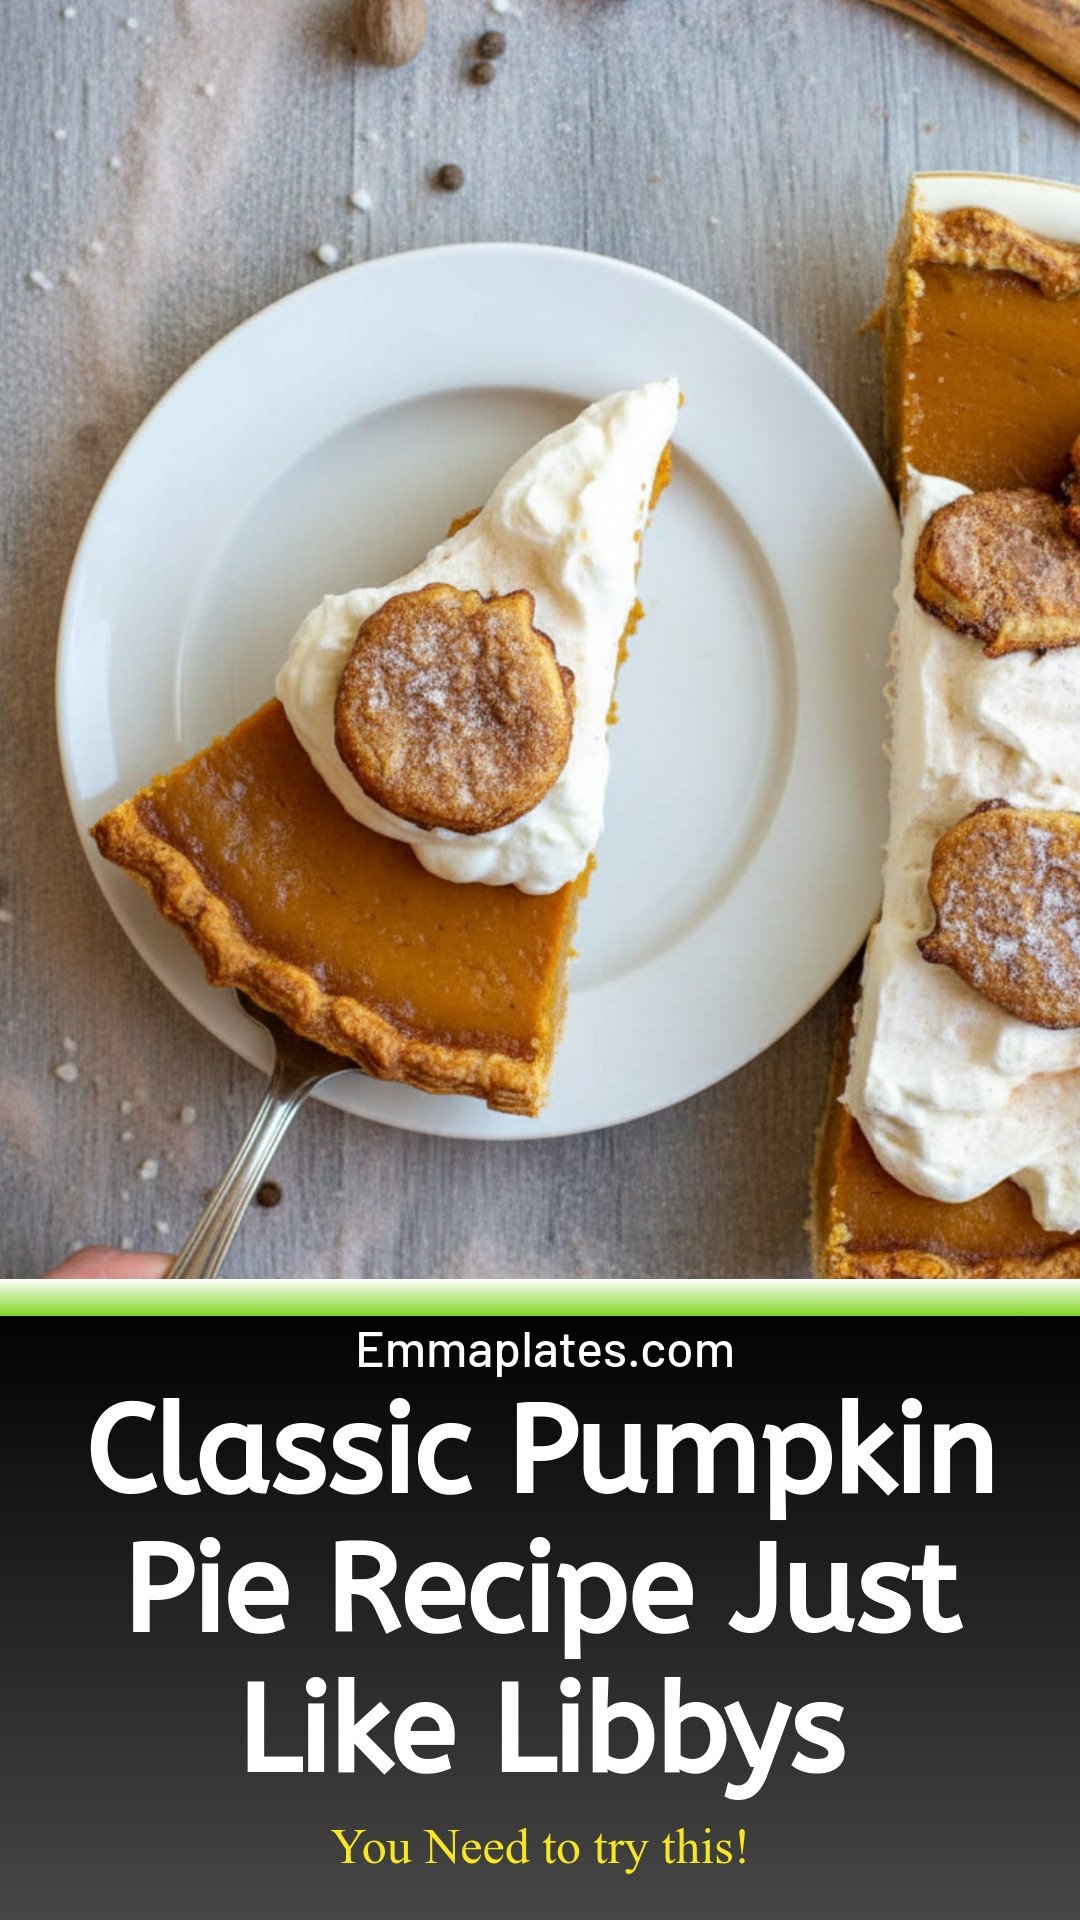
Mom’s Classic Pumpkin Pie Recipe {Just Like Libby’s}: Classic Pumpkin Pie Recipe Just Like Libbys
Description
This classic pumpkin pie recipe tastes just like the famous Libby’s version! Perfect for Thanksgiving. Easy, creamy, and delicious.
Ingredients
For the crust
For the filling
Instructions
- For the crust: Combine 1 1/2 cups flour, 2 teaspoons sugar, and 1 teaspoon salt in a medium bowl. Add butter pieces and toss to coat in flour. Using a pastry cutter, cut butter into flour until the pieces are the size of small peas.
- Sprinkle 4 tablespoons of ice water over flour mixture then use your hands to moisten the flour. Let the flour fall through your fingers, but avoid overly squeezing or pressing too hard. Gently squeeze a handful of dough, if it crumbles apart and does not hold together add a couple more tablespoons ice water and gently toss to moisten.
- Squeeze again, if dough easily holds together, gather all in a ball and wrap in plastic wrap. Press down to create a flat disk and refrigerate at least 1 hour.
- Heat oven to 425°F and arrange a rack in the bottom of the oven. Roll out dough on a lightly floured surface to about 1/8-inch thick. Line a 9-inch pie plate with the dough and trim off excess, leaving a 1-inch border. Decoratively pinch edges together and prick the bottom all over with a fork.
- Line crust with parchment paper and fill with pie weights or dried beans. Set on a baking sheet lined with parchment paper and bake for 15-20 minutes or until golden on the edges.
- Remove parchment paper and beans and brush with beaten egg. Continue baking until bottom is lightly golden, about 5-10 more minutes. Transfer to a cooling rack to cool and turn oven down to 350°F.
- For the filling: Combine 1 can pumpkin puree (about 1 3/4 cups), 1 cup half-and-half, 3 large eggs, 1/3 cup brown sugar, 1/3 cup granulated sugar, 1 teaspoon vanilla (or the seeds of 1 vanilla bean), 1 teaspoon cinnamon, 1/2 teaspoon ginger, 1/2 teaspoon salt, 1/2 teaspoon nutmeg, and a pinch of cloves in a large bowl and whisk until smooth.
- Place crust on a baking sheet lined with parchment paper and pour filling into pie crust. Bake for 50-60 minutes or until just set but still has a little bit of a jiggle in the middle and is slightly puffed on the edges.
- Cool on a rack for at least 3 hours before serving. Can be made a day in advanced; let cool completely, cover with plastic wrap and refrigerate. Can be served cold, or room temperature with whipped cream.
Notes
- For a perfectly set pie, ensure it cools completely on a rack for at least 3 hours before slicing. The pie can be made a day ahead and refrigerated.


Leave a Reply