
The Magic of Buttermilk
My grandma called buttermilk “the magic ingredient.” She was right. It makes things so tender. It gives this pie a little tang. That tang makes the sweet taste even better.
I love the smell when it first hits the batter. It smells fresh and a little sour. Doesn’t that smell amazing? It means something good is happening. This matters because the simplest ingredients can do the most wonderful things.
A Little Story About My Brother
My little brother did not like buttermilk. He thought it sounded funny. So I told him it was “cloud milk.” He tried the pie and loved it. I still laugh at that.
He asked for a second slice right away. Now he asks me to make “that cloud milk pie.” It just goes to show you. Sometimes you have to try a thing to know you’ll love it.
Putting It All Together
Creaming the butter and sugar is my favorite part. You watch it turn pale and fluffy. It feels like you are making sweet snow. Make sure your butter is soft. It makes everything so much easier.
Then you just add everything else. The buttermilk, eggs, and vanilla all go in. The batter will be very liquidy. Do not worry. That is how it is supposed to be. What is your favorite part of baking? Is it mixing or tasting?
The Waiting is the Hardest Part
The pie needs to bake until it is set. The middle might still have a little jiggle. That is perfectly fine. It will firm up as it cools. You must let it cool completely. I know, the wait is tough!
This is a good lesson in patience. Good things take time. Rushing it would make a mess. Fun fact: The nutmeg is my secret. It adds a tiny bit of warmth that people can’t quite name.
Your Turn to Share
This pie is so simple. It does not need any fancy tricks. It is just honest, good food. That is why this recipe matters. It shows that you do not need much to make something special.
I would love to hear from you. Did you try this with your family? What is a recipe that makes you think of your grandma? Tell me your story if you like.

Ingredients:
| Ingredient | Amount | Notes |
|---|---|---|
| unsalted butter | 1/2 cup | room temperature |
| sugar | 2 cups | |
| eggs | 3 large | |
| buttermilk | 1 cup | |
| all-purpose flour | 3 heaping tablespoons | |
| vanilla extract | 2 teaspoons | |
| salt | pinch | |
| nutmeg | dash | |
| deep dish pie crust | 1 | prepared, unbaked |
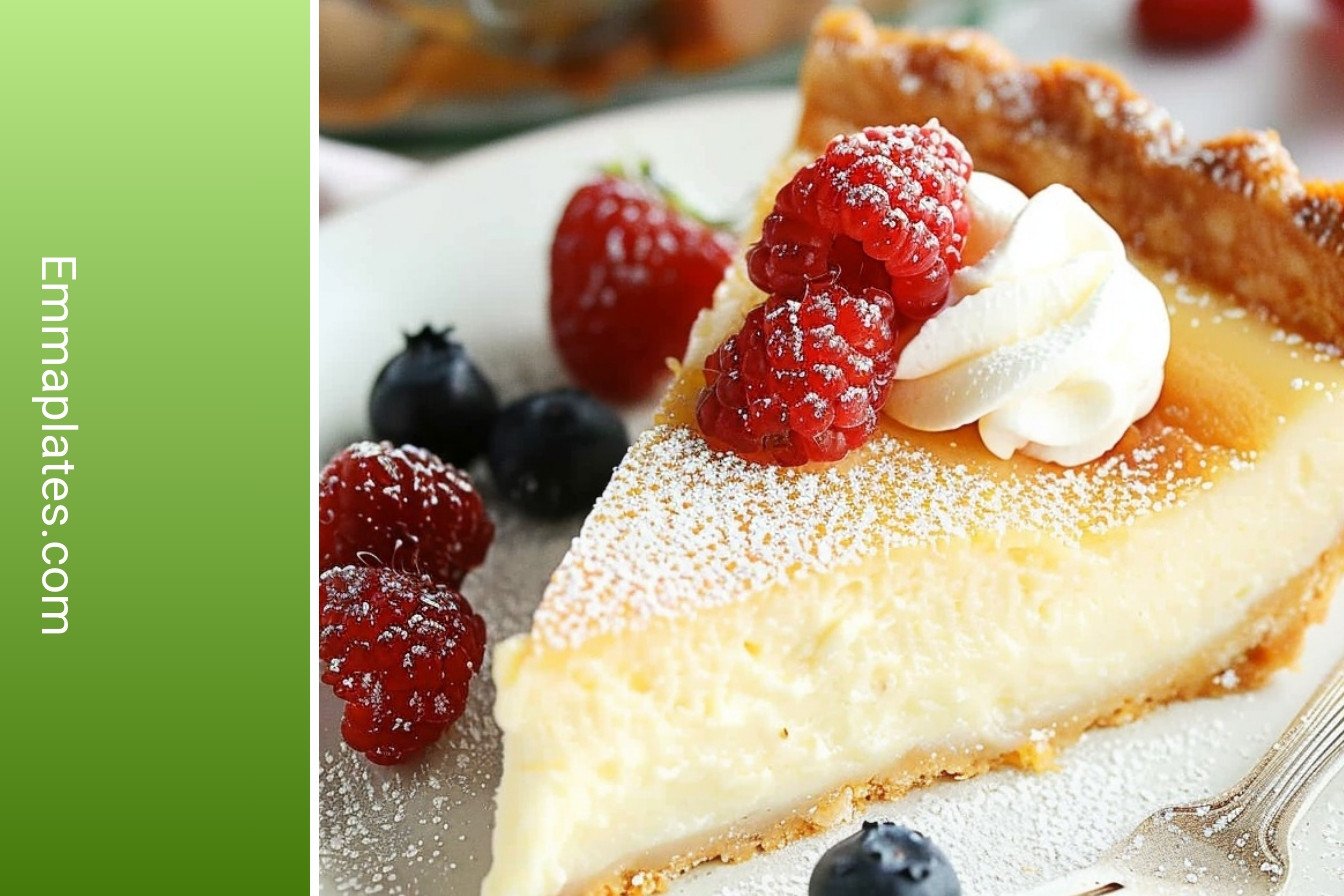
Creamy Buttermilk Dream: A Slice of Sunshine
Oh, this pie. It always reminds me of my Aunt Clara. She made it for every single family gathering. The kitchen would smell like sweet, warm vanilla. I still laugh at that. We kids would hover by the oven, waiting for it to cool. It takes a little patience, but it’s so worth it. Let’s make some sunshine together.
Step 1
First, get your oven nice and hot. Set it to 350°F. Now, grab your butter and sugar. The butter should be soft, right from the counter. Cream them together with a hand mixer. Watch it get all fluffy and pale. It reminds me of yellow clouds. (A hard-learned tip: If your butter is too cold, it just won’t cream right. Patience is key!)
Step 2
Next, crack in your eggs, one at a time. Mix well after each one. This makes everything smooth and happy. I always think the mixture looks like liquid sunshine. It just makes me smile. Do you like your desserts more creamy or more firm? Share below!
Step 3
Time for the good stuff! Pour in the buttermilk. Buttermilk is the secret. It makes the pie so tender. Add the flour, vanilla, a pinch of salt, and a dash of nutmeg. Mix it all until it’s one beautiful, creamy dream. Doesn’t that smell amazing already?
Step 4
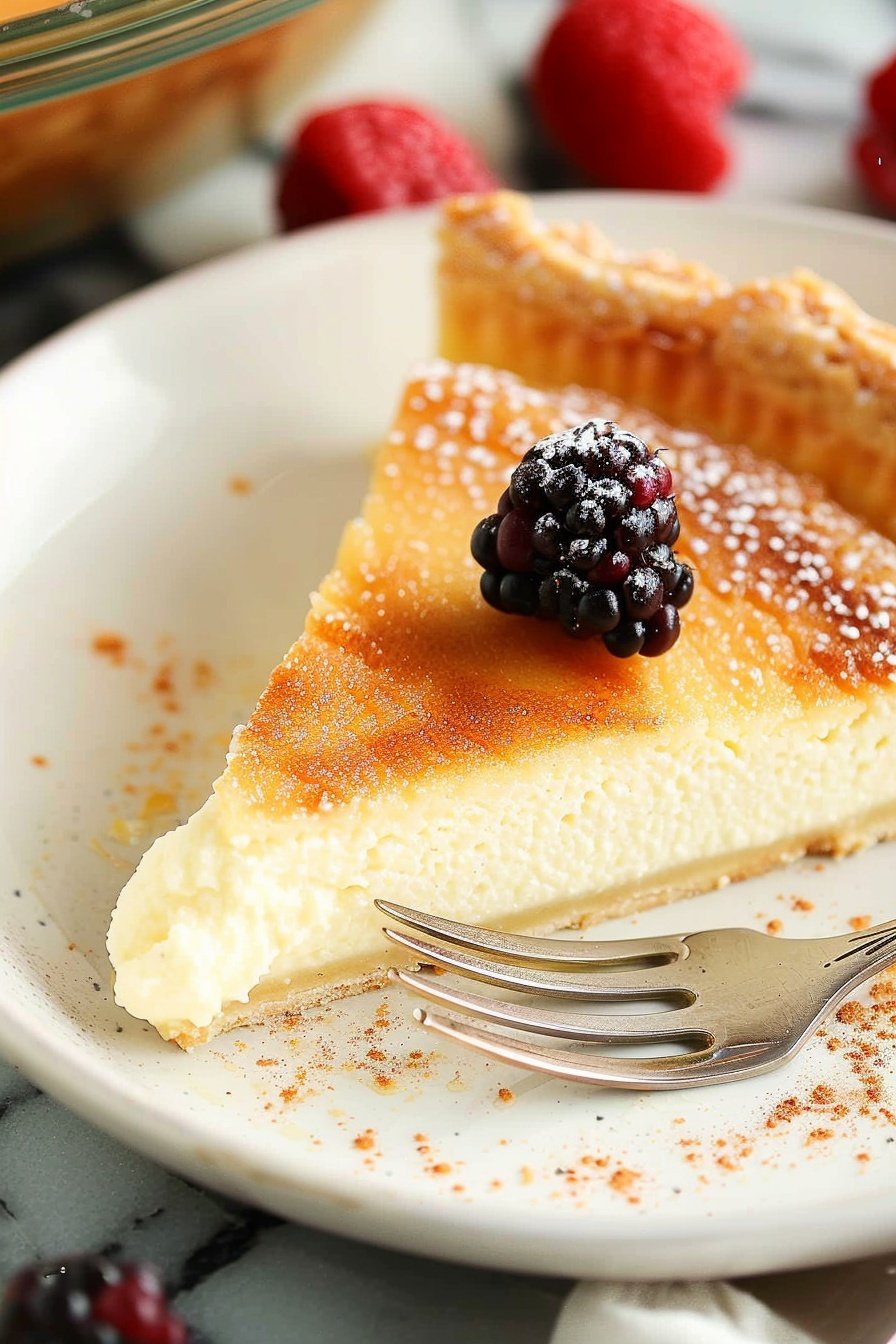
Carefully pour your filling into the pie crust. Slide it into the oven. Now, the hardest part begins. You must wait! Bake for about 55 minutes. The middle might still have a little jiggle. That’s perfect. Let it cool completely on the counter. This wait is the final test for any baker.
Cook Time: 55-60 minutes
Total Time: 1 hour 15 minutes (plus cooling)
Yield: 8 servings
Category: Dessert, Pie
Three Twists on the Classic Dream
This pie is a wonderful friend. It loves to dress up in new ways. You can add little surprises to make it your own. Here are a few ideas I’ve tried over the years. They are all so simple and fun.
Lemon Zest Zing
Add the zest of one lemon to the filling. It gives a bright, sunny little kick.
Berry Swirl Surprise
Drop spoonfuls of raspberry jam on the filling. Swirl it with a knife before baking.
Toasty Coconut Crunch
Sprinkle a handful of sweetened coconut on top. It toasts up so nice in the oven.
Which one would you try first? Comment below!
Serving Your Slice of Heaven
A slice of this pie is a celebration all by itself. But I love making it extra special. A dollop of freshly whipped cream on top is my go-to. A few summer berries on the side look so pretty. For a real treat, a scoop of vanilla bean ice cream is pure magic.
What to drink with it? A cup of strong black coffee cuts the sweetness nicely. Or, for a cozy evening, a small glass of a sweet dessert wine pairs beautifully. Which would you choose tonight?
Keeping Your Buttermilk Dream Perfect
This pie keeps well in the fridge. Just cover it with plastic wrap. It will stay fresh for about three days.
You can also freeze it for later. Wrap the whole pie tightly in foil. It will be good for up to two months.
I remember my first time making two pies at once. I was so proud of my planning. Having a spare pie in the freezer is a lifesaver.
Batch cooking like this saves you time later. It means a sweet treat is always close by. This matters on busy days when you need a little joy.
To reheat, let a frozen pie thaw in the fridge overnight. A cold slice is delicious, but a warm one is cozy. Have you ever tried storing it this way? Share below!
Simple Fixes for Common Pie Problems
Is your filling too runny? Make sure you bake it long enough. The middle can jiggle a little, but it should not be liquid.
I once took my pie out too early. We had to eat it with spoons! It was still tasty, but not perfect.
Is the top browning too fast? Place a piece of foil over the pie. This will stop it from burning. Your pie will cook evenly underneath.
Is your crust getting soggy? Always use an unbaked crust for this recipe. The filling bakes right along with it. This creates a sturdy base.
Getting the bake right builds your cooking confidence. A perfect slice makes the flavor even better. Which of these problems have you run into before?
Your Buttermilk Pie Questions, Answered
Q: Can I make this gluten-free? A: Yes! Just use a gluten-free pie crust from the store. The filling is already gluten-free.
Q: Can I make it ahead? A: Absolutely. Bake it the day before you need it. The flavors get even better overnight.
Q: What if I don’t have buttermilk? A: Add one tablespoon of lemon juice to one cup of milk. Let it sit for five minutes. This is my favorite fun fact to share!
Q: Can I make a smaller pie? A: You can cut the recipe in half. Use a smaller pie pan. The baking time will be less.
Q: Is the nutmeg important? A: It adds a warm, cozy flavor. But you can leave it out if you prefer. Which tip will you try first?
A Little Note From My Kitchen
I hope you love making this creamy buttermilk dream. It is a simple recipe that feels like a hug. Sharing food is one of life’s greatest joys.
I would be so happy to see your creation. Your beautiful pie could inspire another baker. Have you tried this recipe? Tag us on Pinterest!
Happy cooking!
—Emma Caldwell.
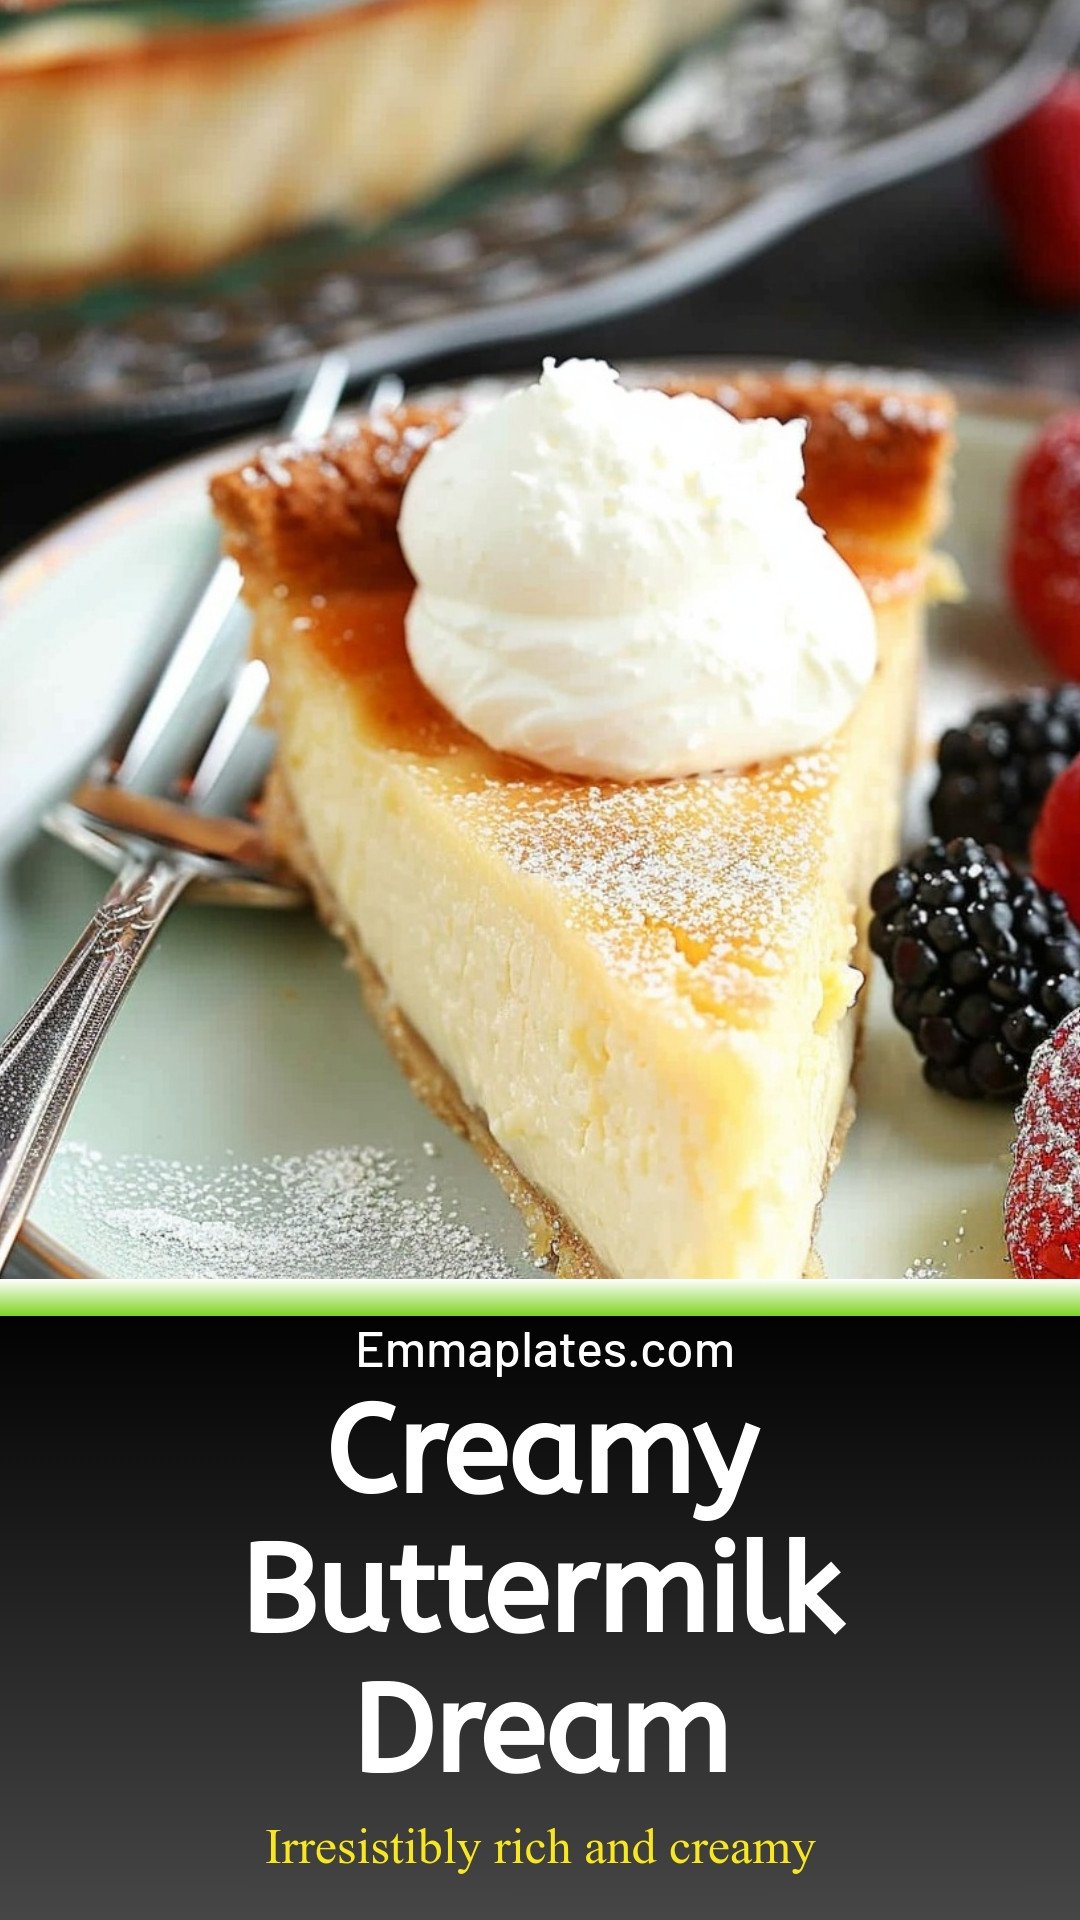
Creamy Buttermilk Dream: Irresistibly rich and creamy
Description
Indulge in the ultimate creamy buttermilk dream dessert. This easy, no-bake recipe is light, fluffy, and the perfect sweet treat for any occasion.
Ingredients
Instructions
- Preheat the oven to 350°F. Cream butter and sugar together with a hand mixer.
- Add eggs; mix well.
- Add buttermilk, flour, vanilla, salt and nutmeg; mix well.
- Pour into unbaked pie crust and bake for 55 minutes to 1 hour, or until set. The middle may be slightly jiggly but should not be liquidy. Allow to cool completely before slicing.


Leave a Reply