
A Sweet Start
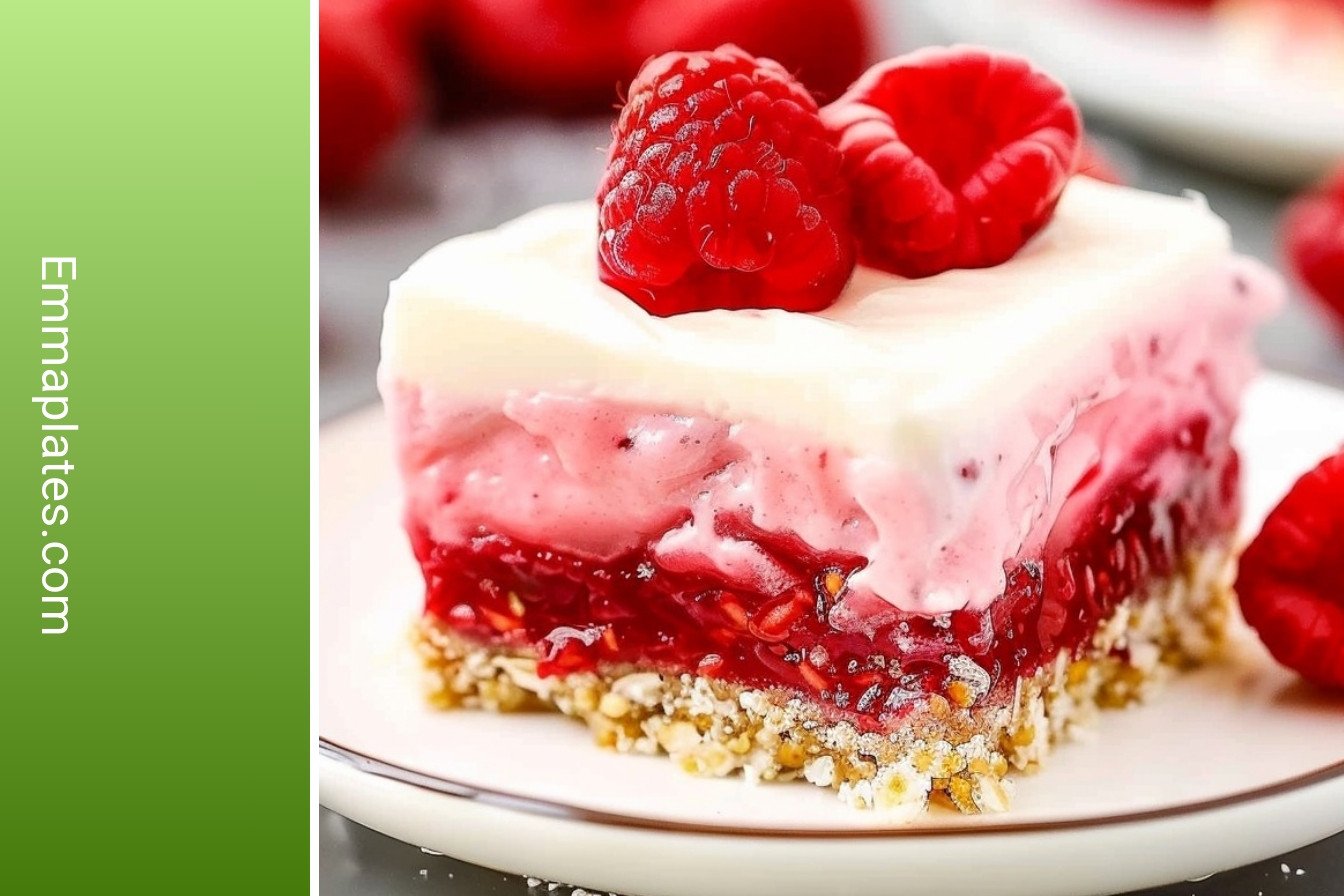
I want to share my Creamy Raspberry Dream Dessert with you. It is my favorite no-bake treat. It always makes me think of summer days.
This dessert has three happy layers. A crunchy crust, a fluffy middle, and a tangy top. They all come together like a sweet hug. What is your favorite no-bake dessert to make?
The Crunchy Bottom
First, we make the graham cracker crust. You just mix crumbs with melted butter and a little sugar. Press it down hard in your pan. This makes a strong base for our dreamy layers.
Pressing it down firmly matters. It keeps your slice from falling apart later. I use the bottom of a cup to press it. It works perfectly every time.
The Fluffy Cloud Filling
Now for the creamy cheesecake part. Make sure your cream cheese is soft. This is a little secret. It makes everything smooth and lump-free.
I once used cold cream cheese. My arm got so tired from mixing! I still laugh at that. Now I always let it sit out first. Doesn’t that vanilla smell amazing when you add it?
The Ruby Red Topping
The raspberry sauce is like magic. You cook the berries with sugar and lemon. Then you add a simple slurry to thicken it. *Fun fact: A slurry is just cornstarch mixed with cold water!*
Watching the sauce go from thin to thick is so fun. It fills the whole kitchen with a sweet, fruity smell. Let it cool completely before you add it on top. Do you prefer raspberries or another berry?
The Hardest Part
The last step is patience. You must let it chill for hours. This waiting time matters. It lets all the flavors get to know each other.
It makes the dessert firm enough to slice. I know it is hard to wait. But trust me, it is worth it. What do you do to pass the time while a treat chills?
Why This All Matters
Making a dessert like this is not just about eating. It is about the joy of making something beautiful. You create a little happiness with your own hands.
Sharing it with people you love is the best part. Seeing their smiles makes every step worthwhile. That is a feeling that always matters.
Ingredients:
| Ingredient | Amount | Notes |
|---|---|---|
| Raspberries | 3 cups | frozen |
| Granulated white sugar | ⅓ cup | |
| Lemon juice | 1 tablespoon | fresh |
| Cornstarch | 2 tablespoons | |
| Water | 1 ½ tablespoons | |
| Graham cracker crumbs | 1 ¾ cups | |
| Butter | 6 tablespoons | unsalted, melted and cooled |
| Granulated white sugar | 1 tablespoon | |
| Salt | ½ teaspoon | |
| Cream cheese | 16 ounces | softened to room temperature |
| Powdered sugar | 1 cup | |
| Lemon juice | 2 tablespoons | fresh |
| Vanilla extract | 1 teaspoon | |
| Frozen whipped topping | 8 ounces | thawed |
My Creamy Raspberry Dream Dessert
Oh, this dessert brings back such sweet memories. My granddaughter Lily calls it my “pink cloud.” It’s so easy to make, and no oven is needed. I love how the tangy raspberries sit on that creamy filling. It just melts in your mouth.
Let’s start with the raspberry topping. It’s like making a quick, happy jam.
Step 1: Grab a medium pot. Put your raspberries, sugar, and lemon juice in it. Turn the heat to medium. Let it all come to a bubbly boil. Stir it often so it doesn’t stick. I still laugh at that one time I got distracted. What a sticky mess that was!
Step 2: Now, mix the cornstarch and water in a little bowl. This is our magic thickener. Pour it into your bubbling raspberries. Stir for just one minute. You will see it get thick and shiny. Take it off the heat and let it cool. Doesn’t that smell amazing?
Next, we make the crunchy bottom. This part is so much fun for little hands to press down.
Step 3: Time for the crust. Mix the graham cracker crumbs, melted butter, sugar, and salt. It should feel like wet sand. (A hard-learned tip: make sure your butter is cooled. If it’s too hot, your crust will be greasy).
Step 4: Line your pan with parchment paper. This makes it easy to lift out later. Press your crumb mix firmly into the pan. I always use the bottom of a cup to press it flat. Set your pan aside for now.
Now for the best part, the dreamy filling. This is the cloud!
Step 5: In a big bowl, beat the cream cheese until it’s smooth. Add the powdered sugar, lemon juice, and vanilla. Keep beating for a minute or two. You want it to be fluffy and lump-free.
Step 6: Here is the secret to its fluffiness. Gently fold in the whipped topping. Do not stir hard. Just fold it in slowly until it’s all one color.
Step 7: Spread this creamy cloud over your crust. Make the top nice and even. A spatula works perfectly for this.
We are almost done. The final touch is so pretty.
Step 8: Spoon your cooled raspberry sauce over the cream cheese layer. You can swirl it a little if you like. I love making a pretty pattern.
Step 9: Now, the hardest part. You must be patient. Pop it in the fridge for at least 6 hours. Overnight is even better. This waiting time makes it slice so nicely. What’s the hardest part of waiting for a dessert? Share below!
Cook Time: 6+ hours (chilling)
Total Time: 6 hours 20 minutes
Yield: 9 servings
Category: Dessert, No-Bake
Three Fun Twists to Try
This recipe is like a good friend. It’s happy to change things up. Here are some fun ideas for you.
Berry Bonanza: Use a mix of blueberries and strawberries instead of just raspberries. It’s a fruity explosion.
Chocolate Dream: Add a half cup of mini chocolate chips to the cream cheese filling. My grandson adores this one.
Citrus Sunshine: Use lemon or orange curd for the topping instead of raspberry. It’s so bright and cheerful.
Which one would you try first? Comment below!
Serving Your Raspberry Dream
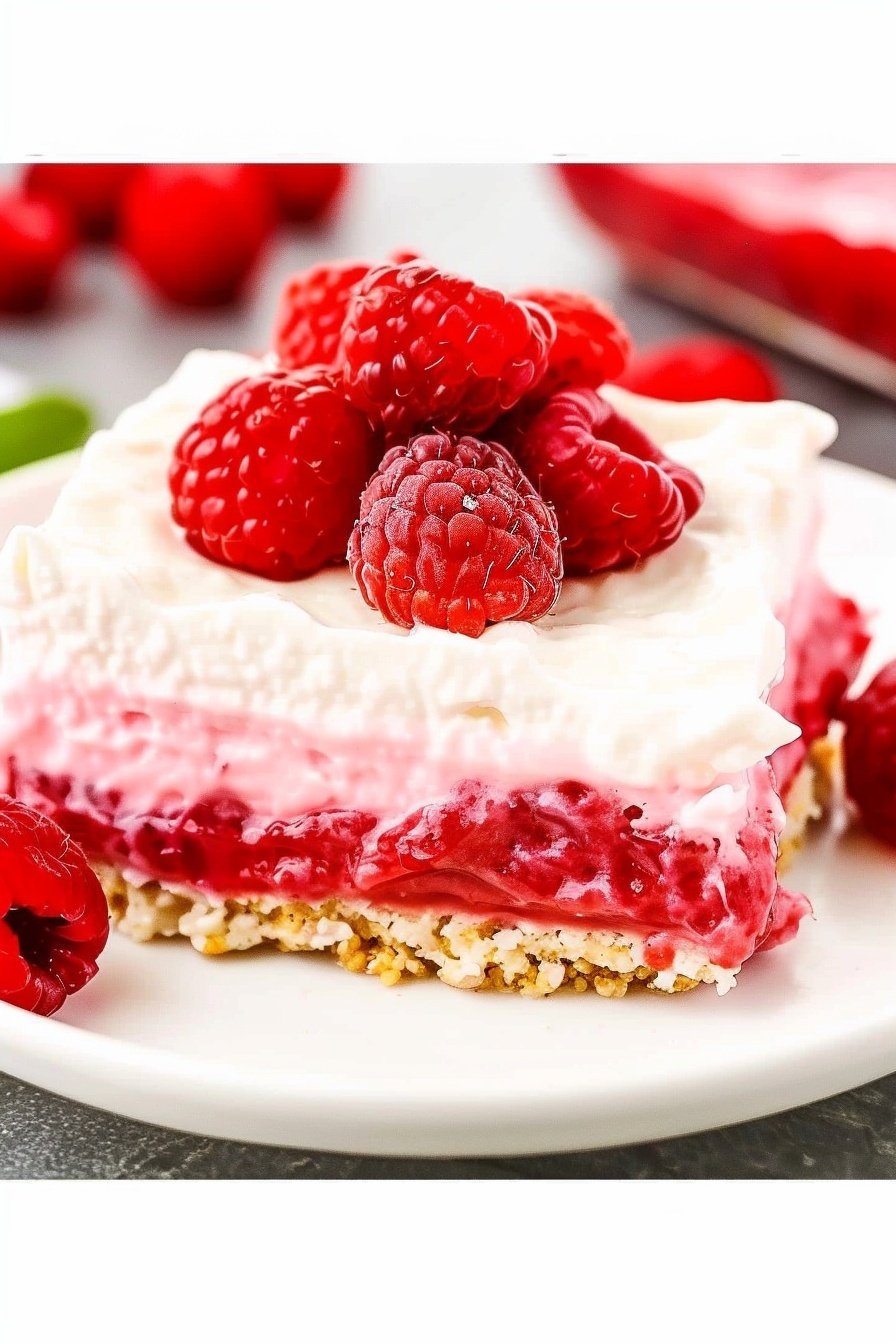
This dessert is a star all on its own. But you can make it extra special. I like to add a little extra whipped topping on each slice. A few fresh raspberries on the plate look lovely too.
For a drink, a glass of cold milk is always a winner. For the grown-ups, a little glass of sparkling Moscato wine pairs beautifully. The bubbles cut right through the creaminess. It’s a perfect match.
Which would you choose tonight?
Keeping Your Raspberry Dream Perfect
This dessert loves the cold. You can keep it in the fridge for three days. Just cover the pan tightly with plastic wrap.
You can also freeze it for a month. I slice it into squares first. Then I wrap each piece well. This makes for a lovely, ready-made treat.
I once brought this to a summer picnic. It sat in the sun for a bit. It got a little too soft. Now I always keep it cool until serving.
Storing food well saves you time and money. It means a sweet treat is always close by. Have you ever tried storing it this way? Share below!
Easy Fixes for Common Cheesecake Troubles
Is your crust too crumbly? You did not press it down hard enough. Use a flat-bottomed cup to press it firmly into the pan.
Is the filling lumpy? Your cream cheese was probably too cold. I remember when my grandson used cold cream cheese. We had to mix it for a long time. Let it soften on the counter first.
Is the raspberry topping too runny? You must let it cool completely. A warm sauce will make the creamy layer messy.
Fixing small problems builds your cooking confidence. It also makes your food taste so much better. Which of these problems have you run into before?
Your Quick Questions, Answered
Q: Can I make this gluten-free? A: Yes! Use gluten-free graham crackers for the crust. It works just as well.
Q: Can I make it ahead? A: Absolutely. Making it the day before is best. The flavors get even happier overnight.
Q: I don’t have fresh lemons. A: Bottled lemon juice is a fine swap. I use it all the time.
Q: Can I double the recipe? A: You can! Use a 9×13-inch pan for a double batch.
Q: Any other topping ideas? A: Blueberries or strawberries are delicious too. Fun fact: You can use any berry you love! Which tip will you try first?
A Sweet Note From My Kitchen
I hope you love making this creamy dessert. It always brings a smile to my table. Sharing food is one of life’s great joys.
I would be so happy to see your creation. Have you tried this recipe? Tag us on Pinterest! You can find me at Emma’s Kitchen Stories. I love seeing your photos.
Happy cooking!
—Emma Caldwell.
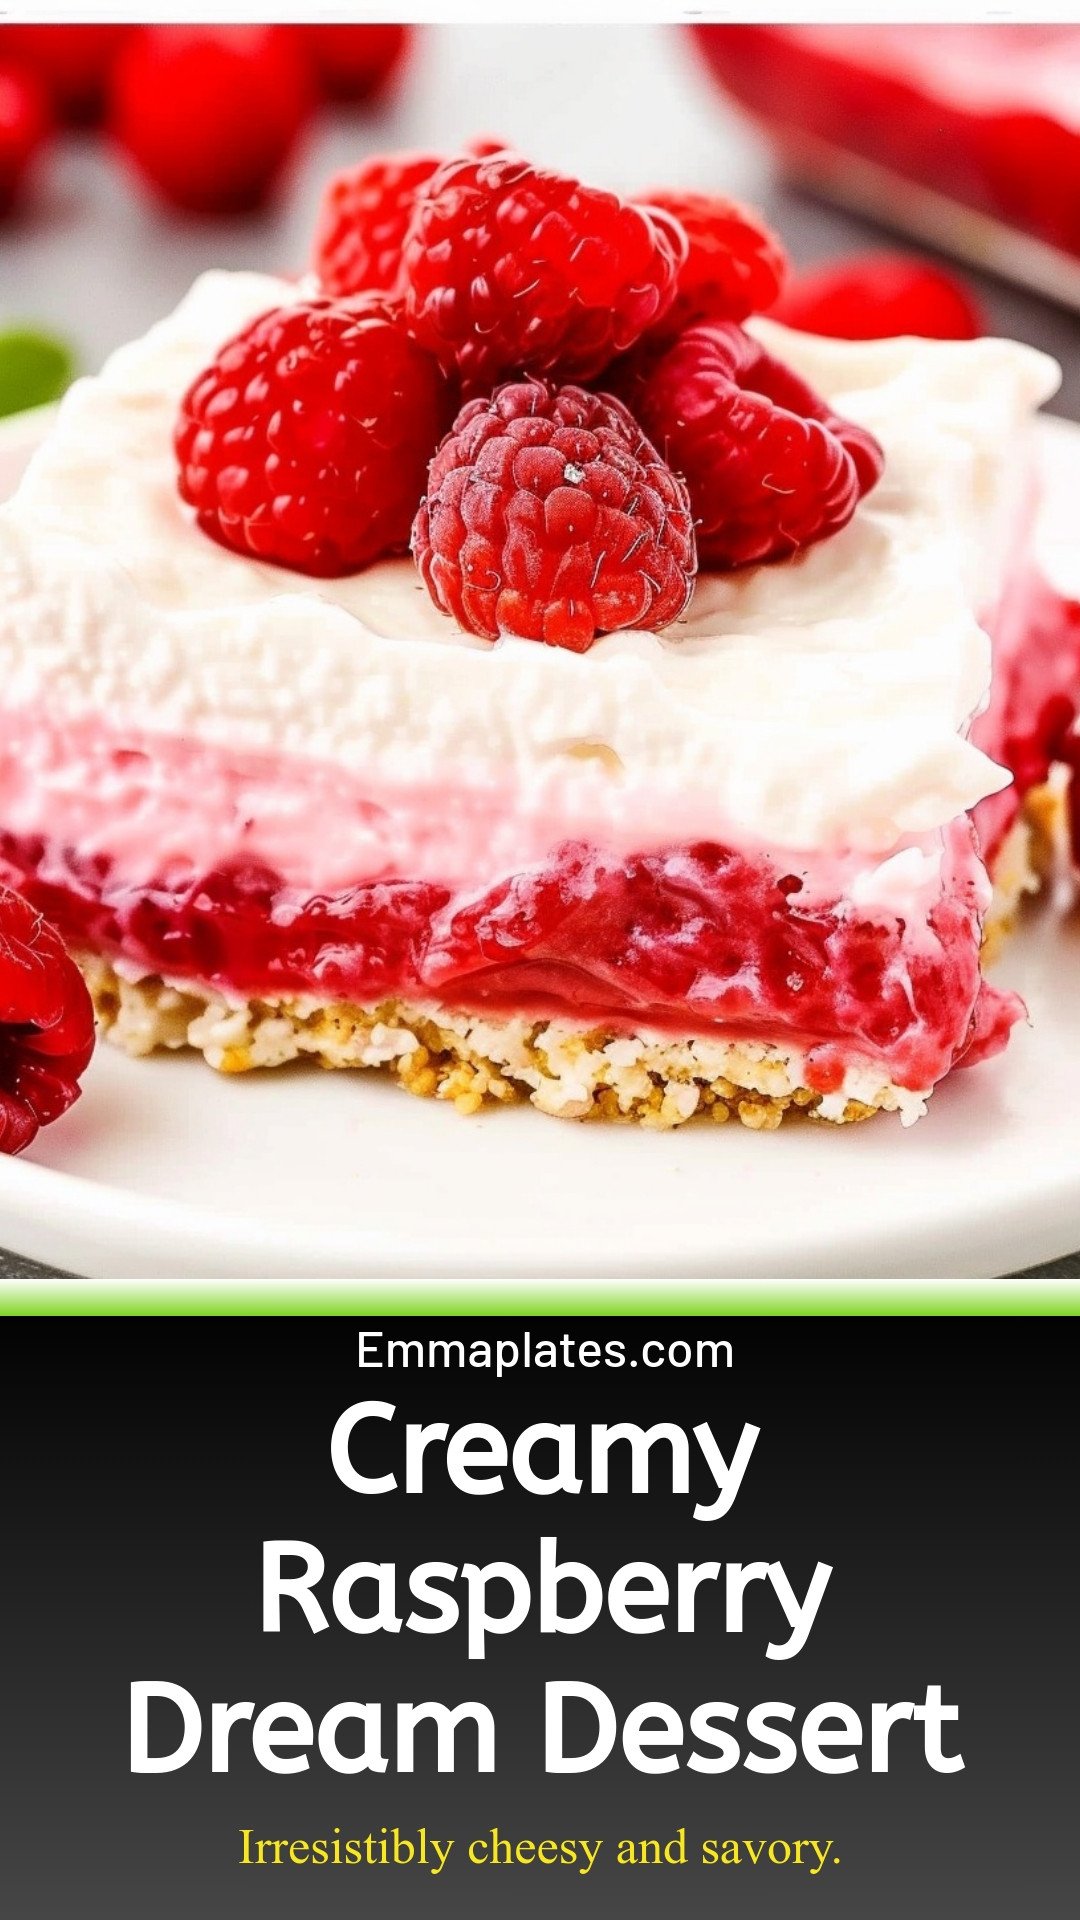
Creamy Raspberry Dream Dessert: Irresistibly cheesy and savory.
Description
Indulge in this no-bake creamy raspberry dream dessert! An easy, elegant layered treat perfect for parties. Sweet, tart, and utterly delicious.
Ingredients
=== Raspberry Cheesecake Topping Ingredients ===
=== Graham Cracker Crust Ingredients ===
=== No Bake Cheesecake Filling Ingredients ===
Instructions
- In a medium-sized sauce pot on medium heat, add 3 cups raspberries, ⅓ cup granulated white sugar, and 1 tablespoon lemon juice. Bring to a boil and cook for 3 to 4 minutes, stirring often to ensure that the raspberries do not burn.
- In a small bowl, stir together 2 tablespoons cornstarch and 1 ½ tablespoons water to create a slurry. This will thicken the raspberry sauce. Add the slurry to the boiling raspberry sauce and cook for an additional 1 minute or until the sauce thickens. Remove from the heat and allow the raspberry sauce to cool.
- In a medium mixing bowl, stir together 1 ¾ cups graham cracker, 6 tablespoons butter, 1 tablespoon granulated white sugar, and ½ teaspoon salt to create the crust.
- Line a 9×9-inch baking pan with parchment paper. Be sure to leave enough of the parchment paper overhanging the sides to allow you to lift the cheesecake out of the pan to slice it. Press the crust mixture firmly into the bottom of a parchment-lined baking pan. Set aside.
- For the cheesecake layer, add the softened 16 ounces cream cheese, 1 cup powdered sugar, 2 tablespoons lemon juice, and 1 teaspoon vanilla extract to a large mixing bowl. Beat for 1 to 2 minutes or until the cream cheese mixture is smooth and fluffy.
- Fold the thawed 8 ounces frozen whipped topping into the cream cheese until fully incorporated.
- Spread the cream cheese mixture into an even layer over the graham cracker crust.
- Spoon the cooled raspberry sauce over the top of the cream cheese layer.
- Refrigerate for 6 hours or up to overnight before serving.
Notes
- For a smoother topping, you can press the raspberry sauce through a fine-mesh sieve to remove the seeds before spreading it over the cheesecake layer.


Leave a Reply