

A Crunchy Little Secret
Let me tell you a little secret. The best snacks are often the simplest. I learned this from my grandkids. They wanted something crispy and fun. But not from a bag.
We tried kale chips first. They were good. But then we tried spinach. Oh my. It was even better. It bakes into the lightest, most delicate crisp. I still laugh at how surprised we were. Does your family have a favorite “secret” healthy snack?
Why This Tiny Green Leaf Matters
This isn’t just about a chip. It’s about a little win. Eating your greens can feel like a chore. Turning them into a fun treat changes everything.
That matters. It helps you build a happy friendship with good food. You learn that healthy doesn’t have to be boring. Fun fact: Spinach leaves are mostly air and water. That’s why they get so light and crispy when baked slow and low!
How to Make Your Kitchen Smell Amazing
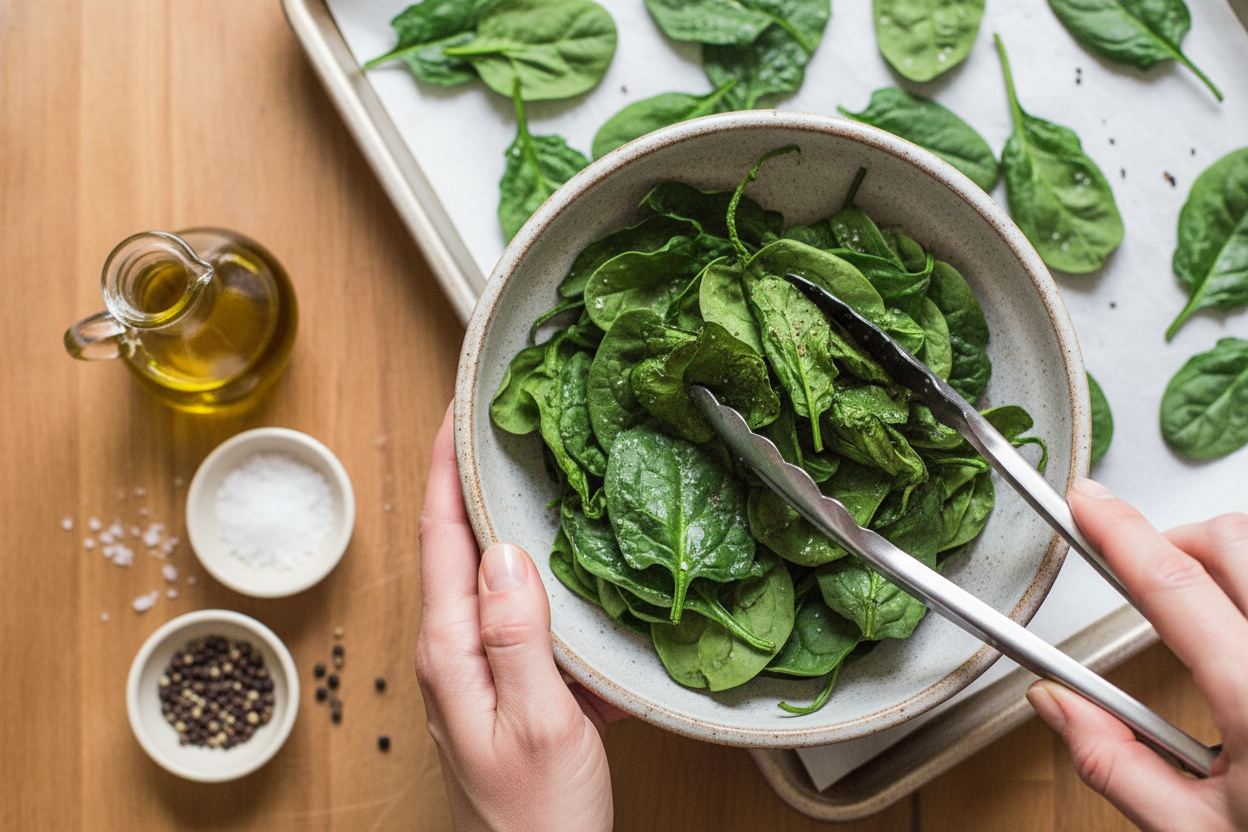
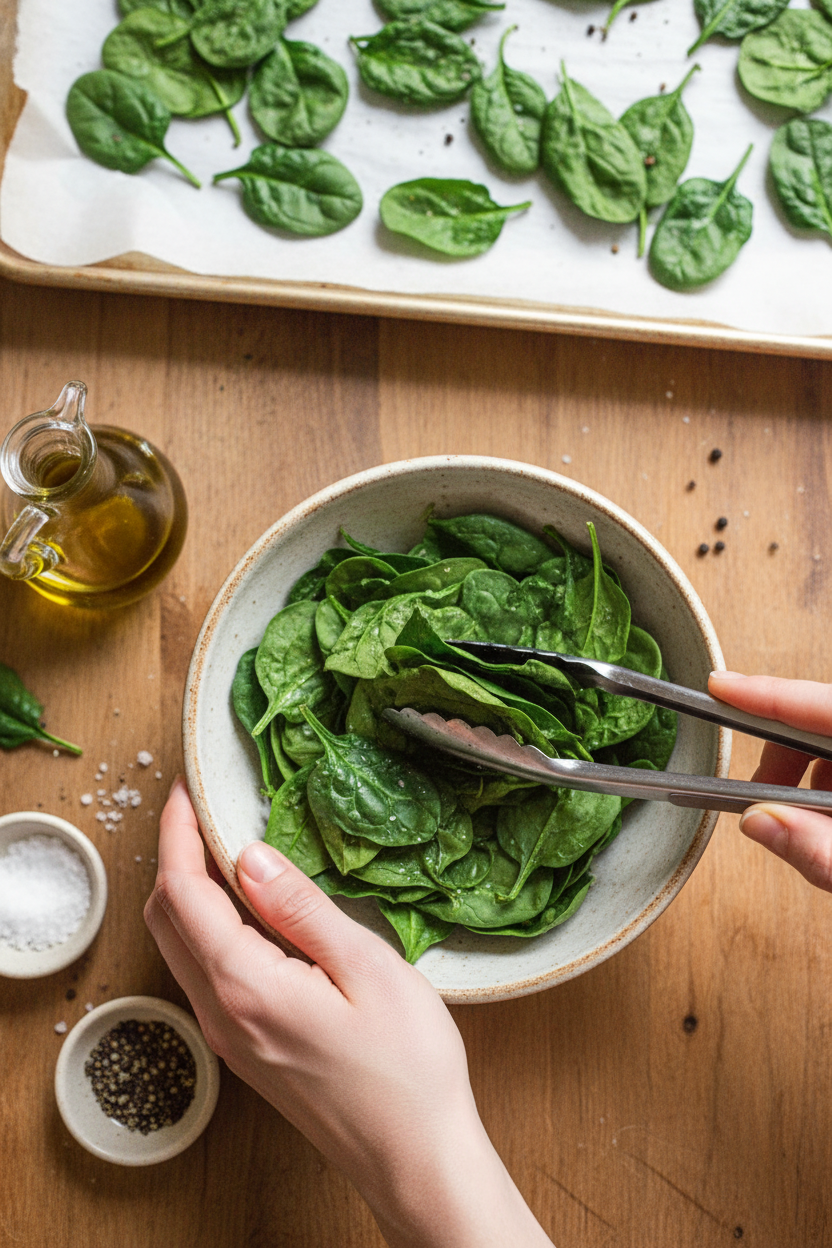
Here is all you do. Get two big handfuls of fresh spinach. The leaves should be dry. Toss them in a bowl with just a tiny bit of olive oil. Use your hands. Be gentle.
You want each leaf to just barely glisten. Too much oil makes them soggy. Lay them flat on a baking sheet. Give them space like they need a little nap. Doesn’t that smell amazing already? What’s your favorite kitchen smell?
The Magic of Patience
Now, the oven must be very low. Set it to 200 degrees. This is the slow, magic part. It takes about an hour. You must be patient.
Why does this matter? Good things take time. Rushing with high heat will burn them. You want them dry and crisp, not brown. Check on them. When they are ready, they will feel like little green paper. What song do you like to listen to while you wait for something good?
The Final Sprinkle
Take your crispy leaves out. Let them cool for just a minute. Now, the final touch. A tiny pinch of salt. A little black pepper if you like.
That’s it. You made something wonderful from almost nothing. The bowl will be empty before you know it. I love that. It means you made something truly good. Will you try them plain, or add a sprinkle of garlic powder?
Ingredients:
| Ingredient | Amount | Notes |
|---|---|---|
| Spinach | 2 cups | Fresh, packed |
| Olive oil | ¼ tsp | |
| Salt and pepper | 1 pinch | To taste |
My Crispy Little Secret: Baked Spinach Chips
Hello, my dear. Come sit for a minute. Let’s talk about a magical little snack. It turns leafy greens into crispy, delicate chips. I discovered this trick years ago. My grandson called them “green fairy wings.” I still laugh at that. They are so simple and surprisingly good. You just need patience, like waiting for cookies to cool. Doesn’t that smell amazing? The oven does all the gentle work. Let me walk you through it.
Step 1: Get your spinach nice and dry. Wet leaves will steam, not crisp. Pat them gently with a kitchen towel. I always think of drying lettuce for a summer salad. It’s the same careful motion. Put the dry leaves in a big bowl.
Step 2: Now, the lightest touch of oil. Use just a quarter teaspoon. Drizzle it over the leaves. Toss them with your hands, very softly. You want a whisper of oil on each leaf. (My hard-learned tip: Too much oil makes them soggy. Less is truly more here!).
Step 3: Time to lay them out. Line your baking sheet with parchment paper. Arrange each leaf flat, like it’s sunbathing. None should touch or overlap. This is the secret for perfect crispiness. Why can’t the leaves overlap? Share below!
Step 4: Your oven must be very low, just 200°F. It’s more like a warm summer day inside. Slide the tray in. Now, wait about an hour. Go read a book or water your plants. You’ll know they’re done when the leaves are dry and crinkle to the touch.
Step 5: Take them out and let them cool on the tray. They get even crispier as they sit. Now, the final flourish. Sprinkle them with a tiny pinch of salt and pepper. Then, just dig in. They are a quiet, crunchy delight.
Cook Time: About 1 hour
Total Time: 1 hour 10 minutes
Yield: 4 snack servings
Category: Snack, Healthy
Three Fun Twists to Try
Once you master the basic chip, you can play. Here are my favorite little twists. They make each batch a new adventure. I love experimenting like this.
Cheesy Fairy Dust: After oiling, sprinkle leaves with nutritional yeast. It tastes like parmesan but is dairy-free.
Smoky & Spicy: Add a tiny pinch of smoked paprika and garlic powder with the salt. It gives a warm, cozy kick.
Zesty Lemon Pepper: Use lemon pepper seasoning instead of regular pepper. It’s so bright and cheerful.
Which one would you try first? Comment below!
Serving Them Up With Style
These chips are lovely on their own. But they can be part of something bigger. I like to crush them over a bowl of creamy tomato soup. It’s like a fancy green crouton. Or, serve a small bowl next to a sandwich. It makes lunch feel special.
For a drink, a chilled glass of lemonade is perfect. The sweet and sour cuts the saltiness. For the grown-ups, a crisp sauvignon blanc wine pairs beautifully. It has herby notes that love the green spinach. Which would you choose tonight?
Keeping Your Spinach Chips Crispy
These chips are best eaten right away. But I know life gets busy. If you must store them, let them cool completely first. Put them in a paper bag at room temperature. A plastic bag makes them soggy.
I do not recommend freezing or reheating them. They lose their wonderful crispness. The first time I tried, I got a sad, chewy leaf. Batch cooking is still great, though. Make several trays at once for a big snack bowl.
This matters because good food should fit your life. Having a ready snack stops you from grabbing less healthy options. Have you ever tried storing it this way? Share below!
Fixes for Common Spinach Chip Troubles
Problem one: burnt or bitter chips. Your oven might run hot. Try lowering the temperature by 25 degrees. I once burned a batch because I didn’t check it.
Problem two: chewy, not crispy leaves. They were crowded on the pan. Leaves must not touch. This lets the hot air flow all around each one. That airflow is the secret to the crunch.
Fun fact: This low-and-slow method is how chefs make fancy restaurant garnishes!
Problem three: no flavor. Season after baking, not before. Salt draws out moisture during cooking. Getting the texture right first makes all the difference. Which of these problems have you run into before?
Your Spinach Chip Questions, Answered
Q: Are these gluten-free?
A: Yes, they are naturally gluten-free.
Q: Can I make them ahead?
A: For best crunch, eat them the same day you bake them.
Q: Can I use another oil?
A: Yes, avocado oil works well too.
Q: Can I double the recipe?
A: Absolutely! Just use two baking sheets.
Q: Any fun extra tips?
A: Try a tiny sprinkle of garlic powder after baking. Which tip will you try first?
From My Kitchen to Yours
I hope you love making these crispy little greens. It is a simple joy. I would love to see your creations. Sharing food stories connects us all.
Have you tried this recipe? Tag us on Pinterest! Use our handle @EmmasCozyKitchen. I always look for your photos. Thank you for letting me share my kitchen with you.
Happy cooking!
—Emma Caldwell.
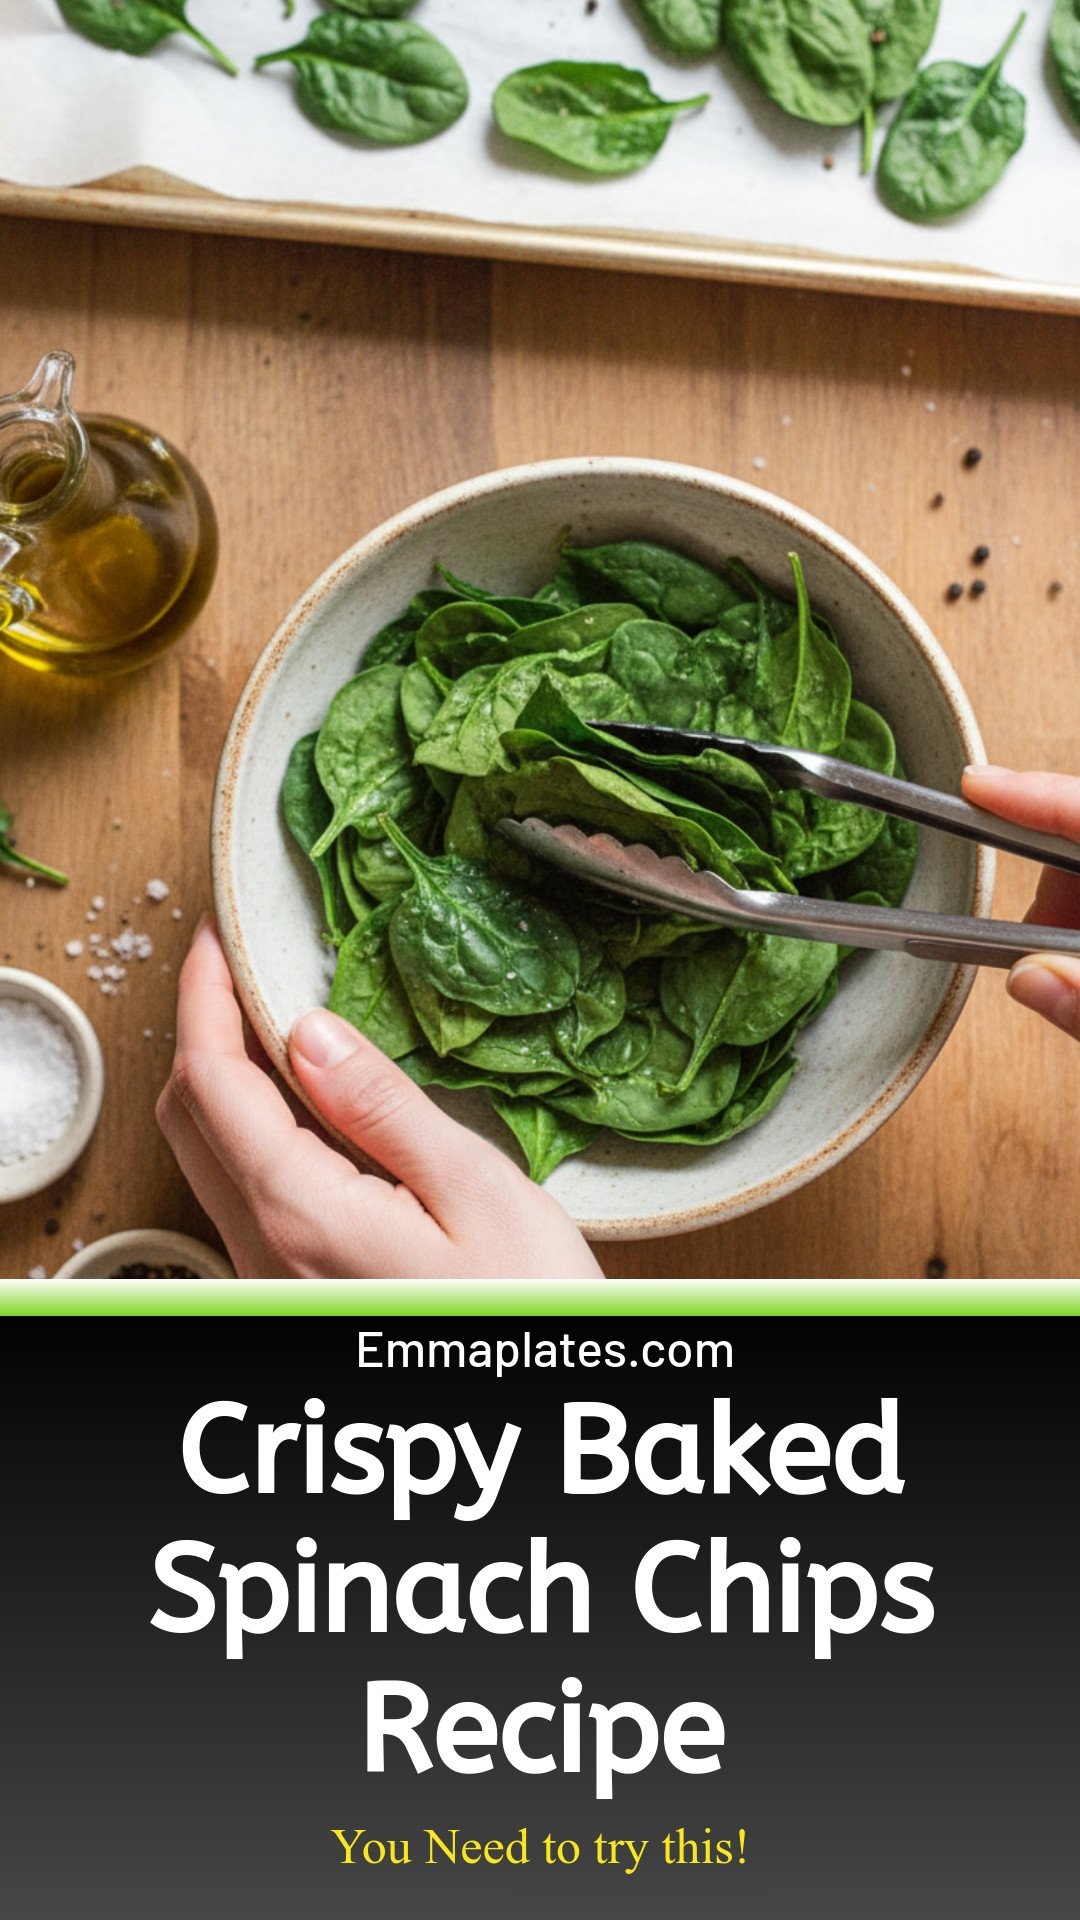
Crispy Baked Spinach Chips (In Your Oven!): Crispy Baked Spinach Chips Recipe
Description
Crispy, healthy spinach chips baked to perfection in your oven! A delicious, easy snack for kids and adults.
Ingredients
Instructions
- Mix: In a large bowl gently toss together spinach and olive oil to ensure each leaf is very lightly coated.
- Bake: Preheat oven to 200°F (93°C). Arrange spinach leaves on a parchment-lined baking sheet, ensuring they’re all laid out flat in a single layer and none overlap. Bake for about 1 hour, or until dry and crispy.
- Serve: Sprinkle with salt and pepper before digging in!


Leave a Reply