
My First Hot Cross Bun
I made my first hot cross buns when I was about your age. My grandma showed me. I was so nervous. I thought they would be hard.
But you know what? They weren’t. They were just simple, soft dough. The kitchen smelled like sweet cinnamon. Doesn’t that smell amazing? That smell is my favorite memory. I still laugh at that day. I got flour all over my nose.
Why We Make Them
These buns are more than just a snack. They are a little tradition. Sharing them connects us. It’s a way to show someone you care.
That matters. A homemade treat says “I thought of you.” It is a small act of love. What is a food that makes you think of family? Tell me about it.
Let’s Keep It Simple
Some recipes are very fussy. Not this one. We use Greek yogurt instead of lots of butter. This makes them lighter. It also adds good protein.
That’s our first “why this matters.” You get a tasty treat that also fuels your body. *Fun fact: The cross on top was originally just a simple cut to help the bun bake evenly.* Later, it became a special symbol.
Your Dough Will Talk to You
Here is the big secret. Feel the dough with your hands. It should be tacky, not sticky. If it sticks to your fingers, add a tiny bit more flour.
This is the best part. You learn by touching. It’s like play-dough, but you can eat it later. Do you like baking with your hands or with a mixer? I always use my hands.
Two Ways to Bake
You can use your regular oven. It fills the whole house with warmth. Or, you can use an air fryer. It is faster for a small batch.
Both ways work great. The most important step? Let them cool. I know it’s hard to wait. But if you ice them warm, the icing will just melt right off. Patience makes them perfect.
Make Them Your Own
This is your kitchen now. You are the boss. Don’t like raisins? Try dried cranberries. Love chocolate? A few mini chips are wonderful.
This is our second “why this matters.” Cooking is about joy, not just rules. Making it your own is the real fun. What would you put in your special buns? I’d love to hear your ideas.

Ingredients:
| Ingredient | Amount | Notes |
|---|---|---|
| unbleached all purpose flour, whole wheat or gluten-free mix | 1 cup (5 oz) | |
| baking powder | 2 teaspoons | |
| raw sugar | 2 tablespoons | |
| cinnamon | 3/4 teaspoon | |
| kosher salt | 1/2 teaspoon | |
| 0% Greek yogurt | 1 cup | |
| raisins | 3 tablespoons | |
| egg white, beaten | 1 | whole egg works fine too |
| powdered sugar | 1/4 cup | for glaze |
| milk or water | 1 teaspoon | for glaze |
My Easy Easter Buns: A Cozy Kitchen Story
Hello, dear. Let’s make some hot cross buns. They smell like spring and happy memories. I always think of my own grandma on baking day. She taught me this simpler way. No yeast means no waiting for hours. Doesn’t that sound nice?
We just mix a few things from the pantry. The Greek yogurt makes them wonderfully soft. I still laugh at my first try. My crosses looked more like squiggles! Yours will be lovely, I just know it. Ready to begin?
Ingredients
- 2 cups all-purpose flour
- 1 tablespoon baking powder
- 1/4 cup sugar
- 1 teaspoon cinnamon
- 1/2 teaspoon salt
- 1 cup Greek yogurt
- 1/2 cup raisins
- 1 egg white (for brushing)
- 1/2 cup powdered sugar
- 1-2 teaspoons milk
Step 1: First, turn your oven to 375°F (190°C). Line your baking sheet with parchment paper. Give it a little spray with oil. This stops our buns from sticking. Now, find your medium mixing bowl.
Step 2: In that bowl, put the flour and baking powder. Add the sugar, cinnamon, and salt. Whisk it all together. It will smell like a spice cupboard. I love that smell so much.
Step 3: Now, stir in the yogurt and raisins. Use a fork for this. It will look crumbly at first. Keep mixing until it comes together. (A hard-learned tip: don’t over-mix! Just until no dry bits remain.)
Step 4: Dust your counter with a bit of flour. Knead the dough about ten times. It should feel tacky, not sticky. Then, divide it into eight little balls. Place them on your baking sheet.
Step 5: Brush the tops with the egg white. This makes them shiny and golden. Bake them for 25 minutes. Let them cool completely before icing. What’s your favorite smell from the oven? Share below!
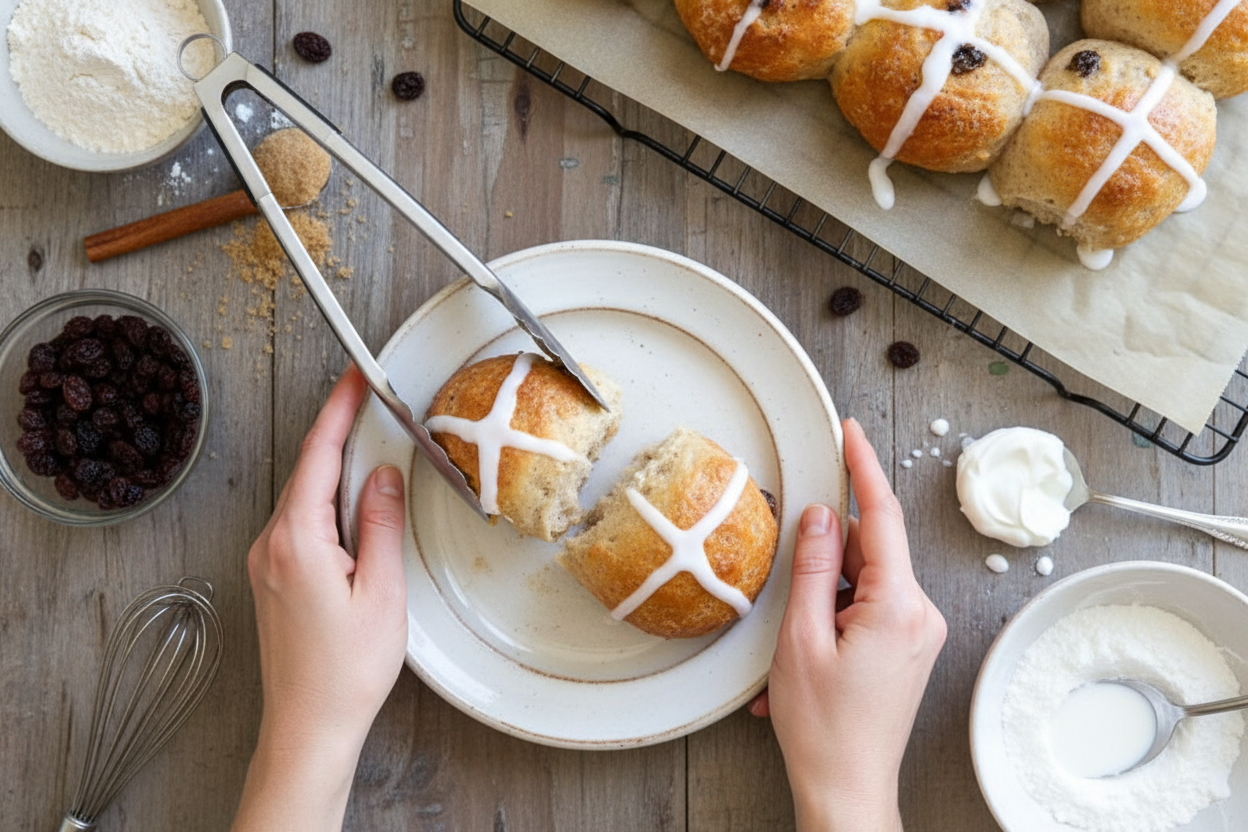
Step 6: For the cross, mix powdered sugar and milk. Put it in a tiny bag. Snip the very tip off. Gently draw a cross on each bun. There, you’ve made something beautiful.
Cook Time: 25 minutes
Total Time: 50 minutes
Yield: 8 buns
Category: Baking, Holiday
Three Fun Twists to Try
Once you master the classic, try a little change. It makes baking feel like play. Here are three ideas I love.
Chocolate Chip Joy: Swap raisins for dark chocolate chips. The melted bits are a happy surprise.
Apple Pie Bun: Add tiny dried apple pieces. Use a pinch of nutmeg with the cinnamon.
Sunshine Citrus: Mix in orange zest. Use orange juice in the icing instead of milk.
Which one would you try first? Comment below!
Serving Them Up Just Right
A warm bun is a treat all by itself. But let me tell you how my family loves them. We split them and toast them lightly. Then we add a small pat of good butter. Watching it melt is the best part.
For a special breakfast, add a bowl of berries. The tart fruit is perfect with the sweet bun. For drinks, a cold glass of milk is my top pick. For the grown-ups, a cup of black tea with lemon is lovely. Which would you choose tonight?
Keeping Your Buns Fresh and Ready
Let’s talk about keeping your buns lovely. Cool them completely first. Then, store them in a tin at room temperature for two days. For longer, freeze them! Wrap each bun tightly in plastic wrap. Pop them all into a freezer bag. They will keep for a month.
To reheat, just warm a frozen bun in the microwave for 20 seconds. I once served a reheated bun to my grandson. He said it tasted just-baked! Batch cooking saves you time later. It also makes your kitchen smell wonderful twice. Have you ever tried storing it this way? Share below!
Simple Fixes for Common Bun Troubles
Is your dough too sticky? Do not worry. Just add a tiny bit more flour. Knead it gently until it feels soft. I remember when my first batch spread out flat. My baking powder was old! Fresh powder makes them rise nicely.
Are the raisins sinking to the bottom? Toss them in a spoon of flour first. This little trick helps them stay put. Getting these right builds your cooking confidence. It also makes your buns look and taste perfect. Which of these problems have you run into before?
Your Hot Cross Bun Questions, Answered
Q: Can I make these gluten-free?
A: Yes! Use your favorite gluten-free flour mix. The recipe works just the same.
Q: Can I make the dough ahead?
A: You can mix the dry ingredients the night before. Add the yogurt in the morning.
Q: No raisins? What can I use?
A: Dried cranberries or chopped apricots are lovely swaps. Fun fact: The cross on these buns is an ancient symbol of spring.
Q: Can I double the recipe?
A: Absolutely. Just use a bigger bowl. Your baking time might be a minute or two longer.
Q: Is the egg wash necessary?
A: It gives a shiny, golden top. But you can skip it if you need to. Which tip will you try first?
Sharing the Warmth from My Kitchen
I hope you love making these buns. Baking is about sharing joy and stories. I would love to see your creations. Your kitchen stories make my day brighter. Have you tried this recipe? Tag us on Pinterest!
I am so glad we cooked together today. Happy cooking!
—Emma Caldwell.
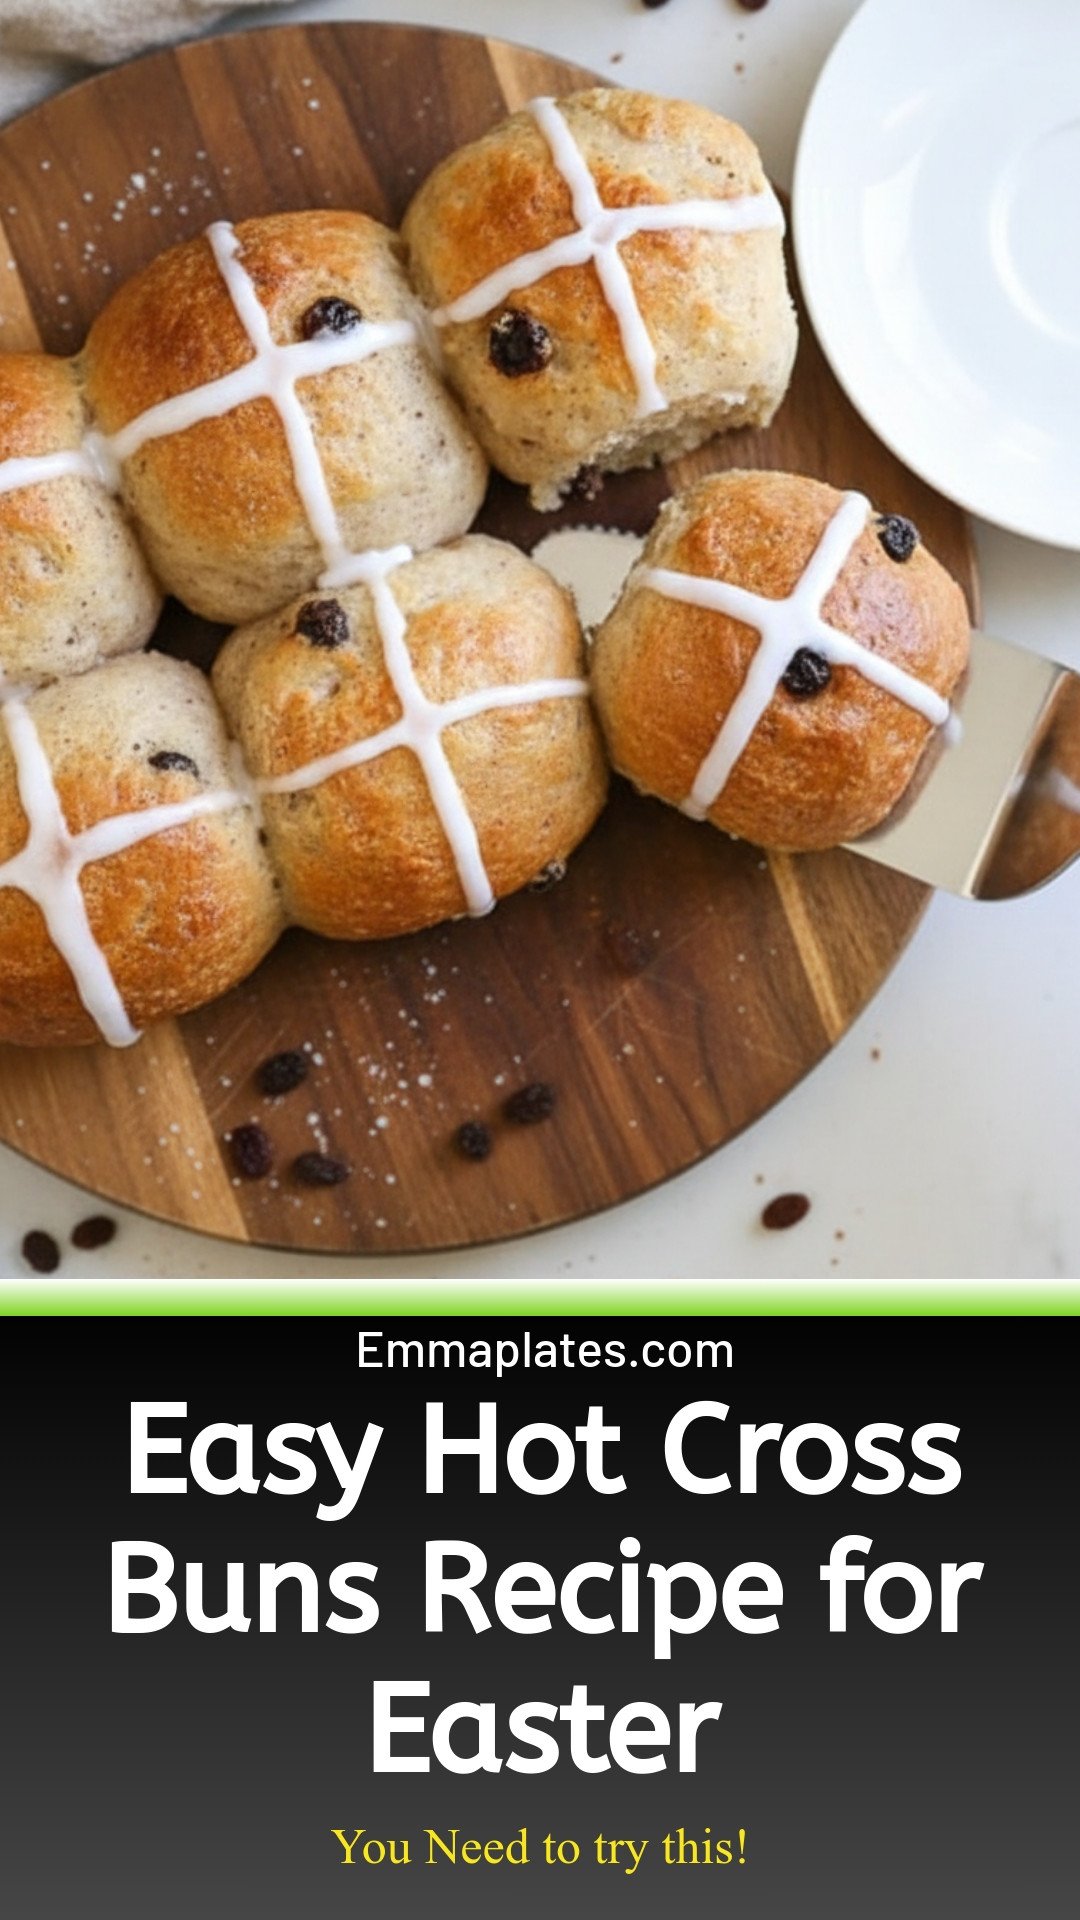
Hot Cross Buns Recipe: Easy Hot Cross Buns Recipe for Easter
Description
Easy, homemade Hot Cross Buns recipe! Soft, spiced, and filled with fruit. Perfect for Easter baking or a sweet treat any time.
Ingredients
Instructions
- Preheat oven to 375F. Place parchment paper or a silpat on a baking sheet. If using parchment paper, spray with oil to avoid sticking.
- In a medium bowl combine the flour, baking powder, sugar, cinnamon and salt and whisk well.
- Add the yogurt and raisins, mix with a fork or spatula until well combined, it will look like small crumbles.
- Lightly dust flour on a work surface and remove dough from the bowl, knead the dough a few times until dough is tacky, but not sticky, about 10 to 15 turns (it should not leave dough on your hand when you pull away).
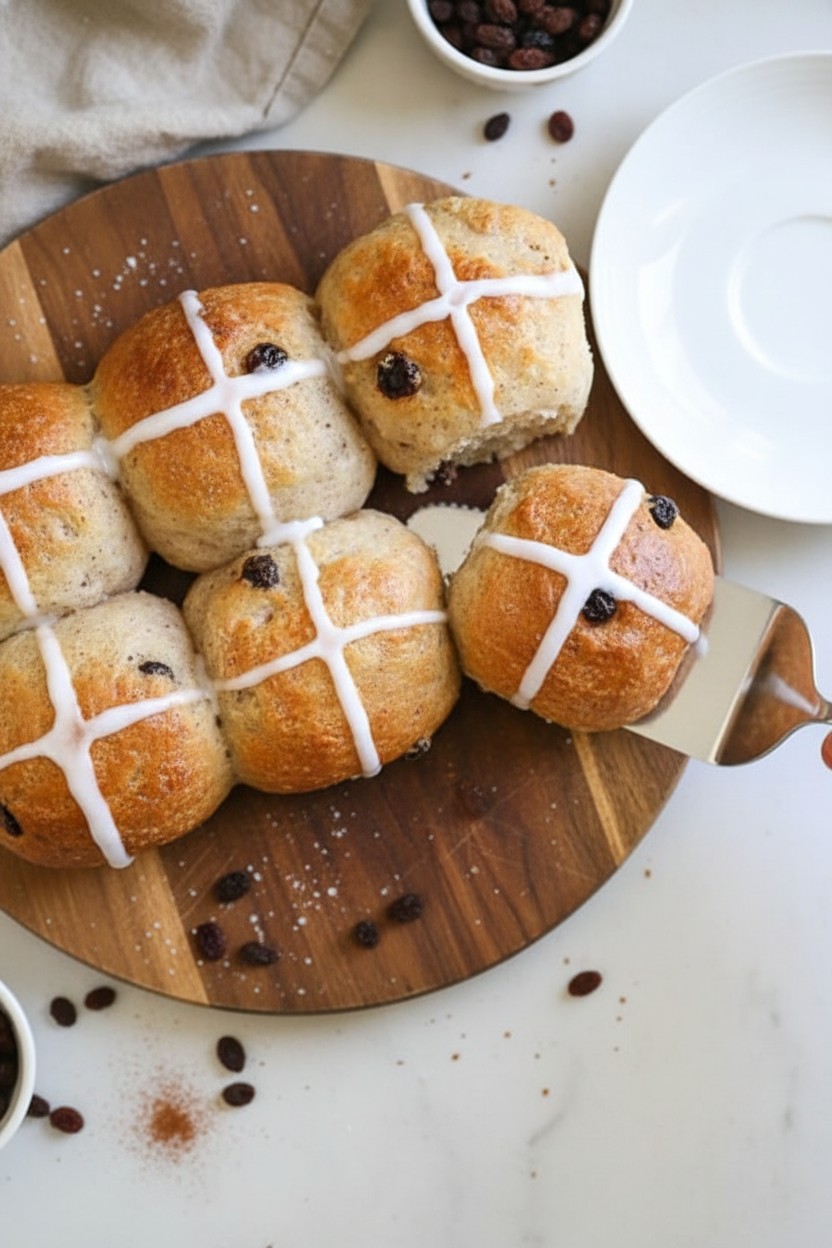
- Divide into 8 equal balls. Place on the prepared baking sheet. Top with egg wash. Bake on the top rack of the oven for 25 minutes. Let cool at least 30 minutes before icing.
- For the icing: In a small bowl, whisk the powdered sugar with milk until smooth. Transfer to a small ziplock bag and cut the tip. Ice the tops of the rolls in a cross pattern.
- Air Fryer Method: Preheat the air fryer 325F degrees and set for 11 to 12 minutes. Transfer in batches without overcrowding and bake 11 to 12 minutes, or until golden. No need to turn. Let cool at least 30 minutes before icing.
Notes
- Nutrition per serving (2 buns): Calories: 230 kcal, Carbohydrates: 46 g, Protein: 10.5 g, Fat: 0.5 g, Sodium: 426 mg, Fiber: 1.5 g, Sugar: 16.5 g


Leave a Reply