
The Best Kind of Mess
I love a dessert you don’t have to bake. It feels like a little secret. This one is all about getting your hands dirty. You press that buttery Oreo crust right into the pan.
My grandson always licks the spoon. I still laugh at that. His face is pure joy. Making a mess together is the best part.
A Happy Little Accident
I first made this for a summer picnic. It was so hot. I was worried my pie would melt. So I tried this no-bake version instead.
Everyone loved it. They asked for the recipe all day. Sometimes the best things come from a little problem. That is why this matters. A simple fix can bring a lot of happiness.
Making the Dreamy Filling
Now for the fluffy part. You mix the cream cheese and sugar. Doesn’t that smell amazing? Then you fold in the whipped cream.
Folding is gentle. You are keeping all the air in it. Think of it as giving the mixture a big, soft hug. What is your favorite part of mixing? I love watching it all come together.
The Final Touches
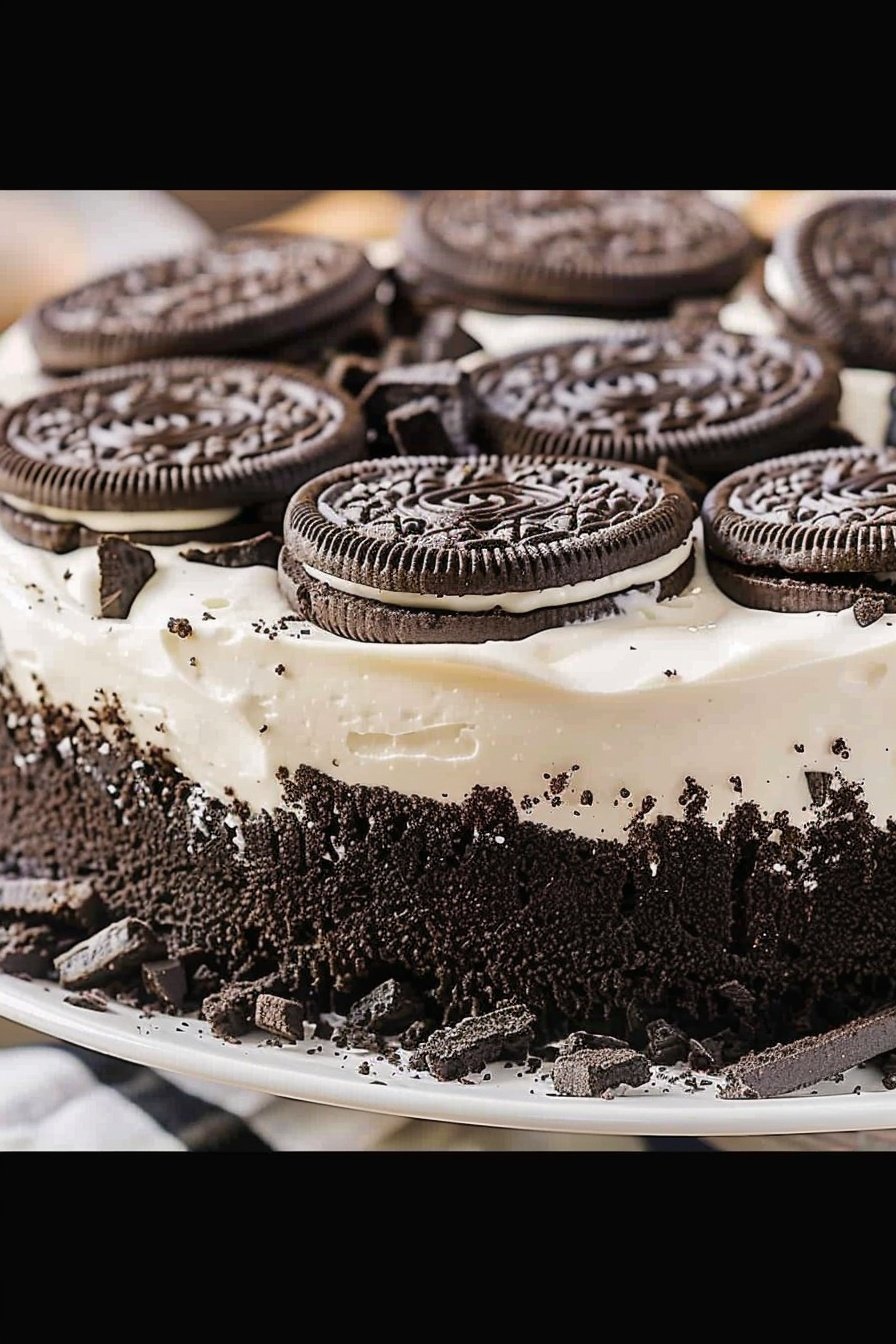
This is where you get to be an artist. Spread the white cream on top. Then, add your chopped Oreos. You can make a pattern or just sprinkle them.
There are no rules. It is your creation. Fun fact: The first Oreo was sold in 1912. That’s over a hundred years of cookie crunch!
Why We Share Food
The waiting is the hardest part. You must let it chill. But that wait is important. It teaches us patience.
Then you share it with people you love. That is why this matters. A simple dessert can make a normal day feel special. Who would you share this dessert with?
Ingredients:
| Ingredient | Amount | Notes |
|---|---|---|
| Oreo cookies | 40 | For the crust |
| Salted butter | 1/2 cup | Melted, for the crust |
| Cream cheese | 24 ounces | Softened (three 8-ounce packages), for the filling |
| Powdered sugar | 1 1/3 cups | Divided into 1 cup and 1/3 cup, for the filling |
| Vanilla extract | 1 teaspoon | For the filling |
| Cookies ‘n creme pudding mix | 4.2 ounces | For the filling |
| Heavy whipping cream | 3 cups | Cold, divided into 1 cup and 2 cups, for the filling |
| Oreo cookies | 10 to 15 | Optional, for the filling |
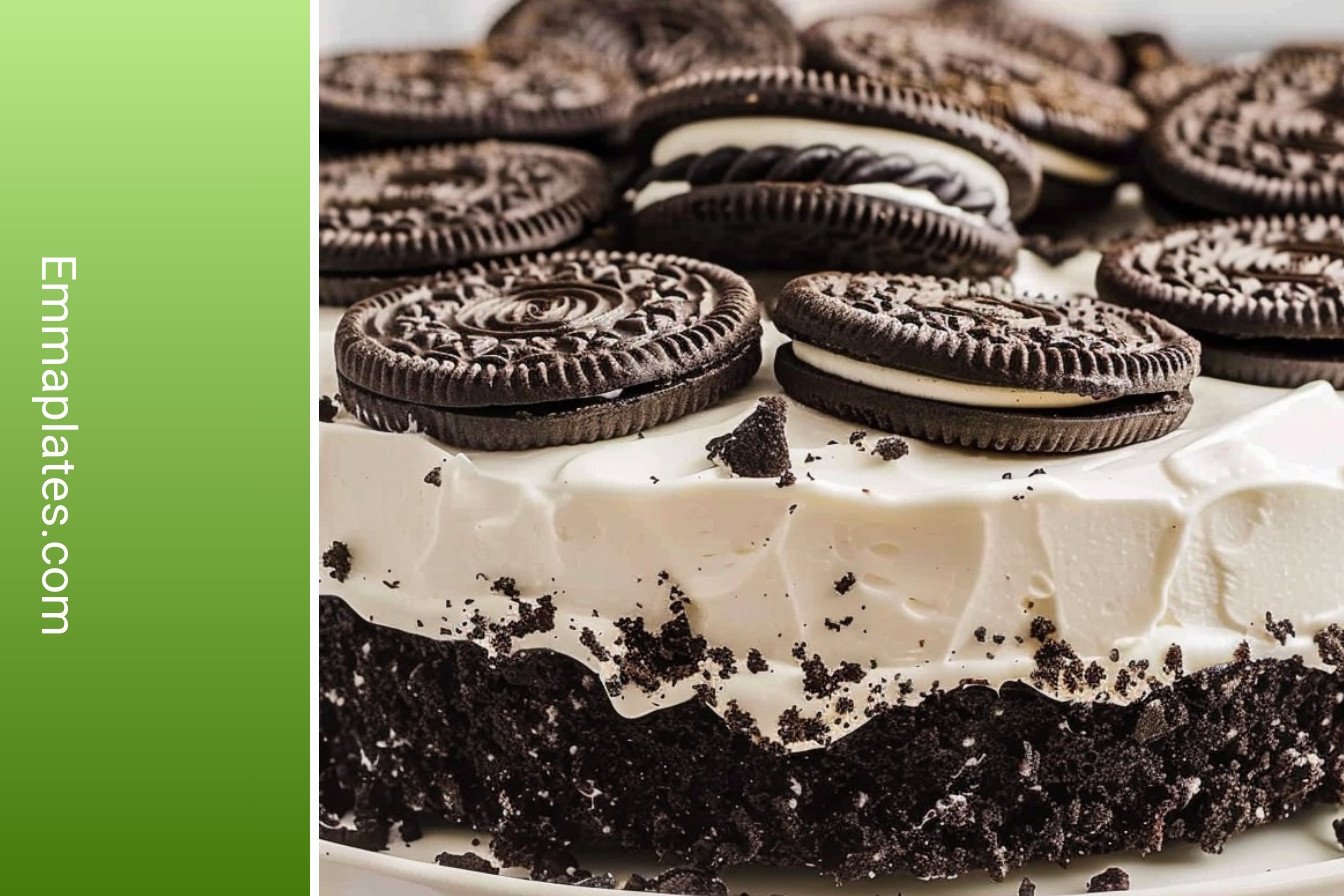
My Easy Oreo Cream Dessert
Oh, this dessert brings back such happy memories. My grandson, Leo, calls it my “magic cake.” It’s not really a cake, of course. It’s creamy, dreamy, and oh-so-easy. You don’t even need to turn on the oven. I love recipes that feel fancy but are simple to make. Doesn’t that sound perfect for a fun afternoon?
Let’s get our hands busy. First, we’ll make the crust. Grab those 40 Oreos. Crushing them is the best part. I still laugh at that. Leo used to sneak cookie pieces while I wasn’t looking. (A hard-learned tip: if you don’t have a food processor, put the cookies in a bag and roll with a rolling pin. It works just fine!).
- Step 1: Put all 40 Oreos in the food processor. Pulse them until they look like dark sand. Now, scoop out half a cup of these crumbs. Set this little pile aside for later. It will add a lovely crunch to our filling.
- Step 2: Pour your melted butter into the big pile of crumbs. Pulse it a few times to mix. It should look like wet sand. This buttery goodness will hold our crust together. I love how it smells already.
- Step 3: Press this mixture into your springform pan. Cover the bottom and go up the sides. Press it down firmly with your fingers. Then, pop the whole pan into the freezer. This chills the crust and makes it strong. Why do we chill the crust? Share below!
- Step 4: Now for the creamy filling. In a bowl, beat the soft cream cheese with one cup of powdered sugar. Add the vanilla and the pudding mix. Keep mixing until it’s all smooth. No lumps allowed! This is the heart of our dessert.
- Step 5: Slowly drizzle in one cup of the cold heavy cream. Keep your mixer running. Watch it become fluffy and light. It’s like a sweet, cheesy cloud. Doesn’t that smell amazing?
- Step 6: Time for the whipped cream. Pour the other two cups of cream into a cold bowl. Beat it until it gets thick and soft. Then, add that last third cup of powdered sugar. (A hard-learned tip: make sure your bowl and cream are very cold. It whips up so much better!).
- Step 7: Keep beating the cream until it forms stiff peaks. This means when you lift the beaters, the cream stands up tall. It should look like the topping on a fancy cupcake. You’ve just made homemade whipped cream!
- Step 8: Let’s bring it all together. Gently fold one cup of your whipped cream into the cream cheese mixture. Now, add those cookie crumbs you saved earlier. If you want some big cookie chunks, fold in a few chopped Oreos too. I always do this for Leo.
- Step 9: Take your crust out of the freezer. Spread the cheesecake filling evenly inside. Be gentle so you don’t break the crust.
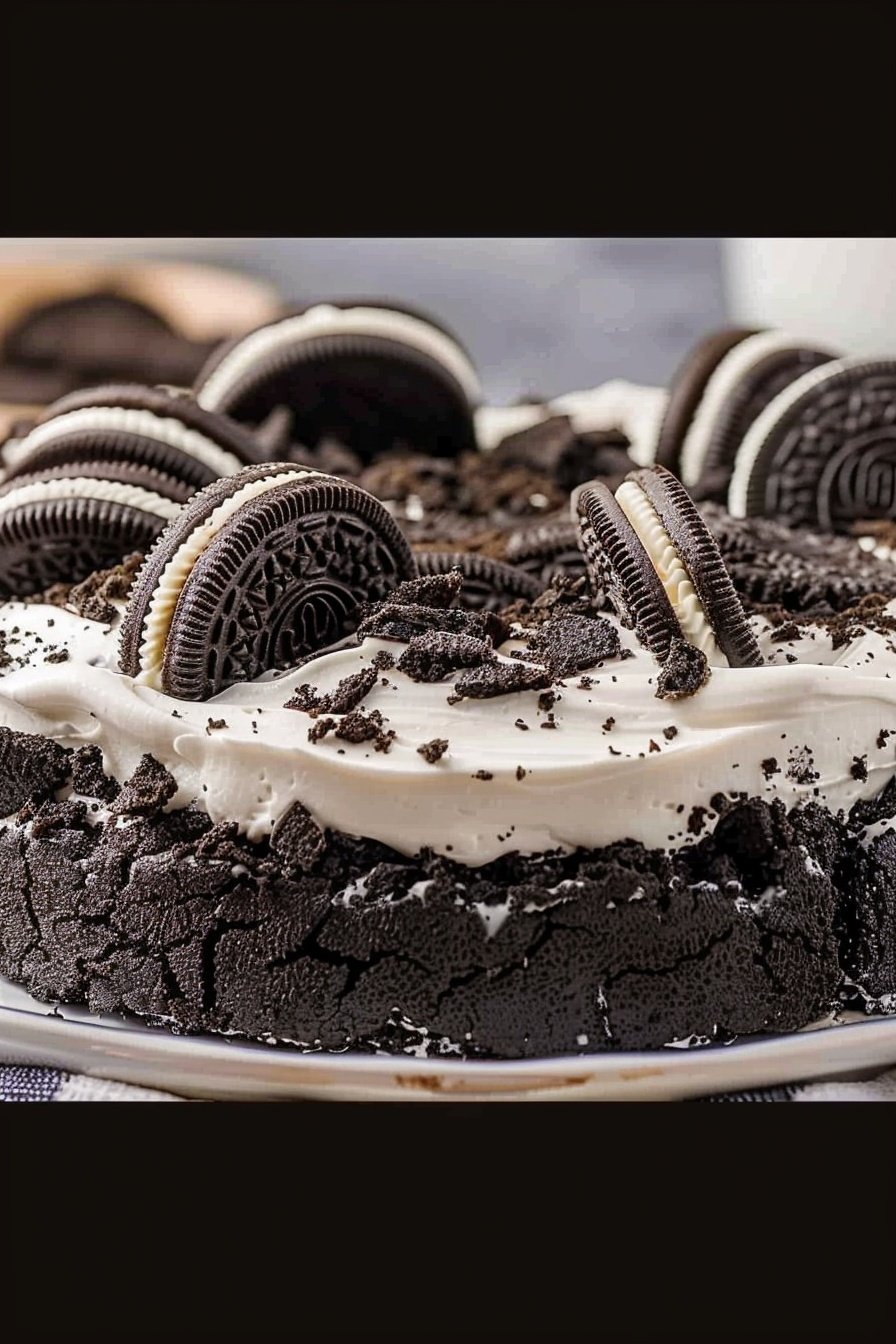
- Step 10: Now, spoon the rest of your fresh whipped cream over the top. Spread it into a beautiful, fluffy blanket.
- Step 11: For the final touch, chop a few more Oreos. Sprinkle them around the edge. You can decorate it any way you like. This is the fun part.
- Step 12: The hardest part is waiting. Let the dessert chill in the fridge for at least four hours. If you’re in a hurry, the freezer for two hours works too. It needs time to set and become perfect.
Cook Time: 4–6 hours
Total Time: 4 hours 15 minutes
Yield: 8-10 servings
Category: Dessert, No-Bake
Three Fun Twists to Try
This recipe is like a blank canvas. You can change it up so easily. Here are a few ideas my family loves. They are all simple and delicious.
- Mint Chocolate Chip: Use mint Oreos for the crust. Add a few drops of peppermint extract to the filling. It tastes so fresh and cool.
- Peanut Butter Cup: Swirl half a cup of peanut butter into the cream cheese filling. Chop up some peanut butter cups for the top. It’s a dream come true.
- Orange Dream: Add a tablespoon of orange zest to the filling. Use golden Oreos for the crust. It tastes like a creamy dreamsicle.
Which one would you try first? Comment below!
Serving It Up Just Right
This dessert is a star all on its own. But a little extra touch makes it special. I like to serve each slice with a few fresh raspberries on the side. The tartness is a nice surprise. A drizzle of hot fudge sauce never hurts either.
For drinks, a cold glass of milk is the classic choice. It just goes perfectly with Oreos. For the grown-ups, a little glass of coffee liqueur or a creamy Baileys is lovely. It sips like a dream with the dessert.
Which would you choose tonight?
Keeping Your Oreo Dessert Perfect
This dessert is best kept cold. It loves the fridge. Cover it well with plastic wrap. It will stay happy for three days.
You can also freeze it for later. Wrap the whole pan tightly. Or cut it into single slices first. This is great for a quick treat.
I once made this for my grandson’s birthday. We froze the extra pieces. He was so happy to find one a week later. Storing food well means no waste and more smiles.
You can even make two crusts at once. It saves time for next time. Have you ever tried storing it this way? Share below!
Easy Fixes for Common Hiccups
Is your cream cheese too hard? Your filling will be lumpy. Always let it soften on the counter first. This makes everything smooth and creamy.
I remember when my whipped cream would not get thick. My bowl was not cold enough. A quick tip is to chill your bowl and beaters. This helps the cream whip up perfectly.
Is your crust sticking to the pan? Make sure you line it with parchment paper. Greasing the pan well also helps. Getting the small things right builds your cooking confidence.
It also makes the flavors just right. A smooth filling tastes so much better. Which of these problems have you run into before?
Your Oreo Dessert Questions
Q: Can I make this gluten-free? A: Yes! Just use your favorite gluten-free chocolate sandwich cookies.
Q: How far ahead can I make it? A: You can make it one full day ahead. It needs time to set in the fridge.
Q: What can I use instead of heavy cream? A: For the pudding mix, whole milk works. But you need heavy cream for the whipped topping.
Q: Can I make a smaller version? A: Of course. Just cut all the ingredients in half. Use a smaller pan.
Q: Are the extra Oreos needed? A: They are optional but so good. They add a nice crunch. *Fun fact: The first Oreo cookie was sold in 1912!* Which tip will you try first?
A Little Note From My Kitchen
I hope you love making this dessert. It is a joy to share these recipes with you. Cooking is about making memories with those you love.
I would be so thrilled to see your creation. Your version might give me a new idea. Have you tried this recipe? Tag us on Pinterest! You can find me at Emma’s Kitchen Stories.
Happy cooking!
—Emma Caldwell.

Easy Oreo Cream Dessert: Creamy, dreamy, cheesy perfection.
Description
No-Bake Oreo Cream Dessert! Layers of crushed Oreos, creamy cheesecake filling, and fluffy Cool Whip make this the ultimate easy, crowd-pleasing treat.
Ingredients
=== Oreo Crust ===
=== Filling ===
Instructions
- Place 40 Oreo cookies in the bowl of a food processor and pulse until finely ground. Reserve ½ cup of the Oreo cookie crumbs and set aside.
- To the remaining cookie crumbs, add ½ cup melted butter and pulse to combine.
- Press the cookie mixture into a greased and parchment-lined 9-inch springform pan. Cover the bottom and ¾ of the way up the sides with an even layer of pressed crumbs. Place the pan in the freezer to firm the crust while preparing the cheesecake layer.
- In a medium mixing bowl, beat together the cream cheese, 1 cup of powdered sugar, vanilla extract, and pudding mix until thoroughly combined.
- With the mixer running, slowly drizzle in 1 cup of heavy whipping cream, beating until smooth and fluffy.
- Pour the remaining 2 cups of heavy whipping cream into a chilled mixing bowl. Beat at medium-high speed (either with a standing mixer whisk attachment or with a handheld mixer). When the whipping cream thickens to soft peaks, add in the remaining ⅓ cup powdered sugar.
- Continue beating until whipped cream forms stiff peaks.
- Fold one cup of the whipped heavy cream and the reserved cookie crumbs into the cream cheese mixture. If desired, you can also chop up a few extra Oreo cookies and fold them into the mixture for some bigger chunks.
- Spread the cheesecake layer evenly into the prepared crust.
- Top with the remaining whipped cream.
- Chop 5 to 6 Oreo cookies and sprinkle around the outer edge of the top of the cheesecake (or decorate however you like!).
- Place the cheesecake in the refrigerator for at least 4 hours or in the freezer for at least 2 hours to set.
Notes
- For best results, ensure your cream cheese is fully softened and your heavy cream is very cold before whipping.


Leave a Reply