
My First Granola Bar Mess
Let me tell you about my first try. I used the big, old-fashioned oats. The bars crumbled like dry sand. I was so disappointed. My grandson just laughed and ate the crumbs with a spoon.
That’s why the recipe says “quick oats.” They are softer. They hold everything together like glue. This matters because you want a bar you can hold, not a pile of crumbs. What’s your biggest kitchen mess? I still laugh at mine.
The Magic of the Sticky Pot
Now, the fun part is the saucepan. You melt the honey, sugar, and butter. It starts to bubble and smell like caramel. Doesn’t that smell amazing? You must watch it closely. It can bubble right over the edge if you look away.
Cook it for those two full minutes. This step matters. It cooks out some water. That makes the bars chewy, not soggy. Fun fact: honey has been used to stick food together for thousands of years! Then you stir in the vanilla. That smell is pure happiness.
Press, Press, Press!
When you mix it all, work fast. Pour the sticky mix over your oats and cereal. Stir it until every piece is shiny. Then dump it into your pan. Here is the secret. You must press it down very, very hard.
Use your hands or a cup. Press it firmly into every corner. If you don’t press enough, the bars will fall apart later. I use the bottom of a clean glass. It works perfectly. Do you have a favorite kitchen tool for jobs like this?
The Sweet Final Touch
Now, sprinkle those mini chocolate chips on top. Press them in gently. Why mini chips? They spread out more. You get a little chocolate in every bite. Then the hard part. You must wait. Put the pan in the fridge.
Let it chill for an hour or two. This sets the “glue” so you can cut clean bars. It teaches patience. Good things take a little time. What do you think is the hardest part of waiting for a treat?
Your Own Adventure
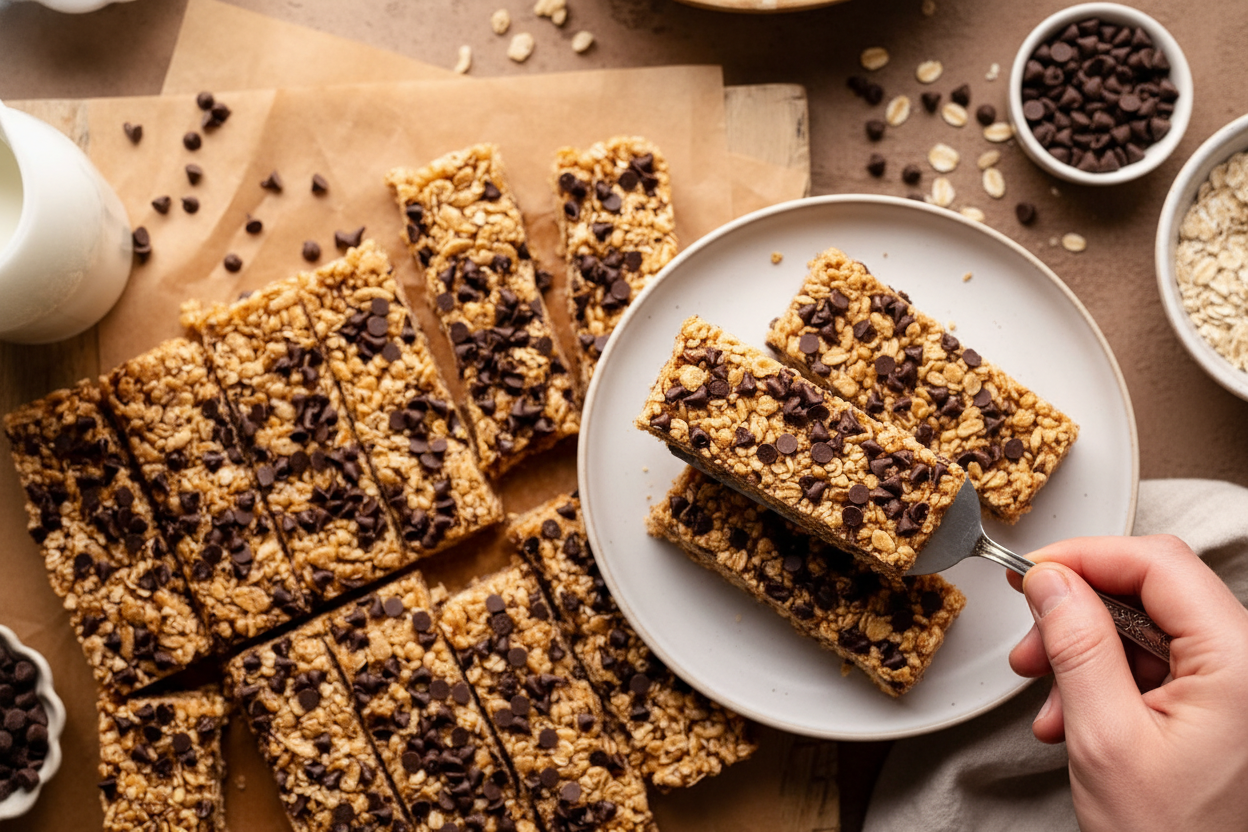
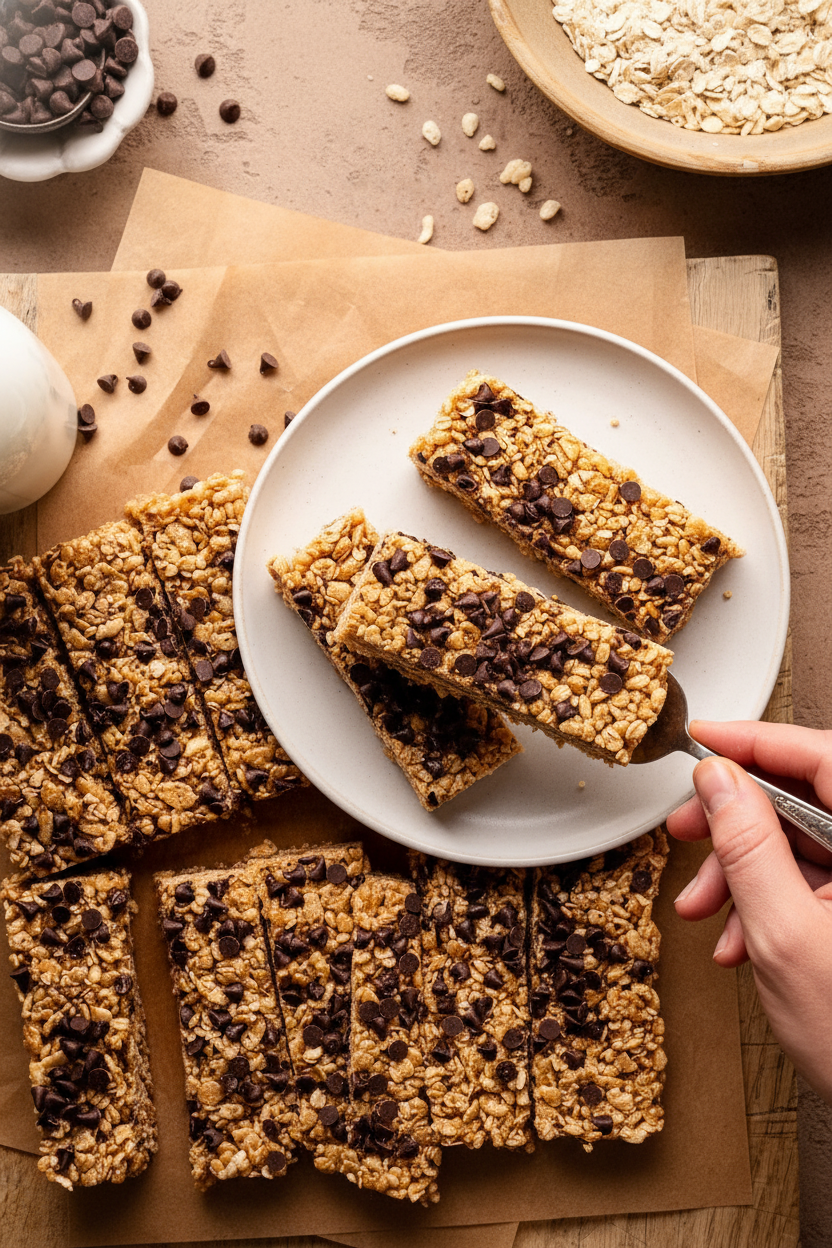
Once they’re set, lift them out with the foil. Cut them into bars or squares. These are perfect for lunchboxes. Or a quick snack with a glass of milk. You made them yourself. That feels good.
You can try other mix-ins next time. Maybe dried cranberries or chopped peanuts. Make it your own. That’s the joy of cooking. It’s a story you tell with your hands. What would you add to your perfect granola bar?

Ingredients:
| Ingredient | Amount | Notes |
|---|---|---|
| Rice Krispies | 2 1/2 cups | |
| Quick-cooking/instant oats | 1 1/2 cup | such as Quaker Quick 1-Minute Oats (do not use regular old-fashioned oats) |
| Honey | 1/3 cup | |
| Brown sugar, packed | 1/3 cup | light or dark |
| Salted butter | 1/3 cup | |
| Vanilla extract | 2 tsp. | |
| Mini chocolate chips | 1/4 cup | or enough to cover the tops |
My Favorite Chewy Granola Bars
Hello, dear! Let’s make some chewy granola bars. They are perfect for lunchboxes. My grandson always sneaks one before soccer practice. I still laugh at that.
The secret is in the sticky, sweet syrup. It holds everything together so nicely. Doesn’t that smell amazing? It reminds me of making candy with my own grandma. Let’s begin.
- Step 1: First, line your pan with foil. Leave some hanging over the sides. This creates little handles. It makes lifting the bars out so much easier later. Give it a light spray with cooking oil.
- Step 2: Now, mix your Rice Krispies and quick oats in a big bowl. I love the sound of them rustling together. Set this aside. We need our sticky syrup next.
- Step 3: Melt the honey, brown sugar, and butter in a saucepan. Let it bubble gently for two minutes. Stir it so it doesn’t get too excited and boil over! (My hard-learned tip: watch it closely. A bubbled-over pot is a sticky mess to clean). Remove it from the heat and stir in the vanilla.
- Step 4: Pour that glorious syrup over your dry mix. Stir it quickly and thoroughly. You want every single piece coated. It will look and smell wonderful. Quick question: What’s your favorite smell from the kitchen? Share below!
- Step 5: Dump the mixture into your prepared pan. Press it down firmly and evenly. This is the key to bars that hold together. Now, sprinkle those mini chocolate chips on top. Press them in gently.
- Step 6: Patience time! Let the pan cool in the fridge for an hour or two. Once it’s firm, use the foil handles to lift it out. Cut it into bars. Now, enjoy your homemade treat!
Cook Time: 10 minutes
Total Time: 1 hour 15 minutes (plus chilling)
Yield: 9-12 bars
Category: Snack, Breakfast
Three Fun Twists to Try
Once you master the basic recipe, you can play! Here are three of my favorite twists. They are all delicious.
- Trail Mix Twist: Swap the chocolate chips for dried cranberries and sunflower seeds. It tastes like a hike in a bar!
- Peanut Butter Dream: Add two big spoonfuls of peanut butter to the syrup. Use peanut butter chips on top instead of chocolate. So good.
- Birthday Cake Fun: Use rainbow sprinkles instead of chocolate chips. Add a tiny bit of almond extract with the vanilla. It’s a party!
Which one would you try first? Comment below!
Serving Them Up Sweet
These bars are fantastic all on their own. But sometimes, I like to dress them up a little. It makes a snack feel special.
For a real treat, crumble one over a bowl of vanilla yogurt. You can also warm a bar slightly and serve it with sliced apples. It’s like a cozy dessert.
What to drink? A cold glass of milk is the classic choice. For the grown-ups, a creamy stout beer pairs wonderfully with the toasted oats and honey. Which would you choose tonight?
Keeping Your Granola Bars Fresh
These bars love the cold. Keep them in the fridge for a week. They stay nice and chewy there. You can also freeze them for a month. Just wrap each bar tightly in plastic wrap. I once forgot to wrap one. It tasted like my freezer ice!
No need to reheat them. They are perfect straight from the fridge. Batch cooking saves so much time. Make a double batch on a quiet Sunday. You will have snacks ready for the whole week. This matters because a good snack should be easy. It helps busy days feel calmer.
Have you ever tried storing it this way? Share below!
Fixes for Common Granola Bar Troubles
First, bars falling apart? Press the mix into the pan very hard. Use the bottom of a cup to press. I remember when my first batch crumbled. I did not press firmly enough. This matters because a good bar holds together in your hand.
Second, mixture too sticky? Let the hot syrup cool for one minute. Then pour it over the oats. It will be easier to stir. Third, bars too hard or too soft? Cooking the syrup for two minutes is key. Set a timer so you do not guess. This builds your cooking confidence. You learn how heat changes food.
Which of these problems have you run into before?
Your Granola Bar Questions, Answered
Q: Can I make these gluten-free? A: Yes! Use certified gluten-free oats and crispy rice cereal.
Q: How far ahead can I make them? A: They are perfect for make-ahead. Follow the storage tips above.
Q: What can I use instead of honey? A: Maple syrup works well. The flavor will be a little different.
Q: Can I double the recipe? A: Absolutely. Use a 9×13 inch pan for a double batch.
Q: Any fun add-in ideas? A: Try dried cranberries or a sprinkle of sea salt on top. Fun fact: The first granola bars were invented in the late 1800s!
Which tip will you try first?
From My Kitchen to Yours
I hope you love making these chewy treats. Cooking is about sharing simple joys. I would love to see your creations. Share a photo of your granola bars with friends. It makes the kitchen feel connected.
Have you tried this recipe? Tag us on Pinterest! Use our handle @EmmasCozyKitchen. I always look at your wonderful photos. Thank you for cooking with me today.
Happy cooking!
—Emma Caldwell.

Homemade Chewy Granola Bars: Homemade Chewy Granola Bars Recipe
Description
Skip the store-bought bars! Discover the ultimate recipe for easy, no-bake Homemade Chewy Granola Bars. Healthy, customizable, and loved by kids & adults.
Ingredients
Instructions
- Line a 8×8 or 9×9 inch pan with foil, making sure there is some overhang. Spray lightly with nonstick spray and set aside.
- Mix Rice Krispies and oats together in a large mixing bowl. Set aside.
- Melt honey, brown sugar, and butter in a saucepan on the stove. Bring it to a gentle simmer so it’s bubbling, then turn the heat down and cook for another 2 minutes, stirring occasionally, making sure it doesn’t bubble up over the pan. Remove from heat and stir in the vanilla.
- Pour this over the oat mixture and stir thoroughly to combine.
- Firmly press into the prepared pan. Make sure it’s tightly compacted in the pan. Top with mini chocolate chips.
- Refrigerate 1-2 hours until set up, slice into bars and enjoy!


Leave a Reply