

My First Pot of Beans
My first pot of beans was a disaster. I forgot to check for stones. We heard a loud crunch! My husband, bless him, just smiled. I still laugh at that.
That’s why picking through them matters. It keeps your food safe and your teeth happy. It’s a small step with a big job. Do you have a funny kitchen mistake story? I’d love to hear it.
Why Start From Scratch?
Canned beans are fine in a pinch. But cooking your own is different. You control the flavor and the salt. It feels like a real accomplishment.
It also saves money. A bag of beans costs very little. It makes many meals. This matters when feeding a family. It’s good, simple food.
The Secret is in the Simmer
Don’t let them boil hard. A gentle simmer is key. It makes the beans tender, not mushy. Just let them bubble softly on the stove.
This can take one to two hours. That’s okay. The waiting fills your house with a warm, cozy smell. Doesn’t that smell amazing? It’s part of the magic.
Time for the Flavor Party
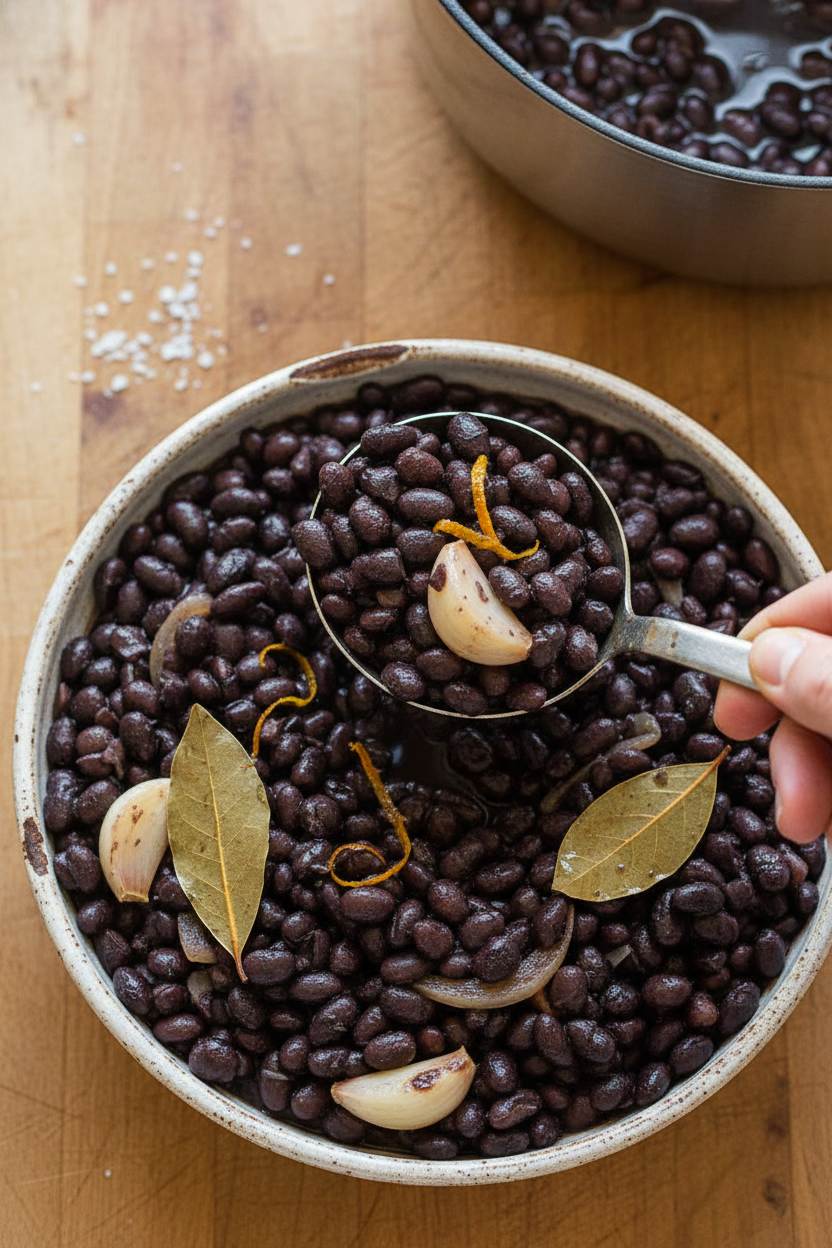
Plain water works. But let’s have some fun! Toss in a halved onion and some garlic. The orange is my favorite trick. It adds a bright little hint of something special.
Fun fact: The orange helps make the beans easier to digest! Hold the salt until the end. Salt too early can make the skins tough. What’s your favorite flavor to add? Tell me below.
Getting Them Just Right
When are they done? Taste one! It should be creamy inside, not chalky. If the pot gets dry, just add more warm water.
Once they’re tender, you stir in the salt. This matters because now the flavor goes deep into the bean. If you have too much broth, just cook it down a bit. Easy.
Your Turn in the Kitchen
Now you know the basics. You can make beans for tacos, soups, or just a bowl with rice. They freeze beautifully for busy nights.
Cooking from scratch connects us. It connects us to our food and to each other. Will you try the orange in your next pot? Let me know how it goes.
Ingredients:
| Ingredient | Amount | Notes |
|---|---|---|
| Black beans | 1 lb (453 g) | Core ingredient |
| Water | 8 cups (1.9 L) | Core ingredient |
| Salt | 1 tsp | Core ingredient |
| Garlic | 6 cloves | Optional, peeled and lightly smashed |
| White or yellow onion | 1 | Optional, skin removed and halved, roots intact |
| Bay leaves | 2 | Optional |
| Orange | 1 | Optional, rinsed and halved |
My Favorite Way to Cook Black Beans
Hello, my dear! Let’s make some beautiful black beans. I’ve cooked these for years. My grandkids love them. They are so much better than the canned kind. Trust me on this. You just need a little time and a big pot. The smell will fill your whole house. Doesn’t that smell amazing?
First, we need to check our beans. Pour them onto your kitchen table. Look for any little stones or broken beans. I found a tiny pebble once! I still laugh at that. Rinse them in a colander under cool water. The water will run clear. Now we are ready to cook.
Step 1: Get your biggest pot. Put the rinsed beans inside. Add eight cups of fresh water. The water should cover the beans by about three inches. This is very important. Beans drink up a lot of water as they cook.
Step 2: Now for the fun part! Add your flavor friends. I always add garlic and a halved onion. The bay leaves are my secret. A halved orange makes them taste sunny. (My hard-learned tip: leave the onion skin on for richer color!)
Step 3: Bring the pot to a boil. Then turn the heat down low. Let it simmer gently without a lid. Bubbles should just barely break the surface. Let it cook for one to two hours. You will know they are done when they are tender and creamy.
Step 4: When they are soft, stir in the salt. Salting too early can make the skins tough. If there is too much liquid, turn the heat up for a few minutes. Stir so they don’t stick. The broth will thicken nicely. Do you prefer your beans soupy or thick? Share below!
Cook Time: 1–2 hours
Total Time: 1 hour 10 minutes to 2 hours 10 minutes
Yield: About 6 cups
Category: Side, Soup, Basics
Three Fun Twists for Your Beans
Once you know the basic recipe, you can play! Here are my favorite ways to change things up. Each one feels like a whole new meal. I love seeing what my family likes best.
The Cozy Soup: Add a can of diced tomatoes and a teaspoon of cumin while cooking. It makes a warm, hearty soup.
The Zesty Fiesta: Skip the bay leaf and orange. Add a chopped jalapeño and a big pinch of chili powder instead. So good in tacos!
The Herby Garden: After cooking, stir in a handful of fresh chopped cilantro and a squeeze of lime. It tastes so fresh and green.
Which one would you try first? Comment below!
How to Serve Your Beautiful Beans
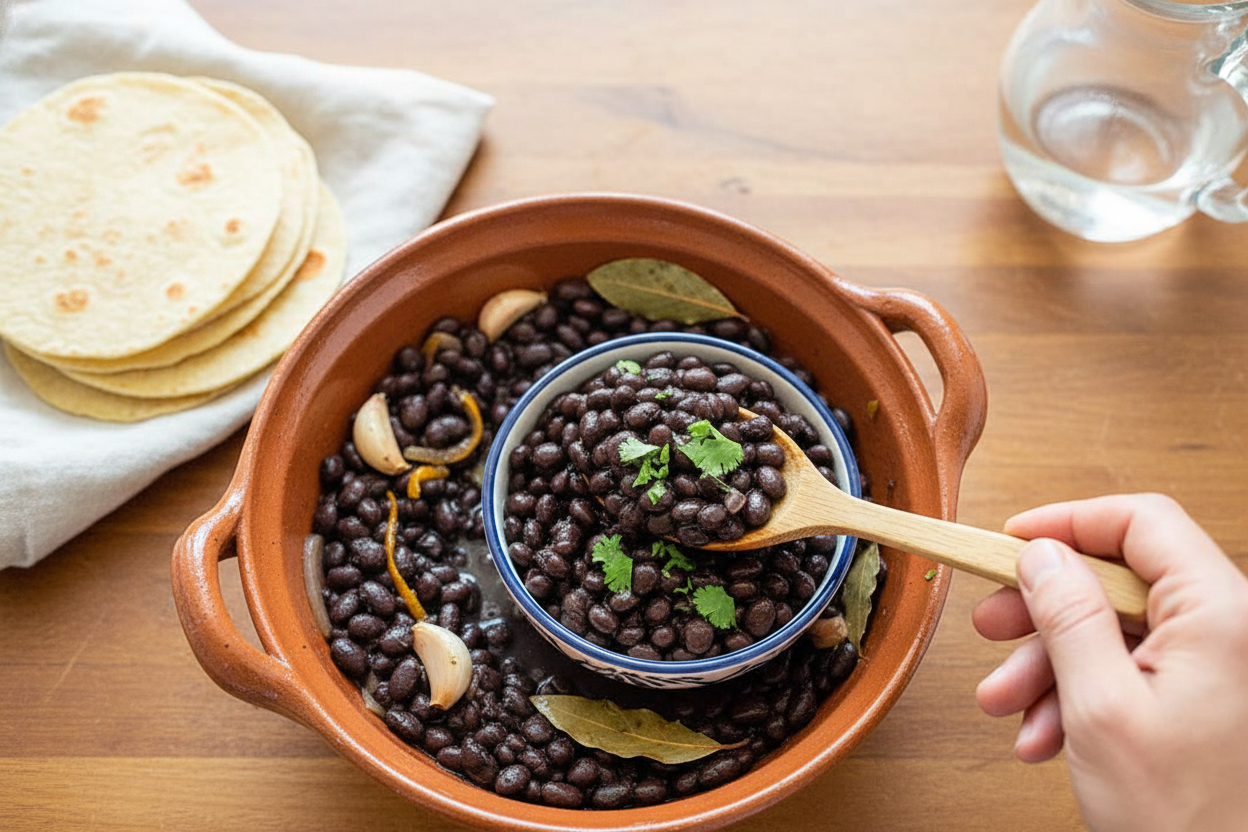
These beans are so versatile. For a simple supper, I serve them over fluffy white rice. A dollop of cool sour cream on top is perfect. You could also mash them slightly for delicious bean toast. My grandson loves that.
What to drink? On a cool evening, a glass of Malbec red wine is lovely. For everyday, I make a big pitcher of limeade. The tart lime goes so well with the creamy beans. Which would you choose tonight?
Keeping Your Beans Cozy for Later
Let’s talk about storing your beautiful beans. Cool them completely first. Then, they can live in your fridge for about five days. For longer stays, your freezer is a friend. I freeze them in their cooking liquid in jars. Leave an inch of space at the top for expansion.
My first big batch ended in a mess. I filled a jar to the brim before freezing. The next morning, my freezer had a new bean-sicle sculpture! Batch cooking matters. It gives you a head start on future meals. A ready container of beans is like a kitchen hug on a busy day.
To reheat, just warm them in a pot on the stove. Add a splash of water if they seem dry. Have you ever tried storing beans in the freezer? Share your story below!
Simple Fixes for Happy Beans
Sometimes beans can be tricky. Here are easy fixes. First, hard beans that won’t soften. Old beans are often the culprit. Try buying from a store with quick turnover. Salt at the end, not the start, for tender beans.
Second, beans that make you feel gassy. I remember serving them to my grandson once. He was not pleased! Soaking them first can help. Just cover them in water overnight, then drain and cook. This simple step makes them easier to digest.
Third, beans that taste bland. This matters because flavor builds joy. The fix is in the pot. Add those optional flavors like onion and orange. Fun fact: the orange peel gives a lovely, subtle brightness. It makes all the difference. Which of these problems have you run into before?
Your Bean Questions, Answered
Q: Are these beans gluten-free?
A: Yes, black beans are naturally gluten-free. Just check your other ingredients.
Q: Can I make them ahead?
A: Absolutely! They taste even better the next day. The flavors get cozy together.
Q: What if I don’t have an orange?
A: A lemon works too. Or just skip it. The beans will still be good.
Q: Can I double the recipe?
A: You sure can. Use a bigger pot so everything has room to swim.
Q: Any secret tip?
A: Save the cooking liquid. It’s full of flavor for soups or rice. Which tip will you try first?
From My Kitchen to Yours
I hope you love cooking beans from scratch. It is a simple, satisfying kitchen task. I have made these for decades for my family. Now the recipe is in your hands too.
I would love to see what you create. Did you add your own special twist? Have you tried this recipe? Tag us on Pinterest at @EmmasCozyKitchen! Sharing our food stories keeps the tradition alive. Thank you for cooking with me today.
Happy cooking!
—Emma Caldwell.
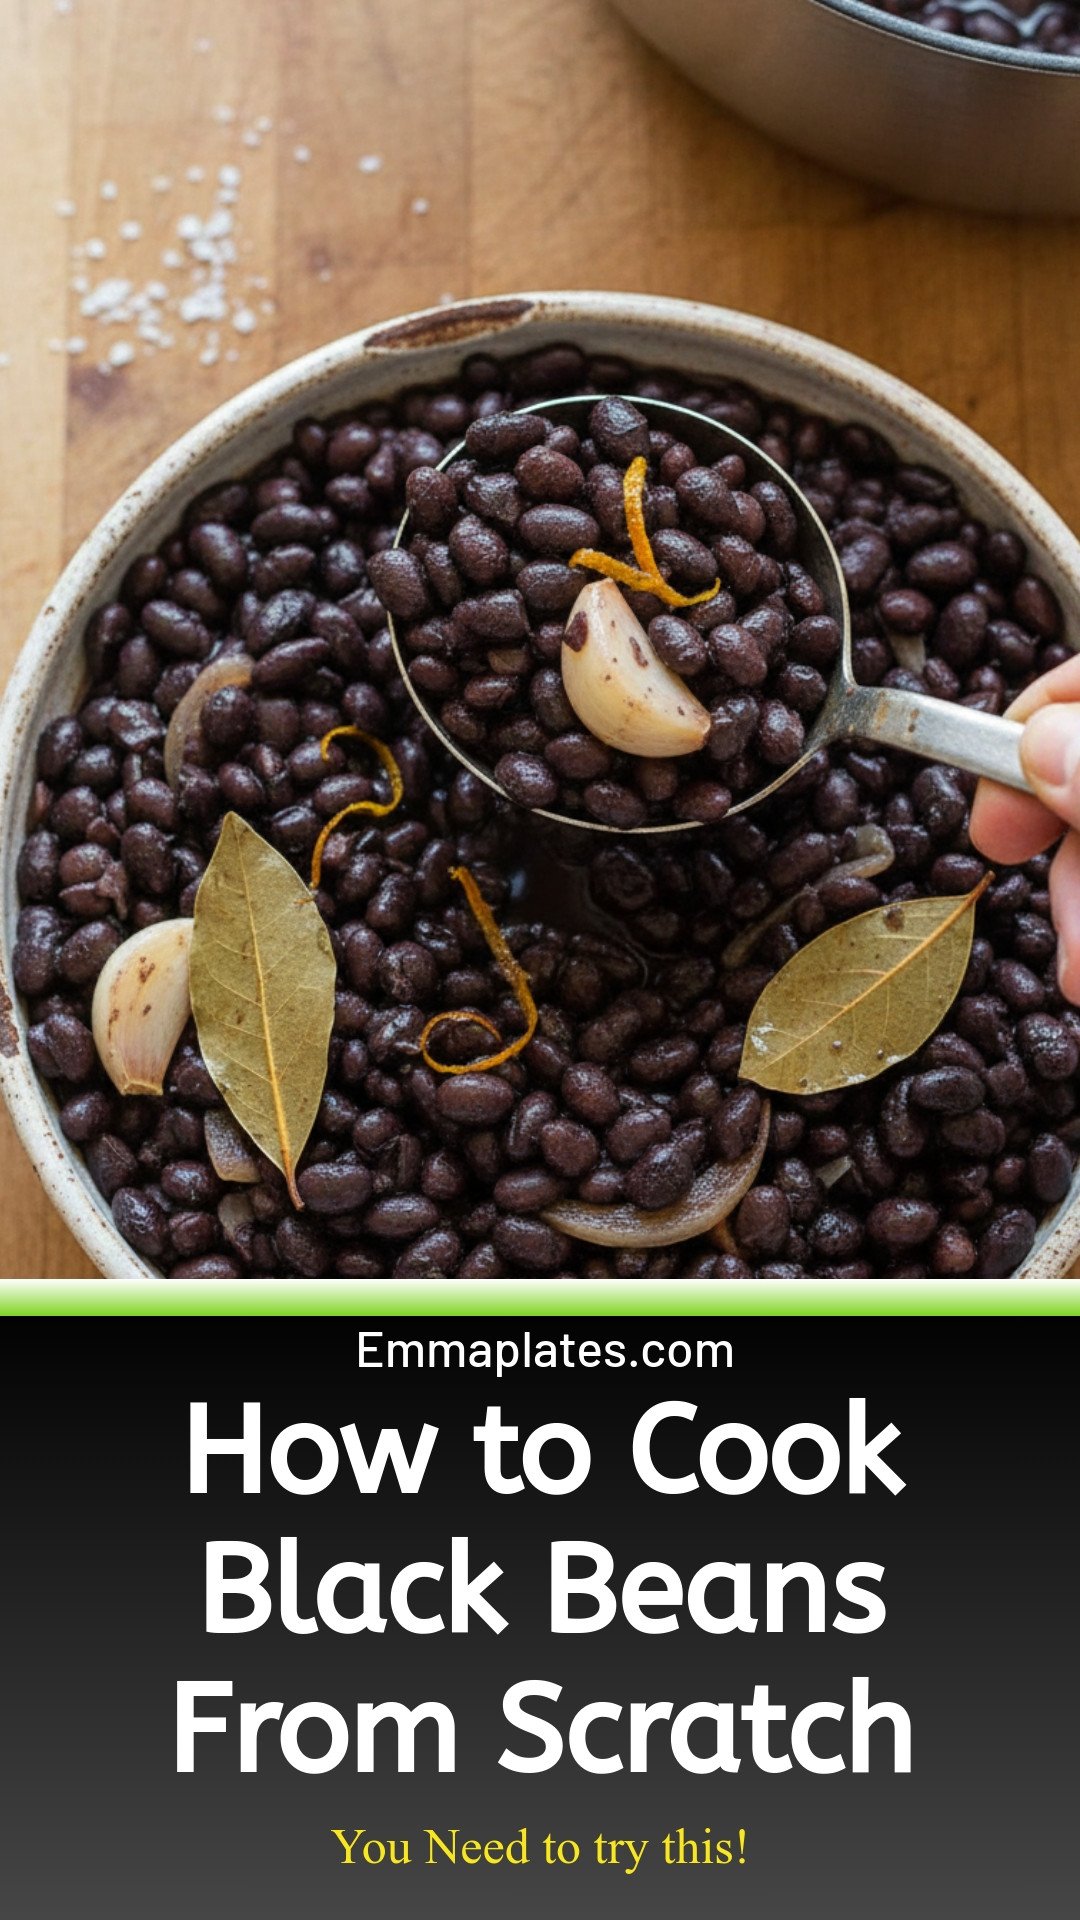
How To Cook Black Beans From Scratch (+ Flavor Guide!)
Description
Learn to cook flavorful black beans from scratch! Easy step-by-step guide with pro tips for perfect, creamy beans every time.
Ingredients
Optional Flavors:
Instructions
- Spread dry beans onto a clean counter or baking sheet. Pick out any stones or bad looking beans. Transfer beans to a colander and rinse.
- Combine beans, water, and optional flavors in a large pot (water should cover beans by about 3 inches, if not add more water). Bring to a boil, then reduce to a gentle simmer. Let simmer uncovered for 1 to 2 hours, or until beans are tender. If they run out of water before tenderizing, add more as needed.
- When beans are tender, mix in salt. If they are still too liquidy for your liking, spoon out some of the juice then increase the heat for a few minutes to evaporate out excess moisture, stirring often.
Notes
- Nutrition per serving (0.5 cups): Calories: 114kcal | Carbohydrates: 20.4g | Protein: 7.6g | Fat: 0.5g | Saturated Fat: 0.1g | Sodium: 204mg | Potassium: 305mg | Fiber: 7.5g | Sugar: 0g | Calcium: 23mg | Iron: 2mg


Leave a Reply