
A Pie for Hot Days
Some days, turning on the oven feels like a bad idea. The kitchen gets too hot. This pie is for those days. You only need the stove for a minute.
The filling is rich and cool. It feels like a treat from a fancy shop. But you make it yourself. I love how simple it is.
The Chocolate Melting Trick
Melting chocolate can be tricky. If you get it too hot, it turns gritty. I learned this the hard way with a batch of ruined fudge.
My trick is to use short bursts of heat. Do it for 30 seconds at a time. Stir between each one. The chocolate will melt smoothly from the leftover heat.
Why We Beat for So Long
The recipe says to beat for five minutes. Then beat for five more! It seems like a long time. But this step matters a lot.
It puts tiny air bubbles into the filling. This makes it light and fluffy. Without this, the pie would be heavy and dense. Trust me on this.
What’s a kitchen task you think takes too long? Is it kneading dough or waiting for water to boil?
The Best Whipped Cream
Making whipped cream is so easy. The secret is to start with a cold bowl. I even put my beaters in the freezer for a bit.
When it starts to get foamy, add the sugar. Watch it turn thick and lovely. Doesn’t that smell amazing? Homemade cream tastes so much better.
Fun fact: Whipping cream is just heavy cream that you mix very fast. The air you whip into it makes it fluffy!
A Little Story for You
I first made this for my grandson. He was having a rough week. His face lit up with the first bite. I still laugh at that.
That’s why food matters. It’s more than just eating. It’s a way to show someone you care. A simple pie can turn a day around.
What’s a food that always makes you feel better when you’re sad?
Your Turn in the Kitchen
Now it’s your turn. This pie is hard to mess up. The waiting is the hardest part. You have to let it get cold and set.
This is a good lesson. Some things can’t be rushed. Good food needs a little patience. The result is always worth it.
Will you try making this with a friend or by yourself? Tell me about it if you do!
Ingredients:
| Ingredient | Amount | Notes |
|---|---|---|
| Pie crust | 1 | blind baked per package directions |
| Unsweetened baking chocolate | 4 oz | |
| Butter, softened | 1 cup | |
| Granulated sugar | 1 1/4 cups | |
| Vanilla | 1 teaspoon | |
| Pasteurized egg product (like Egg Beaters) | 1/2 cup | |
| For the whipped cream: | ||
| Whipping cream | 1 cup | |
| Powdered sugar | 3 tablespoons | |
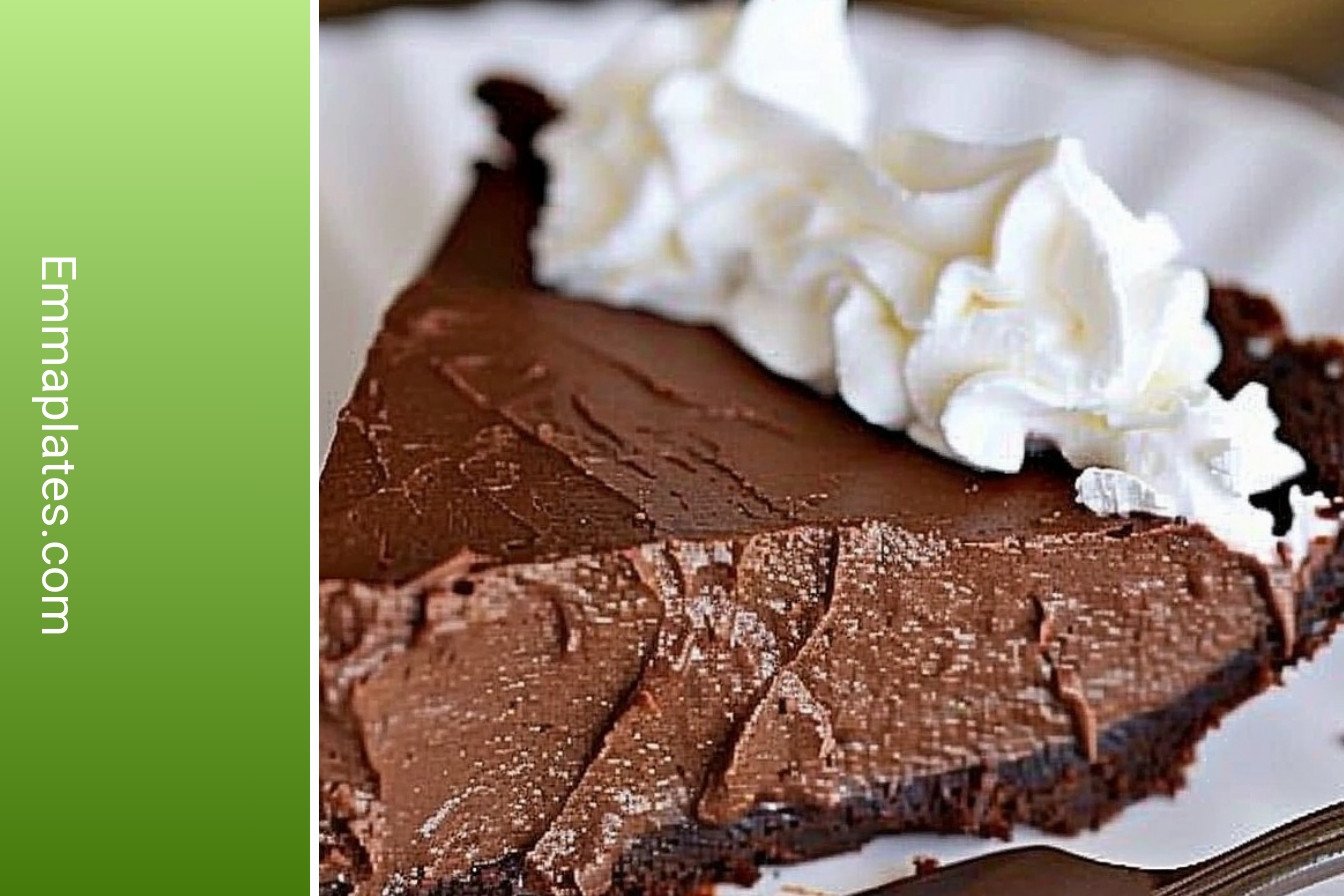
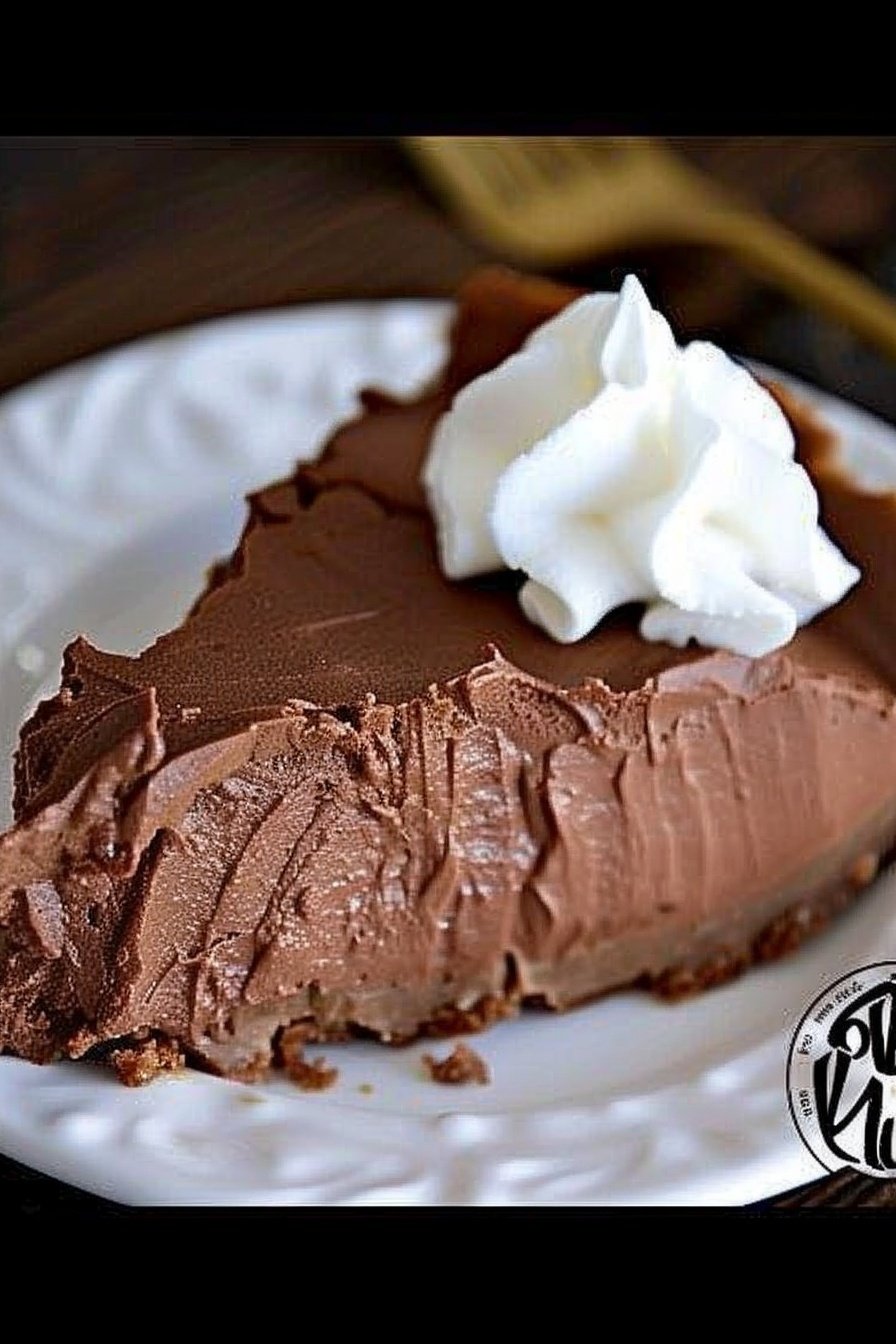
My No-Bake Chocolate Dream Pie
Hello, my dear! Come sit with me. I want to share my favorite chocolate pie recipe. It’s so simple and dreamy. You don’t even need to turn on the oven for the filling. I call it my Chocolate Dream Pie. The filling is light as a cloud. It just melts in your mouth. I’ve been making this for years. It always makes everyone smile.
Let’s get started. First, you need a baked pie crust. You can buy one from the store. Just follow the directions on the package. It needs to be golden and crispy. That crunch with the smooth filling is just perfect. Doesn’t that smell amazing?
- Step 1: Bake your pie crust. Let it cool completely on the counter. A warm crust will melt our lovely filling. We don’t want a soupy pie! I like to do this first thing. It gives the crust time to get ready for its chocolate blanket.
- Step 2: Now, melt the baking chocolate. Use a microwave bowl. Heat it for 30 seconds, then stir. Do this until it’s almost melted. The last bits will melt as you stir. (This is my hard-learned tip! It keeps the chocolate smooth, not burnt.) I still laugh at the time I scorched my first batch. What a mess!
- Step 3: In a big bowl, mix the soft butter and sugar. Beat them until they are fluffy and pale. It should look like sweet, yellow clouds. Then, pour in your cooled chocolate and the vanilla. Mix it all together. The smell is just heavenly now.
- Step 4: Here is the magic part. Slowly add the egg product while the mixer is on. Then, let it beat for five whole minutes. I know, it seems like forever! Set a timer. This makes the filling light and airy. Then add the rest of the eggs and beat for five more minutes. What’s your favorite song to listen to while you wait? Share below!
- Step 5: Pour your beautiful chocolate fluff into the cooled crust. Smooth the top with a spoon. Now, the hardest part begins. You must let it chill in the fridge for at least two hours. This lets the dreamy pie set. Be patient, my dear. It is worth the wait.
- Step 6: For the whipped cream, make sure your cream is cold. Whip it until it gets foamy. Then add the powdered sugar. Keep whipping until you have soft, lovely peaks. A dollop on each slice is the perfect finish.
Cook Time: 2 hours (chilling)
Total Time: 2 hours 30 minutes
Yield: 8 slices
Category: Dessert, Pie
Three Tasty Twists to Try
This pie is wonderful as it is. But sometimes, it’s fun to play with your food. Here are a few ideas to make it your own. I love seeing what you young folks come up with.
- Cookie Crunch: Mix crushed peppermint candies or Oreo cookies into the filling. It adds a wonderful little crunch. My grandson loves the minty version.
- Orange Zest: Add a teaspoon of orange zest to the butter and sugar. Chocolate and orange are best friends. It tastes so bright and cheerful.
- Peanut Butter Swirl: Drop spoonfuls of peanut butter on the filled pie. Use a knife to swirl it around. It’s like a peanut butter cup in a pie! Which one would you try first? Comment below!
Serving Your Sweet Masterpiece
Now, for the best part. Serving your creation! A simple slice is just fine. But you can make it extra special. I like to add a few chocolate shavings on top. Some fresh berries on the side look pretty, too. Their tartness is nice with the sweet chocolate.
What to drink with it? A cold glass of milk is always the right choice. For the grown-ups, a small glass of coffee liqueur or a dark stout beer is lovely. It sips like a treat itself. Which would you choose tonight?

Storing Your Chocolate Delight
This pie loves the cold. Keep it covered in your fridge. It will stay perfect for about four days.
You can also freeze it for later. Wrap the whole pie tightly. It will keep for one month in the freezer.
I once forgot a slice on the counter. It became a little too soft. Now I always put it right back in the fridge.
This matters because a cool pie holds its shape. It makes every slice neat and pretty. Storing food well saves you time and money.
You can make the filling a day ahead. Just keep it in a bowl. Then pour it into the crust the next day. Have you ever tried storing it this way? Share below!
Easy Fixes for Common Hiccups
Is your whipped cream too runny? Your cream and bowl must be very cold. I even chill my whisk sometimes.
Is the chocolate filling not setting? You must beat it for the full five minutes. I remember when I tried to rush this once. The pie was soupy.
Did your chocolate get grainy? You might have heated it too fast. Always use short bursts in the microwave. Stir it well between each one.
Fixing small problems builds your cooking confidence. You learn that mistakes can be solved. Getting the texture right also makes the flavor so much better. Which of these problems have you run into before?
Your Quick Questions, Answered
Q: Can I make this gluten-free? A: Yes! Just use a gluten-free pie crust from the store.
Q: How far ahead can I make it? A: You can make the whole pie two days before you need it.
Q: What if I don’t have pasteurized eggs? A: You can use an equal amount of canned coconut milk instead.
Q: Can I make a bigger batch? A: This recipe is just for one pie. I do not recommend doubling it.
Q: Any extra tips? A: A little sprinkle of sea salt on top is lovely. Fun fact: Salt makes chocolate taste even more chocolatey! Which tip will you try first?
A Note From My Kitchen to Yours
I hope you love making this chocolate delight. It is a simple joy to share.
I would love to see your beautiful creations. Your kitchen stories make me so happy. Please share your photos with everyone.
Have you tried this recipe? Tag us on Pinterest! Use the handle @GrandmaEmmasKitchen. I cannot wait to see your pies.
Happy cooking!
—Emma Caldwell.
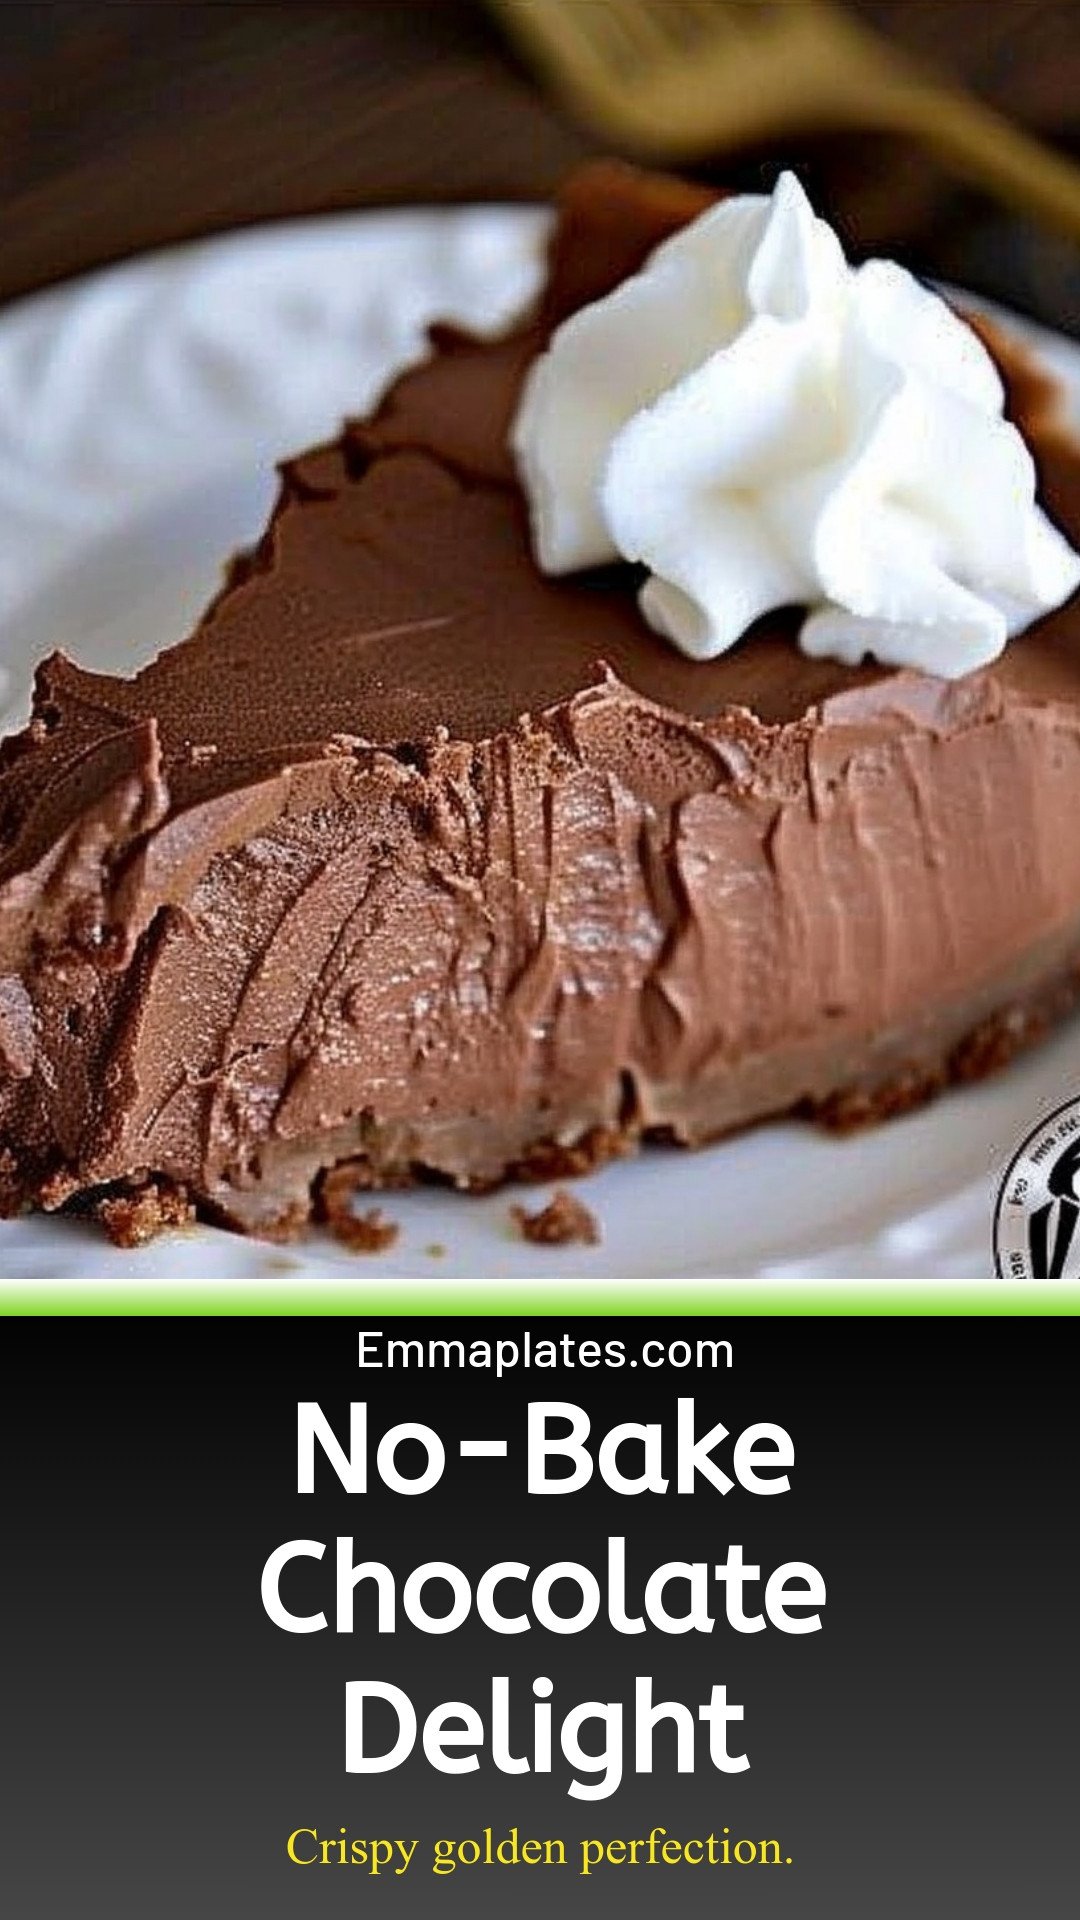
No-Bake Chocolate Delight: Crispy golden perfection.
Description
No-Bake Chocolate Delight! This easy, decadent dessert requires zero baking. Layers of creamy chocolate, a crunchy crust, and fluffy topping. Perfect for any occasion.
Ingredients
=== For the whipped cream: ===
Instructions
- Bake the pie crust per the package directions.
- In a microwave safe bowl, melt the chocolate in the microwave using 30 second intervals. Heat until the chocolate is almost completely melted, then stir until the rest of the chocolate melts. This helps to prevent the chocolate from scorching. Set aside to cool.
- In the bowl of stand mixer, combine the butter and granulated sugar. Beat on medium speed until fluffy. Add cooled chocolate and vanilla and beat until combined.
- Slowly add 1/4 cup of the pasteurized eggs to the mixer while it is beating and beat for 5 minutes. (Yes, 5 whole minutes.) Turn the mixer off, scrape down the sides, return the mixer to medium speed and then slowly add the other 1/4 cup of eggs to the mixer as it is working. Beat for another 5 minutes, or longer if the mixture isn’t light and fluffy.
- Pour into the prepared pie shell and refrigerate for at least 2 hours to allow the pie to set. Serve with fresh whipped cream.
- In a stand mixer, add cold whipping cream to the bowl. Whip using the whisk attachment. When the cream begins getting foamy, add the sugar. Continue to beat until stiff peaks form. Keep refrigerated.
=== For the whipped cream: ===
Notes
- Ensure the chocolate is cooled before adding to the butter mixture to prevent melting the butter. For best results, use pasteurized egg product for safety.


Leave a Reply