
The Best Smelling Kitchen
There is nothing like the smell of garlic bread baking. It fills the whole house with warmth. It makes everyone’s stomach start to rumble. I still smile when I think about it.
This recipe is for a fun, pull-apart bread. You get to make little dough balls. Then you pile them all into a pan together. They rise and bake into one big, delicious loaf. Doesn’t that sound fun?
A Little Story About My Grandson
My grandson Leo helped me make this once. He loved shaping the dough balls. He said they looked like little pillows. But he got more flour on his nose than in the bowl.
I still laugh at that. When the bread came out of the oven, he was so proud. He told everyone, “I made the pillows!” That is why this matters. Cooking together makes memories you will keep forever.
Let’s Talk About the Dough
Making the dough is easy. You just mix everything in a bowl. The milk and water need to be warm, not hot. Think of a nice warm bath for your fingers.
Then you get to knead it. Push it, fold it, and push it again. This is my favorite part. It helps the dough become soft and stretchy. What is your favorite part of baking? Is it mixing or shaping?
The Magic of Rising
After you make the dough balls, you cover them. You let them rest in a warm spot. This is called “rising.” The little yeast bubbles make the dough get big and puffy.
Fun fact: The yeast is a tiny living thing! It eats the sugar and burps out little gas bubbles. That is what makes bread so light and fluffy. Watching dough rise teaches you patience. Good things take a little time.
The Grand Finale
Right before baking, you brush the dough with butter. Then you sprinkle on Parmesan cheese and poppy seeds. This makes the top golden and crunchy. Doesn’t that smell amazing?
When it’s done, you just pull off a piece. The warm, garlicky bread melts in your mouth. This is why cooking matters. It is a way to show your family you love them. What is your favorite food to share with people you love?
Ingredients:
| Ingredient | Amount | Notes |
|---|---|---|
| all-purpose flour | 2 to 2-1/4 cups | |
| sugar | 2 tablespoons | |
| Fleischmann’s® RapidRise Yeast | 1 packet | |
| salt | 1/2 teaspoon | |
| Spice Islands® garlic powder | 1/2 teaspoon | |
| milk | 1/2 cup | |
| water | 1/4 cup | |
| butter | 3 tablespoons | divided |
| grated Parmesan cheese | 2 tablespoons | |
| Spice Islands® poppy seeds | 1/4 teaspoon |
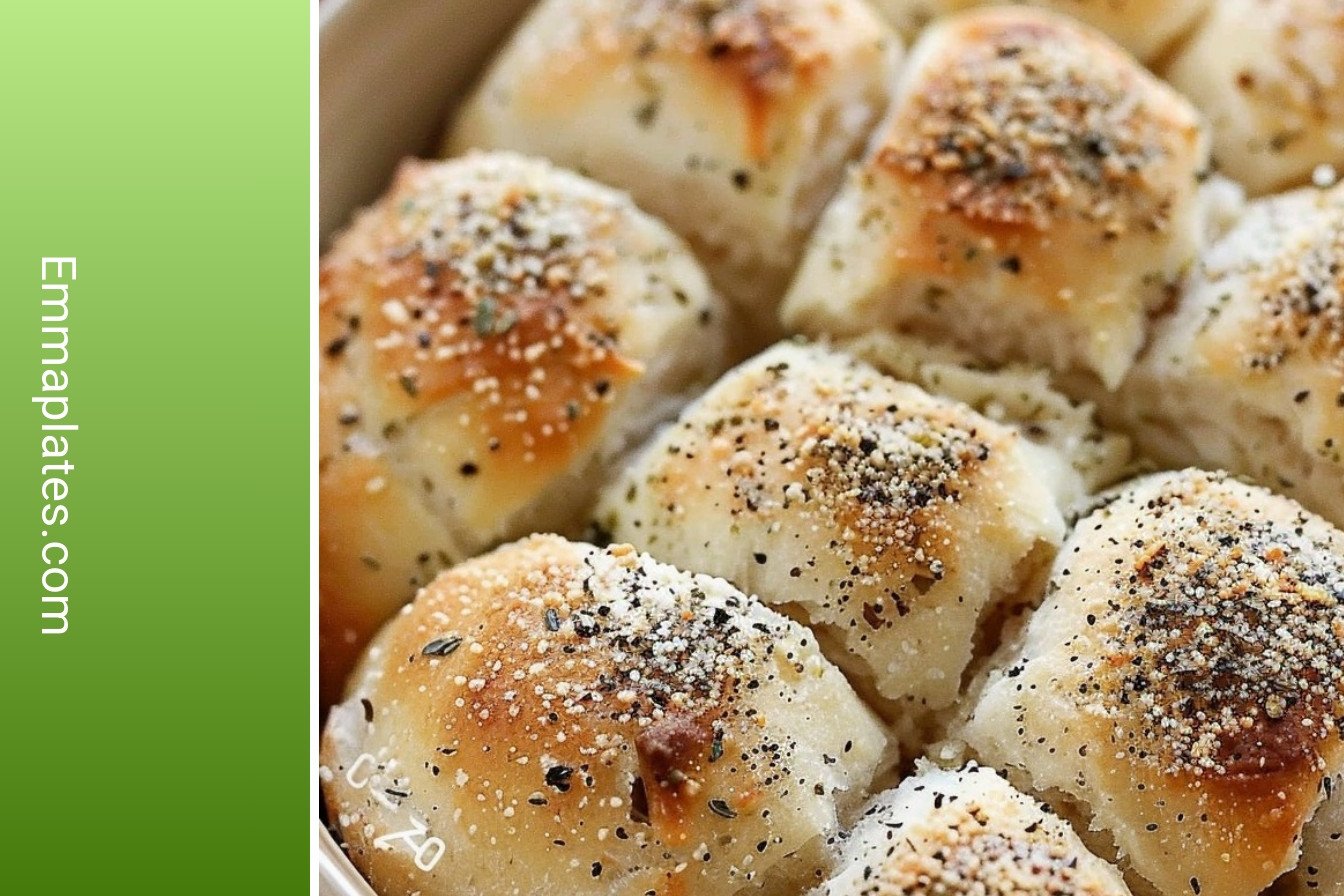
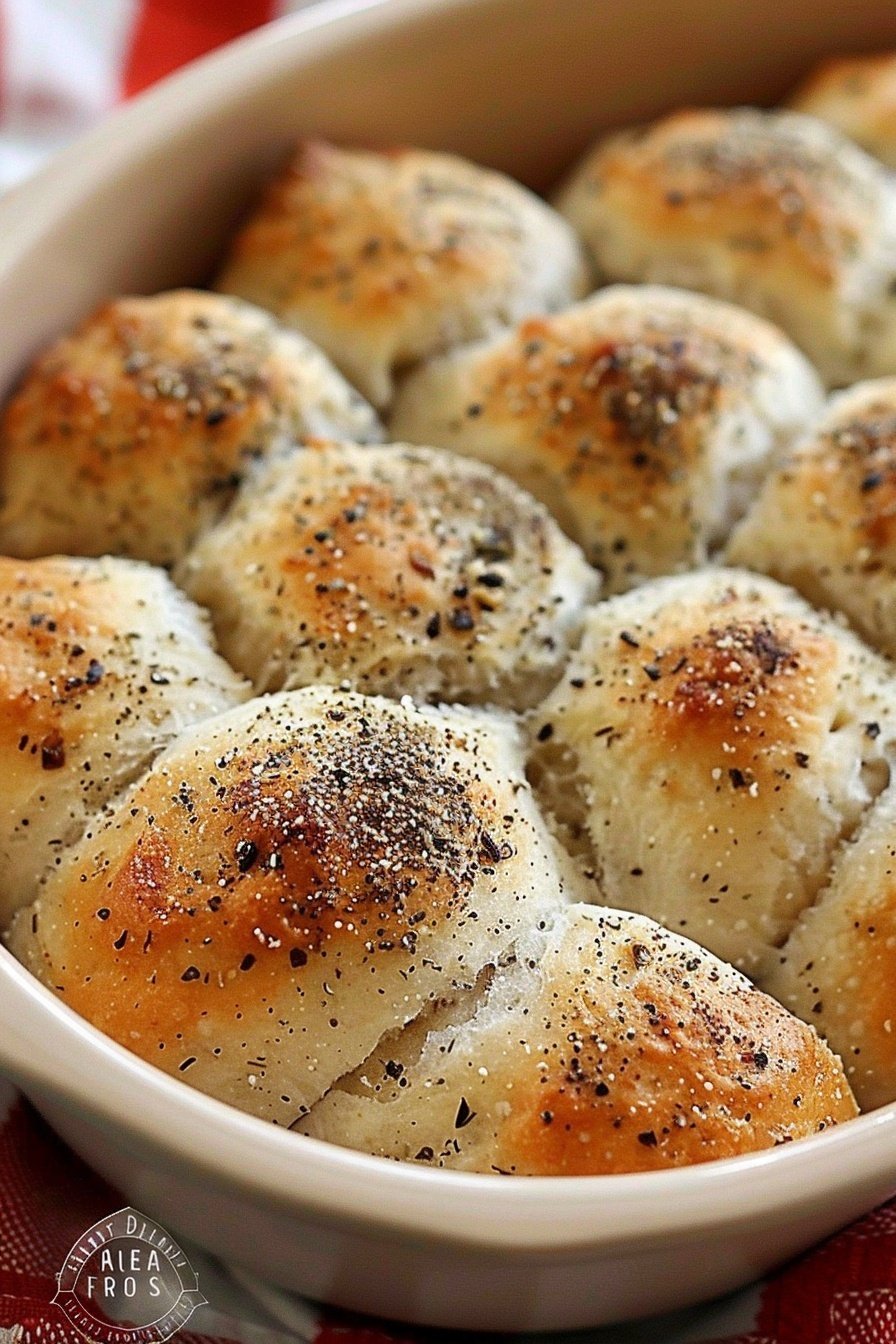
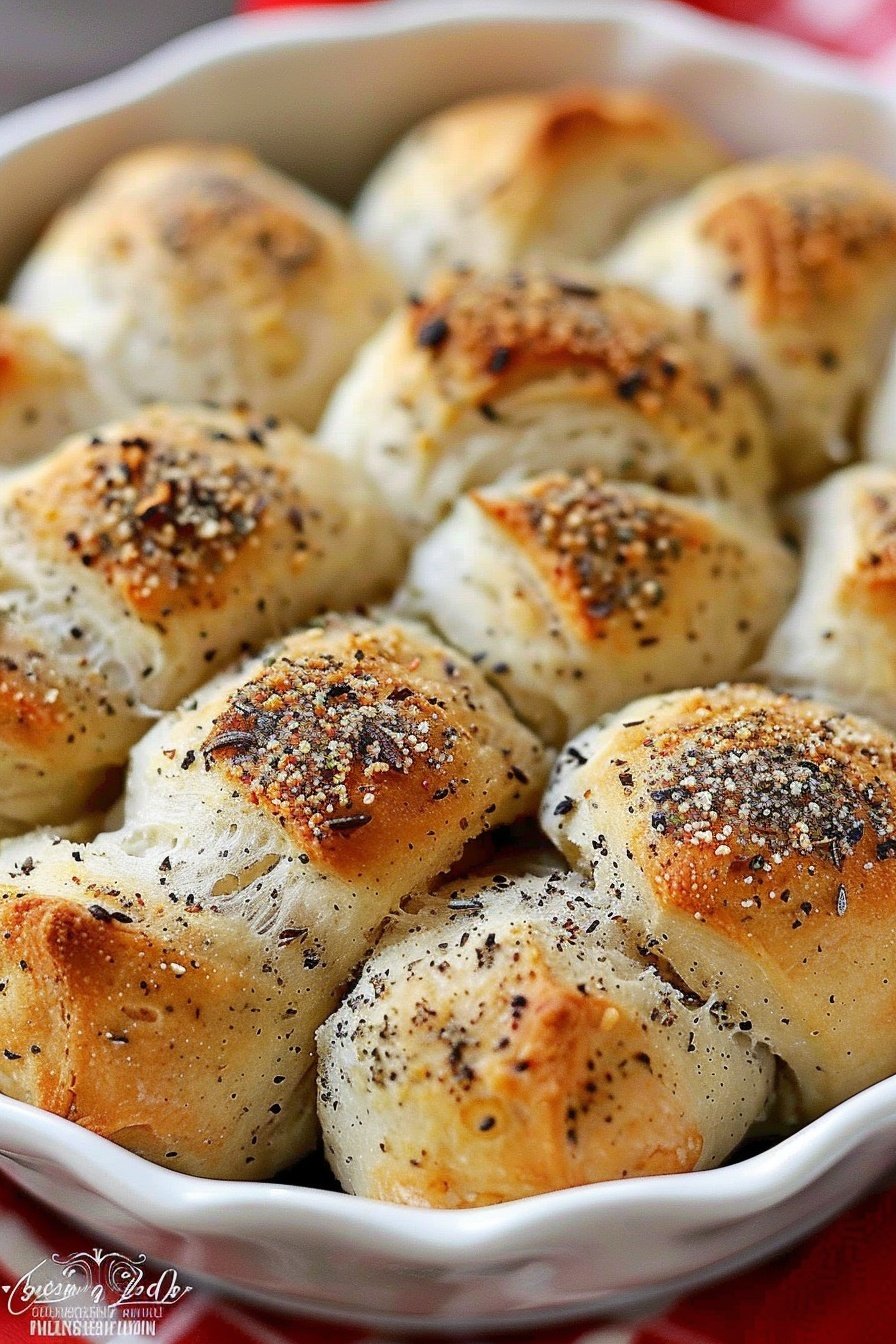
My Savory Garlic Pull-Aparts
Oh, these little breads are pure happiness. I call them my garlic clouds. They are soft, buttery, and smell like heaven. My grandson always hovers by the oven when these are baking. He can’t wait to pull one apart. It’s our favorite messy, delicious game.
Making the dough is like a fun science project. You get to watch it grow. I still laugh at that. The first time I made them, I forgot the salt. They were so bland. We ate them anyway, of course. But now I always double-check.
Step 1: Mix the Dry Ingredients
First, mix your dry things in a big bowl. That’s the flour, sugar, yeast, salt, and garlic powder. Warm up the milk, water, and butter next. It should feel warm on your wrist, not hot. (If it’s too hot, it will hurt the yeast. Be gentle with it!) Pour the warm mix into the flour. The smell is already so good.
Step 2: Combine and Beat
Now, get your mixer ready. Beat it for two minutes. It will look a bit sloppy. That’s just fine. Then add a bit more flour. Beat it again for two more minutes. This makes it strong and stretchy. Stir in the rest of the flour until you have a soft ball.
Step 3: Knead the Dough
Time to knead. Push and fold the dough on a floured counter. Do this for about eight minutes. It’s a great arm workout. You’ll know it’s ready when it feels smooth. Then let it rest under a towel. It needs a little nap, just like we do.
Step 4: Shape and Rise
After its nap, cut the dough into twelve pieces. Roll them into little balls with your hands. Place them all in a greased pan so they’re cozy. Cover them up and let them rise. They will get nice and puffy. What do you think makes the dough rise? Share below!
Step 5: Bake to Perfection
The final touch. Melt that last bit of butter. Brush it over your puffy dough balls. Then sprinkle on the Parmesan cheese and poppy seeds. Bake them until they are golden brown. Doesn’t that smell amazing? Let them cool just a little before you pull them apart.
Cook Time: 20 minutes
Total Time: 1 hour 30 minutes
Yield: 12 pull-aparts
Category: Bread, Appetizer
Three Tasty Twists to Try
This recipe is like a good friend. It’s happy to change things up. Here are some fun ways to make it new again. You can try a different flavor every week.
- Cheesy Herb Delight: Mix some dried rosemary and a handful of cheddar cheese right into the dough.
- Everything Bagel Style: Skip the garlic powder. Top the buttered dough with everything bagel seasoning instead.
- Pizza Party: Add a teaspoon of Italian herbs to the dough. Sprinkle the top with mozzarella and a little pepperoni.
Which one would you try first? Comment below!
Serving Your Garlic Clouds
These pull-aparts are wonderful all on their own. But they also love company. I love to serve them with a big bowl of tomato soup for dipping. It’s the perfect cozy lunch. They are also fantastic next to a big dinner salad.
For a drink, a cold glass of milk is my go-to. It’s a classic for a reason. For the grown-ups, a crisp glass of Chardonnay pairs beautifully. It cuts through the rich, buttery bread so nicely. Which would you choose tonight?
Keeping Your Pull-Aparts Perfect
You can keep these garlic pull-aparts tasting fresh. Let them cool completely first. Then store them in an airtight container. They will stay soft for two days on the counter.
For longer storage, the freezer is your friend. I wrap them tightly in foil. Then I pop the bundle into a freezer bag. This locks in the flavor and keeps them from drying out.
I once reheated a frozen one straight in the toaster. It worked like a charm. Now I always make a double batch. Having ready-made bread is a lifesaver on busy days.
Batch cooking matters because it saves you time. A warm, homemade treat is always close by. Have you ever tried storing it this way? Share below!
Simple Fixes for Common Troubles
Sometimes the dough does not rise. Your kitchen might be too cold. I find a warm, draft-free spot works best. My oven with the light on is perfect for this.
The bread can turn out too dense. This often means you added too much flour. I remember when my first loaf was like a brick. Now I measure flour by spooning it gently into the cup.
Getting the garlic flavor just right matters. It makes the bread special. If your garlic powder is old, it loses its punch. A fresh jar makes all the difference.
Solving small problems builds your cooking confidence. You learn that mistakes are just lessons. Which of these problems have you run into before?
Your Pull-Apart Questions Answered
Q: Can I make this gluten-free? A: Yes. Use your favorite gluten-free flour blend. The texture will be a little different but still tasty.
Q: Can I make the dough ahead? A: You can. Let it rise once in the fridge overnight. In the morning, shape the balls and let them rise again.
Q: What if I don’t have poppy seeds? A: That is okay. You can leave them out. A sprinkle of dried parsley looks pretty too.
Q: Can I double the recipe? A: Absolutely. Just use two pans. Your family will be so happy to have extra.
Q: Is the extra butter brush necessary? A: It gives the top a lovely shine and flavor. I always do it. Fun fact: butter helps the cheese and seeds stick! Which tip will you try first?
Sharing the Kitchen Love
I hope you love making this recipe. It always makes my kitchen smell wonderful. There is nothing better than sharing warm bread with people you love.
I would be so thrilled to see your creations. Your photos inspire me and other readers too. Have you tried this recipe? Tag us on Pinterest!
Happy cooking!
—Emma Caldwell.
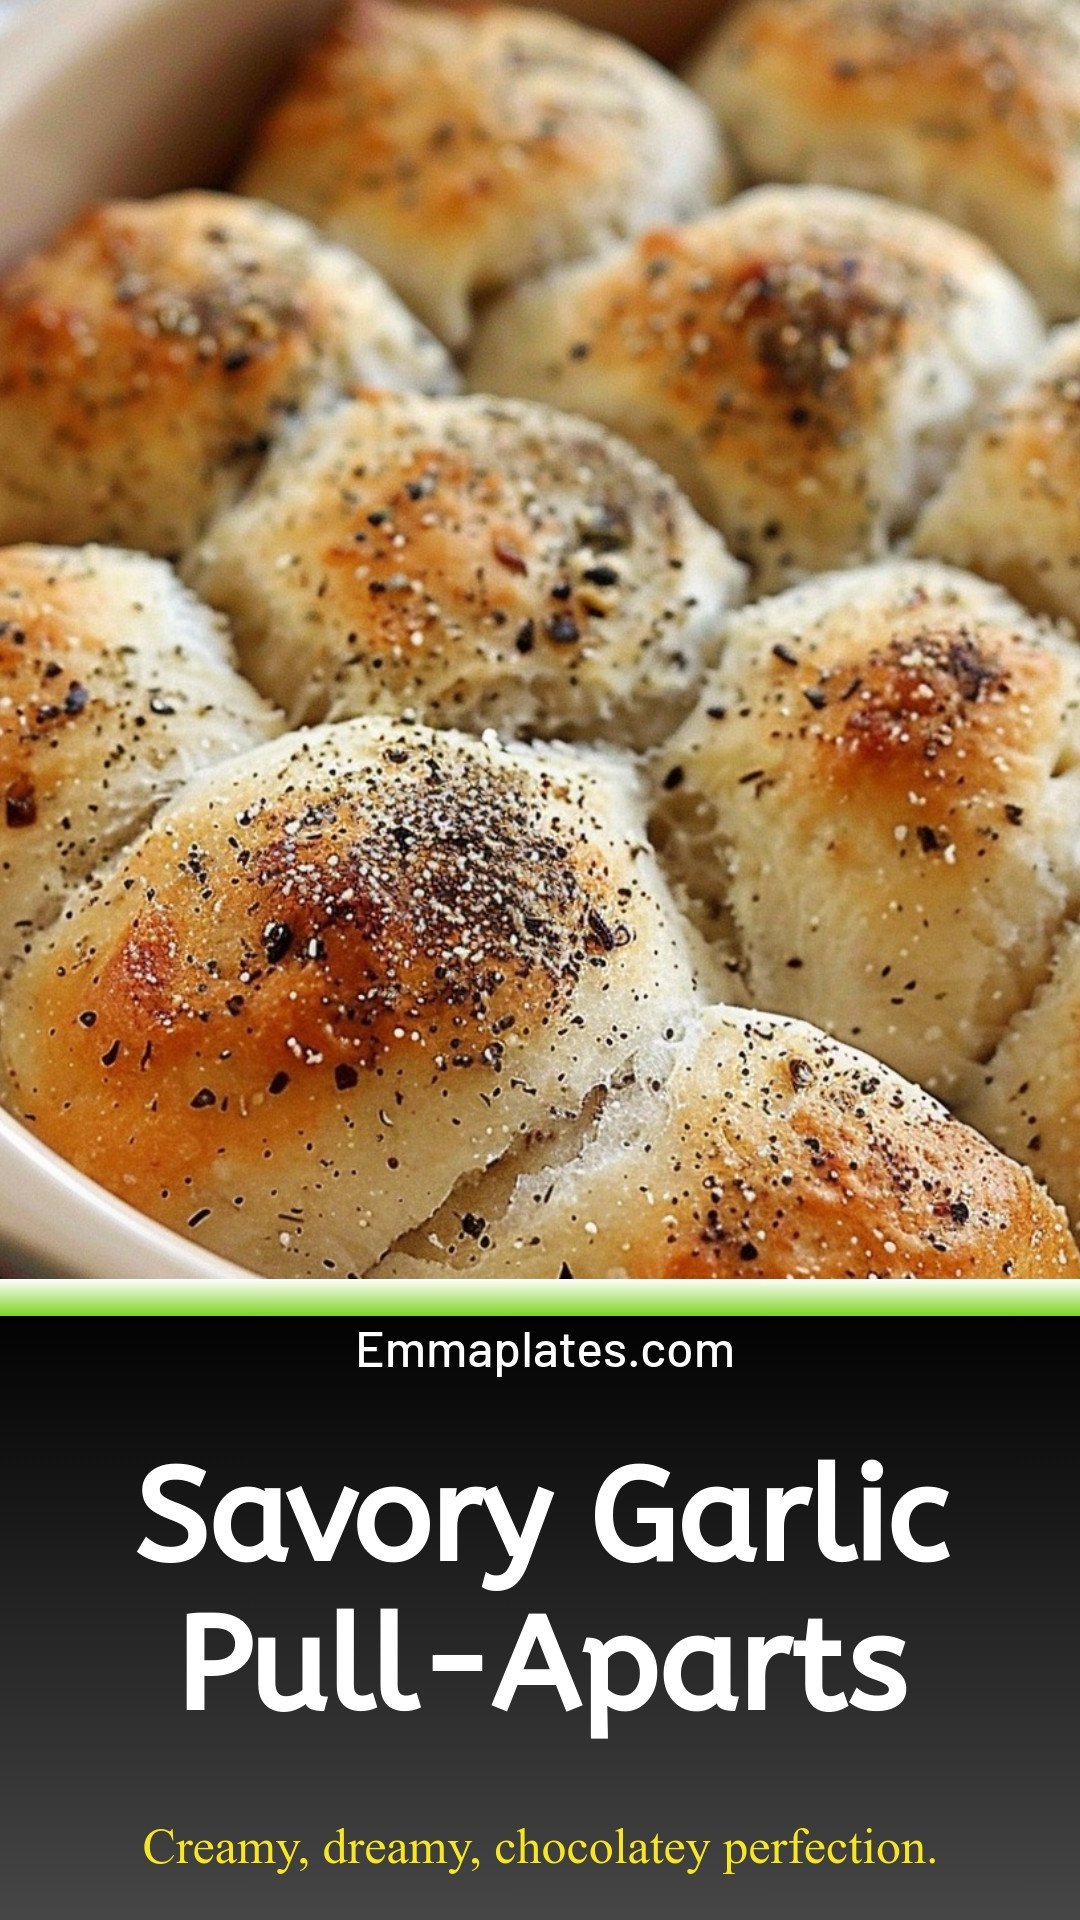
Savory Garlic Pull-Aparts: Creamy, dreamy, chocolatey perfection.
Description
The ultimate cheesy, garlic pull-apart bread recipe! Easy, shareable, and perfect for any gathering. This crowd-pleasing appetizer is irresistibly delicious.
Ingredients
Instructions
- Combine 3/4 cup flour, sugar, dry yeast, salt, and garlic powder in a large mixer bowl and stir until blended. Combine milk, water and 2 tablespoons of the butter in a small microwave-safe bowl. Microwave on HIGH in 15 second increments until very warm but not hot to the touch (120° to 130°F. Butter won’t melt completely). Add to flour mixture.
- Beat 2 minutes at medium speed of electric mixer, scraping bowl occasionally. Add 1/4 cup flour; beat 2 minutes at high speed. Stir in just enough remaining flour so that the dough will form into a ball.
- Knead on lightly floured surface until smooth and elastic and springs back when lightly pressed with 2 fingers, about 6 to 8 minutes. Cover with a towel; let rest for 10 minutes.
- Cut dough into 12 equal pieces; shape into balls using your hands. Place in greased 8-inch round or square pan. Cover with towel; let rise in warm place until doubled in size, about 30 minutes.
- Once risen, melt the remaining tablespoon of butter in a microwave-safe bowl. Brush it lightly over the dough and sprinkle with the Parmesan cheese and poppy seeds. Bake in preheated 375ºF oven for 20 minutes or until golden brown. Remove from pan by running a knife around the edges and invert onto wire rack; brush with additional melted butter, if desired. Serve warm.


Leave a Reply