
My Chickpea Secret
Let me tell you a little secret. I stopped buying canned chickpeas years ago. Why? The taste. Dried chickpeas you cook yourself taste nuttier and richer. They are also much cheaper. My wallet and my taste buds are both very happy.
I know cans are easy. But trust me, this is easy too. You just need a pot and some time. The reward is a big batch of creamy, perfect chickpeas. Doesn’t that sound good? What’s your favorite way to eat chickpeas? Tell me in the comments.
A Simple Start
First, pour your dried chickpeas onto the counter. Look them over. You might find a little rock or a dark chickpea. I still do this every time. It feels like a small treasure hunt. Then give them a good rinse in a colander.
Now, choose your cooking friend. I use my big blue pot on the stove. It’s like an old friend. The recipe is simple: chickpeas, water, and salt. That’s it! Why does this matter? When you control the salt, your food is healthier. You can make it just right for you.
Cooking Them Up
For the stove, put everything in your pot. Bring it to a boil, then turn it down low. Let it simmer for about two hours. Your kitchen will smell amazing. It smells like patience and good things to come.
You can also use a slow cooker or an Instant Pot. The times are different for each. *Fun fact: Chickpeas are also called garbanzo beans. Two names for one wonderful little bean!* Which kitchen helper do you use most: stove, slow cooker, or pressure cooker?
The Hummus Lesson
Here is my mini-story. I once made hummus with canned chickpeas. It was just okay. Then I made it with my own cooked chickpeas. Oh my! The difference was huge. It was so smooth and flavorful. I still laugh at how proud I was.
If you want hummus, cook your chickpeas a little longer. Make them very soft. This matters because food made from scratch connects you to what you eat. You appreciate every bite more.
Your Turn to Cook
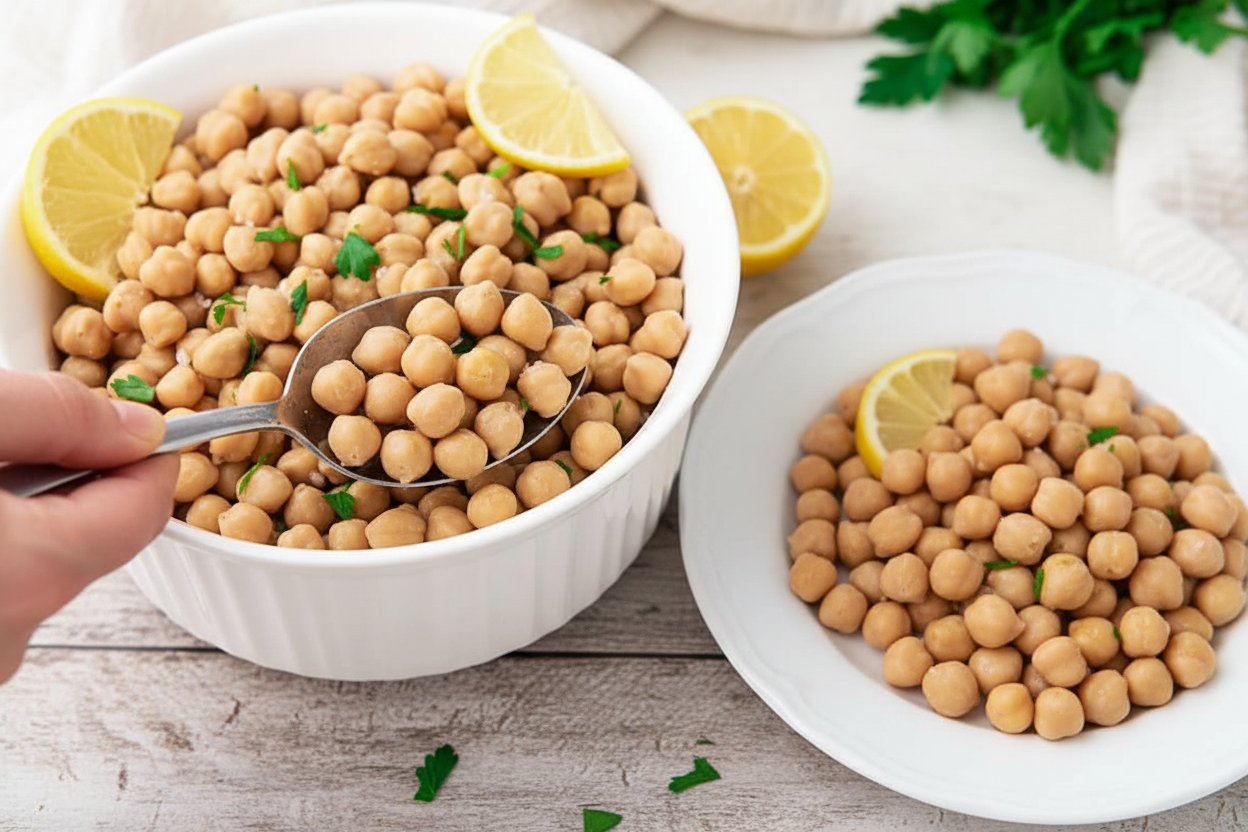
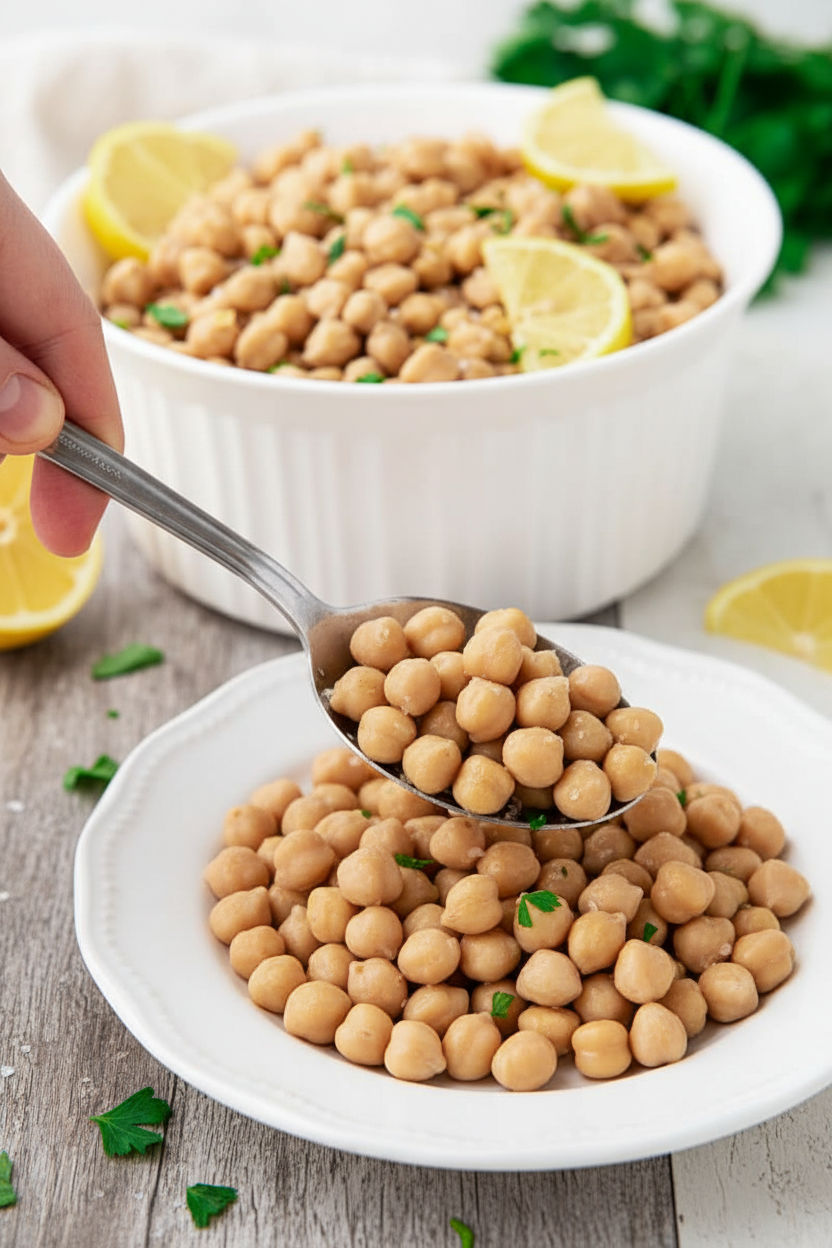
Once your chickpeas are tender, they are ready. You can eat them warm right from the pot. I love them with a little olive oil and pepper. You can also let them cool and store them in their cooking liquid.
Now you have a whole container of possibilities. Salads, soups, stews, or just a snack. What will you make first with your homemade chickpeas? I would love to hear your plans. Share them with me below.

Ingredients:
| Ingredient | Amount | Notes |
|---|---|---|
| Dried chickpeas | 2 cups (1 lb, 453 g) | |
| Water | 6 cups (1.4 L) | |
| Salt | ½ Tbsp |
My Secret for the Fluffiest Chickpeas
Hello, my dear. Let’s have a chat about chickpeas. I used to buy them in cans, too. One day, my grandson asked why mine tasted so much better. I laughed. The secret is so simple. You just start with the dried little beans. They look like pale, wrinkled peas. Trust me, cooking them yourself is a small act of love. Your kitchen will smell wonderful and warm. It feels like a hug from the inside.
You only need three things. Dried chickpeas, water, and a bit of salt. First, pour your chickpeas onto the counter. Look them over carefully. Sometimes a tiny stone hides in there. (My hard-learned tip: don’t skip this step! I once bit down on a pebble. Oh, my poor tooth!). Rinse them in a colander under cool water. Doesn’t that sound easy already?
Now, choose your cooking friend. I love my Instant Pot. But a big pot on the stove works just fine. Here is exactly what to do.
Step 1: Put your rinsed chickpeas in your pot. Add the water and salt. The salt goes in now. It makes the beans tasty all the way through.Step 2: For the Instant Pot, seal the lid. Cook on high pressure for 50 minutes. For hummus, add 5-10 more minutes. Let the pressure come down for 10 minutes after. For the stove, bring it to a boil. Then turn it down low. Let it quietly bubble for 1 ½ to 2 hours.
Step 3: Listen to the pot. On the stove, it will make a soft, bubbling song. I love that sound. It reminds me of my own grandma’s kitchen.
Step 4: Test a chickpea. Is it tender and soft? Perfect. If not, let it cook a little longer. Drain them, but keep that liquid! It’s called aquafaba. You can whip it like egg whites. What’s your favorite use for aquafaba? Share below!
Cook Time: 50 min (pressure cooker) or 1.5–2 hrs (stove)
Total Time: About 1 hr 10 min or 2+ hrs
Yield: About 6 cups of chickpeas
Category: Basic, Pantry Staple
Three Fun Ways to Flavor Them
Plain chickpeas are a blank canvas. Here are my favorite ways to paint them with flavor. Try one of these twists next time.
Garlic & Rosemary: Toss warm chickpeas with olive oil, minced garlic, and fresh rosemary. Roast until crispy. So good!
Sun-Dried Tomato & Basil: Mix them with chopped sun-dried tomatoes and fresh basil. It tastes like summer in a bowl.
Smoky Paprika: A dash of smoked paprika, a squeeze of lemon. Simple, but oh so satisfying. It’s my grandson’s favorite.
Which one would you try first? Comment below!
Let’s Serve Them Up
Now, what to do with your beautiful chickpeas? You can make a creamy hummus. I still laugh at my first try. It was so lumpy! Or, toss them into a green salad for a protein punch. My favorite is a warm bowl with olive oil and pepper. A sprinkle of feta cheese on top is heavenly.
For a drink, a crisp lemonade pairs perfectly. It cuts through the richness. For the grown-ups, a chilled glass of sauvignon blanc is lovely. It’s like a little celebration. Which would you choose tonight?
Storing Your Chickpeas for Easy Meals
Let’s talk about storing your beautiful chickpeas. Once cooked, let them cool in their broth. Then, pop them in the fridge for up to five days. They stay plump and happy in that liquid.
You can also freeze them for months. I use a muffin tin for perfect portions. I once froze a whole batch for soup season. It was a lifesaver on a busy Tuesday.
Batch cooking matters. It turns one simple task into many easy dinners. Reheat them gently on the stove with a splash of water. Have you ever tried storing it this way? Share below!
Simple Fixes for Common Chickpea Hiccups
Sometimes chickpeas can be tricky. But don’t worry. Here are easy fixes for common problems. First, if they are still hard, they just need more time. Keep simmering until tender.
Second, are they foaming a lot while cooking? Just skim the foam off with a spoon. I remember when I first saw that foam. I thought I ruined them. I didn’t!
Third, for extra creamy hummus, peel the skins off. It takes a minute but makes a difference. Getting the texture right builds your cooking confidence. Good flavor starts with patience. Which of these problems have you run into before?
Your Chickpea Questions, Answered
Q: Are these gluten-free? A: Yes, chickpeas are naturally gluten-free. Just check your other ingredients.
Q: Can I make them ahead? A: Absolutely. They are perfect for weekly meal prep.
Q: What can I use instead of salt? A: A bay leaf or garlic clove adds nice flavor too.
Q: Can I double the recipe? A: Yes, just use a bigger pot. The cook time stays the same.
Q: Any optional tips? A: Try adding baking soda while soaking for softer beans. Fun fact: This helps break down the bean skins! Which tip will you try first?
From My Kitchen to Yours
I hope you love cooking dried chickpeas. It is a simple, satisfying kitchen task. I feel proud every time I see my jars of homemade beans.
I would love to see what you make. Share your photos with our community. Your creations inspire me and others. Have you tried this recipe? Tag us on Pinterest!
Happy cooking!
—Emma Caldwell.
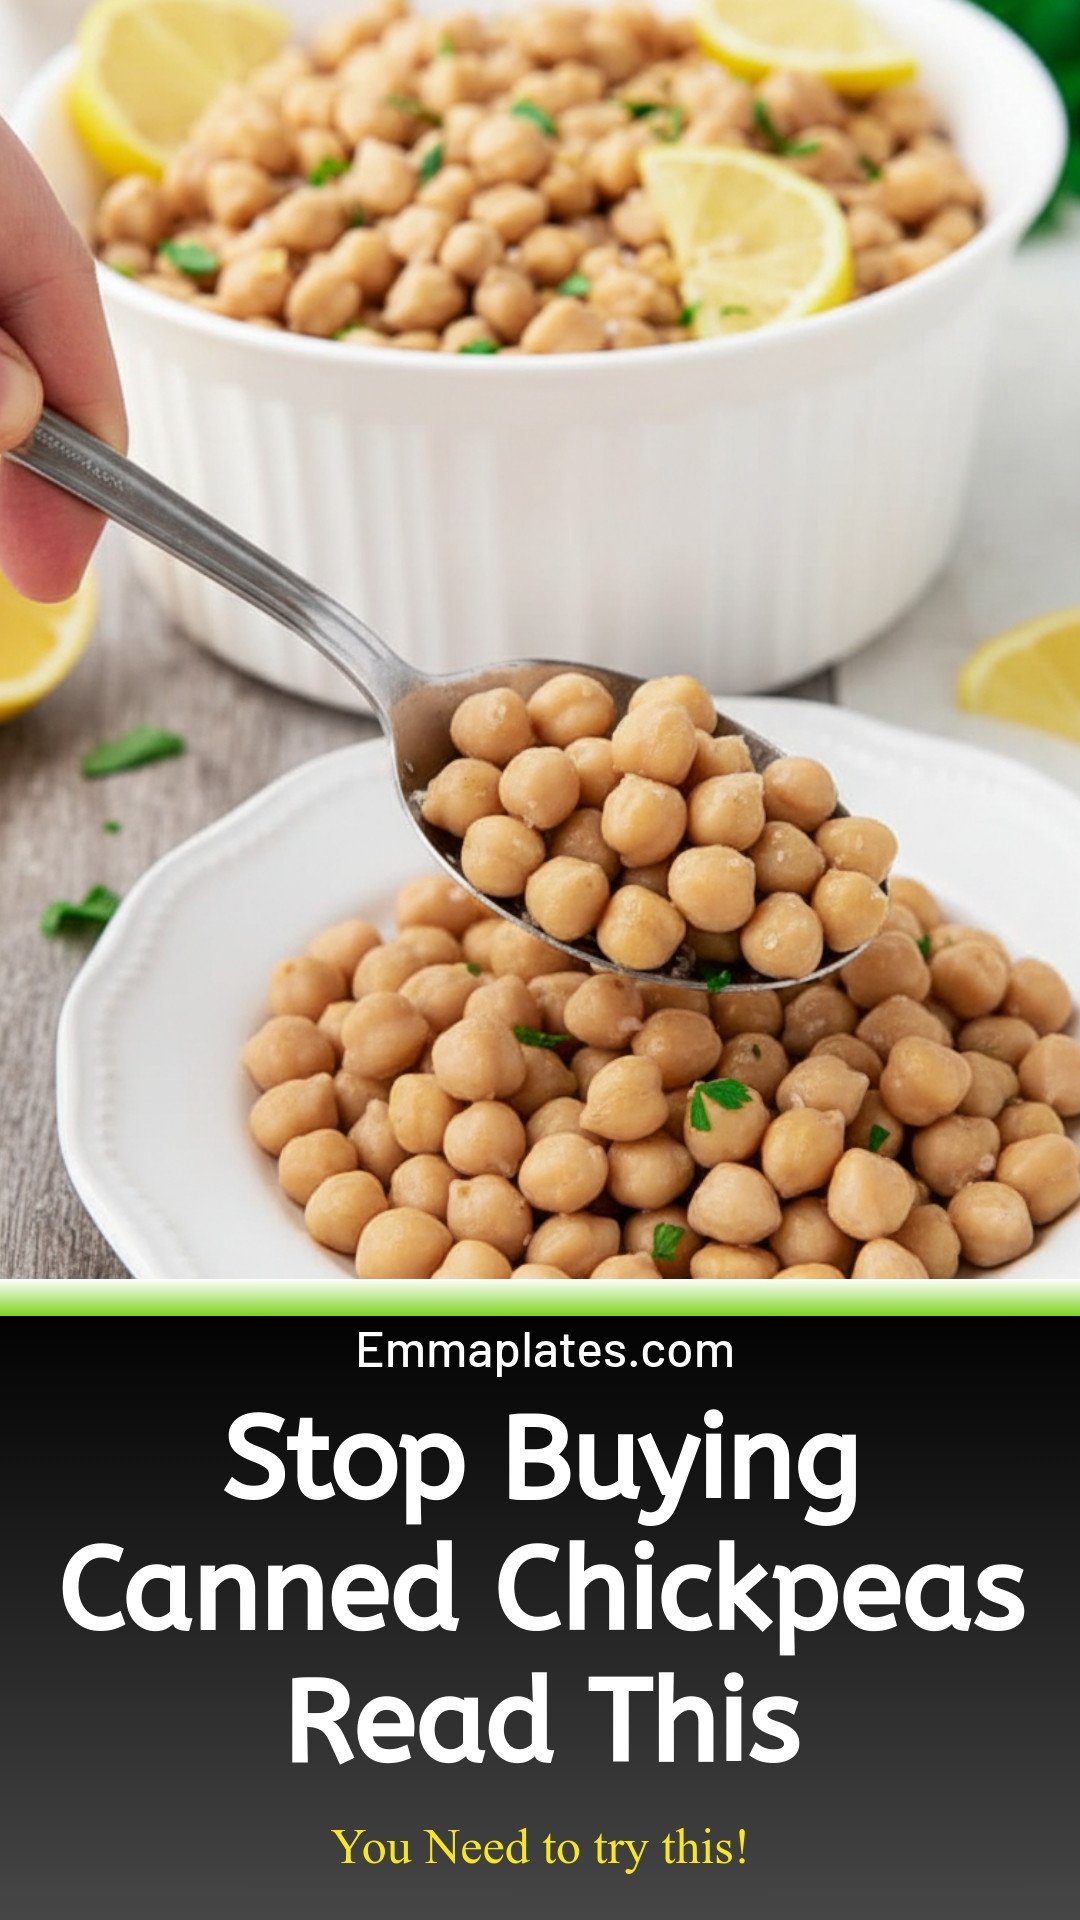
Stop Buying Canned Chickpeas Read This
Description
Stop buying canned chickpeas! Discover the game-changing benefits of cooking them from scratch. Save money, reduce waste, and unlock superior flavor and nutrition.
Ingredients
Instructions
- Sort through the dried chickpeas to find and remove any black chickpeas, rocks, or debris. Rinse thoroughly in a colander.
- Instant Pot: Transfer chickpeas to a 6 or 8-quart pressure cooker. Add salt and water. Close the lid, making sure the pressure valve is sealed. Set it to high pressure on manual mode, then cook for 50 minutes. (For hummus, cook an additional 5-10 minutes.) Once done, let the pressure release naturally for 10 minutes before opening the valve.
- Stove Top: Transfer chickpeas to a large pot. Add salt and water. Bring to a boil, stir, and cover. Reduce heat to low and simmer for 1 ½ – 2 hours (less for firmer, more for softer).
- Slow Cooker: Transfer chickpeas to a 6 or 8-quart slow cooker. Add salt and water. Cook for 3-4 hours on high (3 for firm, 4 for soft) or 6-8 hours on low.
Notes
- (Note: The provided text does not contain a detailed nutrition facts panel with calorie counts, macronutrients, etc. Only serving information is explicitly stated.)


Leave a Reply