
The Heart of the Pie
Let’s talk about the apples. Macintosh apples are my favorite for pie. They get so soft and sweet. But they can get a little mushy. That’s our secret.
We add a couple of Granny Smith apples. They stay firm. This gives our pie the perfect texture. It is both soft and a little bit sturdy. Doesn’t that sound nice? What is your favorite apple to eat out of hand?
A Chilly Crust Secret
The crust is the part that scares people. But my secret is simple. Keep everything cold. I freeze my shortening. I use ice water. I even chill the dough twice.
This matters because cold fat makes flakes. When the cold bits hit the hot oven, they steam. This makes little pockets of air. That gives us a tender, flaky crust. I still laugh at how my first pie crust was tough as cardboard. I learned the cold lesson the hard way!
Spices and Stories
The filling is where the magic happens. We mix the apples with sugar and spice. The ginger and cinnamon smell like fall. The vanilla adds a warm hug. It all comes together in a big bowl.
Fun fact: nutmeg comes from the seed of a tropical fruit! I love that. This mix matters because it’s not just sweet. It’s deep and cozy. It tastes like a memory. Do you have a spice that reminds you of a happy time?
Putting It All Together
Rolling the dough is fun. Don’t worry about perfect circles. Rustic is beautiful. Press the bottom crust into the plate. It should feel snug. Then pile in that spiced apple filling. Press it down gently.
Add the top crust. Pinch the edges together. I make little triangles with my fingers. Then, the most important step! Put the whole pie in the freezer for a bit. This keeps the crust’s shape in the oven. It makes all our cold work worth it.
The Waiting Game
Baking starts hot. Then we turn the oven down. This sets the crust and then cooks the apples through. You will know it’s done when the crust is golden and you see bubbles in the middle.
Now comes the hard part. You must let it cool. For a whole hour! This matters so much. It lets the juices thicken. If you cut it warm, it will run everywhere. The wait makes it perfect. Trust me. The smell will be amazing. What is the hardest dish for you to wait to eat?

Ingredients:
| Ingredient | Amount | Notes |
|---|---|---|
| All-purpose flour | 2 1/2 cups | plus more for rolling |
| Granulated sugar | 2 teaspoons | for the crust |
| Kosher salt | 1 teaspoon | for the crust |
| Vegetable shortening | 1 cup | frozen and cut into small pieces |
| Ice water | 1/2 cup | |
| Macintosh & Granny Smith apples | 3 1/2 pounds | mostly Macintosh, peeled, cored, and diced |
| Granulated sugar | 3/4 cup | for the filling |
| All-purpose flour | 3 tablespoons | for the filling |
| Fresh lemon juice | 2 teaspoons | |
| Vanilla extract | 1 teaspoon | |
| Kosher salt | 1 teaspoon | for the filling |
| Ground ginger | 1 teaspoon | |
| Ground cinnamon | 2 teaspoons | |
| Ground nutmeg | 1/2 teaspoon | |
| Ground allspice | 1/8 teaspoon | |
| Large egg | 1 | for assembly |
| Turbinado sugar | for sprinkling |
My Ultimate Macintosh Apple Pie
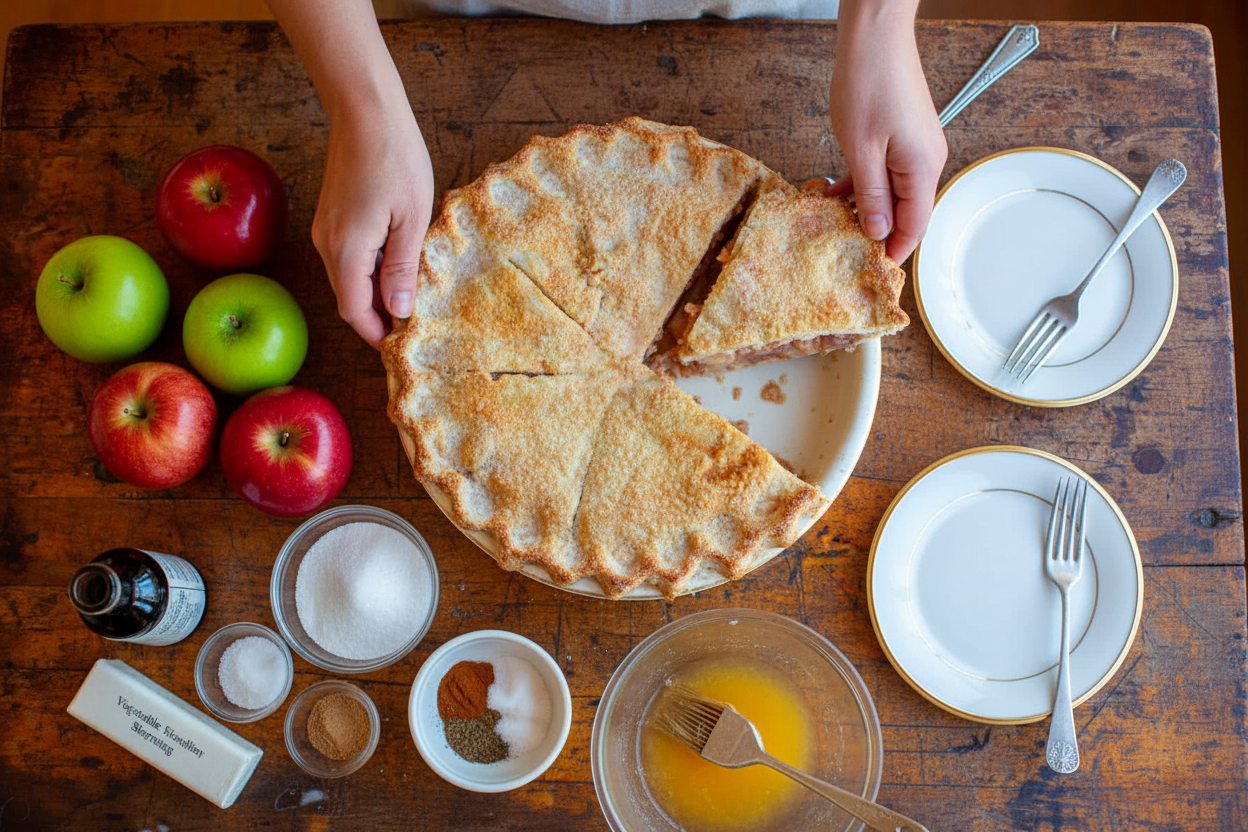
Hello, my dear! Come sit at the table. Let’s talk about apple pie. This is my favorite recipe. It uses soft Macintosh apples. They smell like a crisp autumn day. I add a few Granny Smith apples too. They keep the pie from getting too mushy. My grandson calls it “hug in a crust.” I still laugh at that. Making the crust is the most important part. Don’t be scared. We’ll take it slow, step-by-step. Your kitchen will smell amazing. I promise.
Step 1: First, make your pie dough. Mix the flour, sugar, and salt in a big bowl. Now, add the frozen shortening pieces. Use a dough cutter to chop it in. You want little pea-sized bits. This makes the crust flaky. Sprinkle in the ice water, bit by bit. Toss it with your fingers like you’re playing in sand. (Hard-learned tip: Don’t knead it! You’ll make the crust tough.) When it holds together, shape it into two flat disks. Wrap them up and let them rest in the fridge.
Step 2: While the dough chills, make the filling. Peel and chop all those beautiful apples. Toss them in a large bowl. Add the sugar, flour, and all the lovely spices. The cinnamon and nutmeg are so cozy. Don’t forget the lemon juice and vanilla! They make the flavors sing. Stir it all until every apple piece is coated. See how the sugar starts to make a little juice? That’s perfect. It will become the sweet, thick sauce inside your pie.
Step 3: Time to roll! Flour your counter well. Take one dough disk from the fridge. Roll it out into a big circle. Be gentle. Lift and turn the dough as you roll. Then, carefully lay it in your pie dish. Press it in snugly. Now, pour in your apple filling. Press the apples down gently. They should be nice and compact. This stops a big empty space from forming on top. What’s your favorite apple for baking? Share below!
Step 4: Roll out the second dough disk for the top. Lay it over the mountain of apples. Pinch the top and bottom edges together. Trim off the extra dough. Now, make a pretty edge! Pinch it with your fingers to make little triangles. Cut a few slits in the top so steam can escape. This is very important. Then, put the whole pie in the freezer for a short rest. This helps the crust keep its shape in the hot oven.
Step 5: Almost time to bake! Heat your oven nice and hot. Beat an egg with a tiny splash of milk. Brush this wash all over the top crust. It makes the pie shine. Sprinkle with coarse sugar for a sweet crunch. Place the pie on a baking sheet. This catches any bubbly spills. Bake it first at a high heat. Then, lower the temperature. Bake until the crust is deep gold and you see bubbling juice. Let it cool for a whole hour. This is the hardest part, waiting!
Cook Time: About 1 hour
Total Time: About 3 hours (includes chilling and cooling)
Yield: One 9-inch deep-dish pie (10 servings)
Category: Dessert, Baking
Three Fun Twists to Try
Once you master the classic, try a little twist! It’s so fun. The Crumble Top: Skip the top crust. Instead, mix flour, oats, brown sugar, and butter for a crunchy sprinkle. The Cheese Please: Add a cup of sharp cheddar cheese right into the dough. It sounds wild, but it’s delicious with apples. Maple Walnut: Swap the white sugar for pure maple syrup. Stir a handful of chopped walnuts into the filling. Which one would you try first? Comment below!
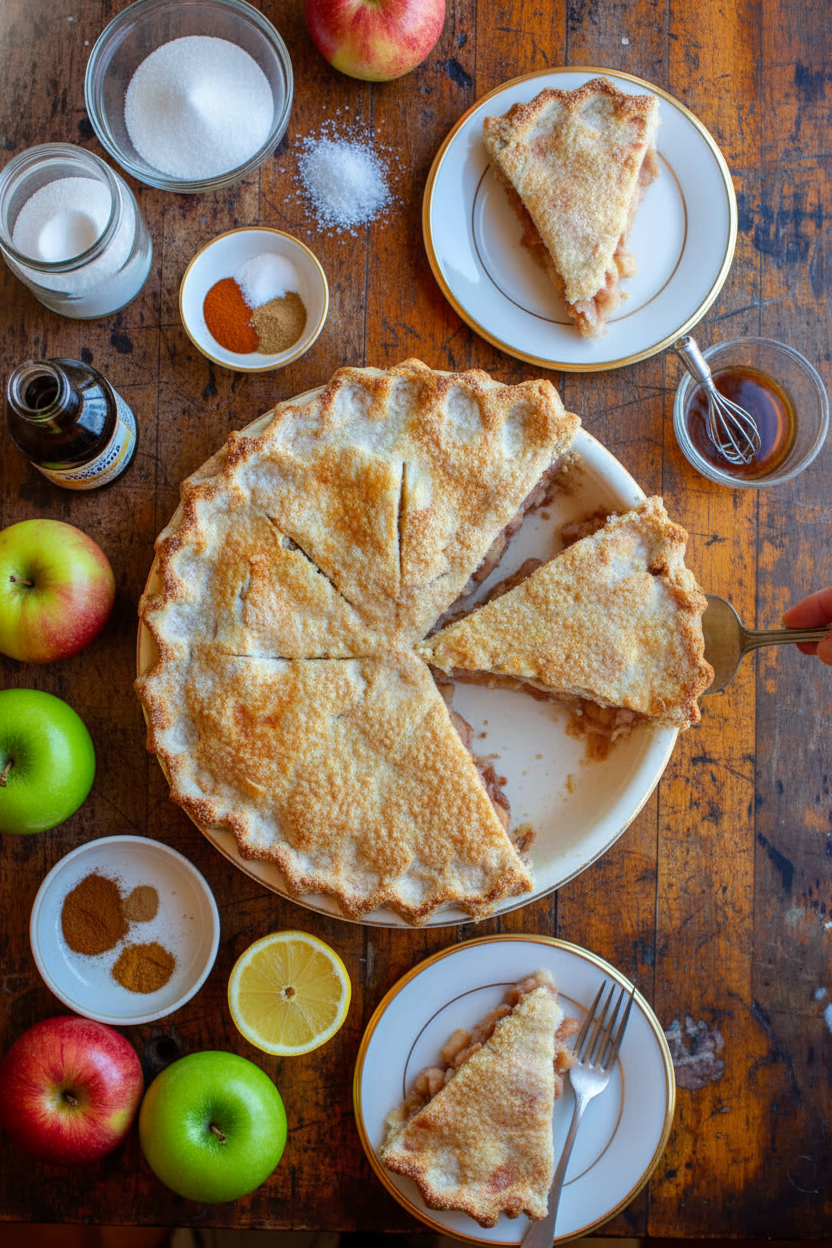
Serving Your Masterpiece
A warm slice of pie is a joy all by itself. But a little scoop of vanilla ice cream on top is pure magic. The cold melts into the warm spices. You could also add a dollop of softly whipped cream. For a drink, a cold glass of milk is my grandson’s pick. For the grown-ups, a sweet Riesling wine pairs beautifully. Which would you choose tonight? I think I’d go for the ice cream. Every single time.
Keeping Your Apple Pie Perfect
Let your pie cool completely before storing it. This keeps the crust crisp. Cover it loosely with foil at room temperature for two days.
For longer storage, freeze the whole pie before baking. Wrap it tightly in plastic wrap. It will keep for three months. Bake it frozen, just add 20 extra minutes.
I once reheated a slice in the microwave. The crust got soggy. Now I use the toaster oven. It makes the crust crisp again.
Batch cooking matters. It gives you a homemade treat anytime. A pie in the freezer is a hug for a busy day. Have you ever tried storing it this way? Share below!
Pie Problems and Simple Fixes
A soggy bottom crust is common. My trick is to freeze the pie before baking. This helps the fat set. It makes the crust flaky.
Your filling might be too runny. This happens if the apples are too juicy. Tossing them with flour helps. It thickens those sweet juices.
I remember when my crust edges burned. Now I shield them with foil. This simple step protects them. The whole crust bakes evenly.
Fixing these issues builds your confidence. You learn how ingredients work. It also makes the flavor perfect. Every slice will be just right. Which of these problems have you run into before?
Your Apple Pie Questions Answered
Q: Can I make this gluten-free? A: Yes. Use your favorite gluten-free flour blend for the crust.
Q: Can I make it ahead? A: Absolutely. Make and freeze the dough disks. Thaw them in the fridge overnight.
Q: What if I don’t have shortening? A: You can use very cold butter. The flavor will be richer.
Q: Can I make a smaller pie? A: Sure. Just cut all the ingredients in half. Use a smaller pie plate.
Q: Any optional tips? A: Add a handful of fresh cranberries for a tart twist. *Fun fact: Macintosh apples were discovered by chance in Canada!* Which tip will you try first?
From My Kitchen to Yours
I hope you love making this pie. It is full of cozy memories for me. Baking is about sharing joy and stories.
I would love to see your creation. Your kitchen adventures make me smile. Share a photo of your golden crust.
Have you tried this recipe? Tag us on Pinterest! Let’s build a community of bakers. We can all learn from each other.
Happy cooking!
—Emma Caldwell.
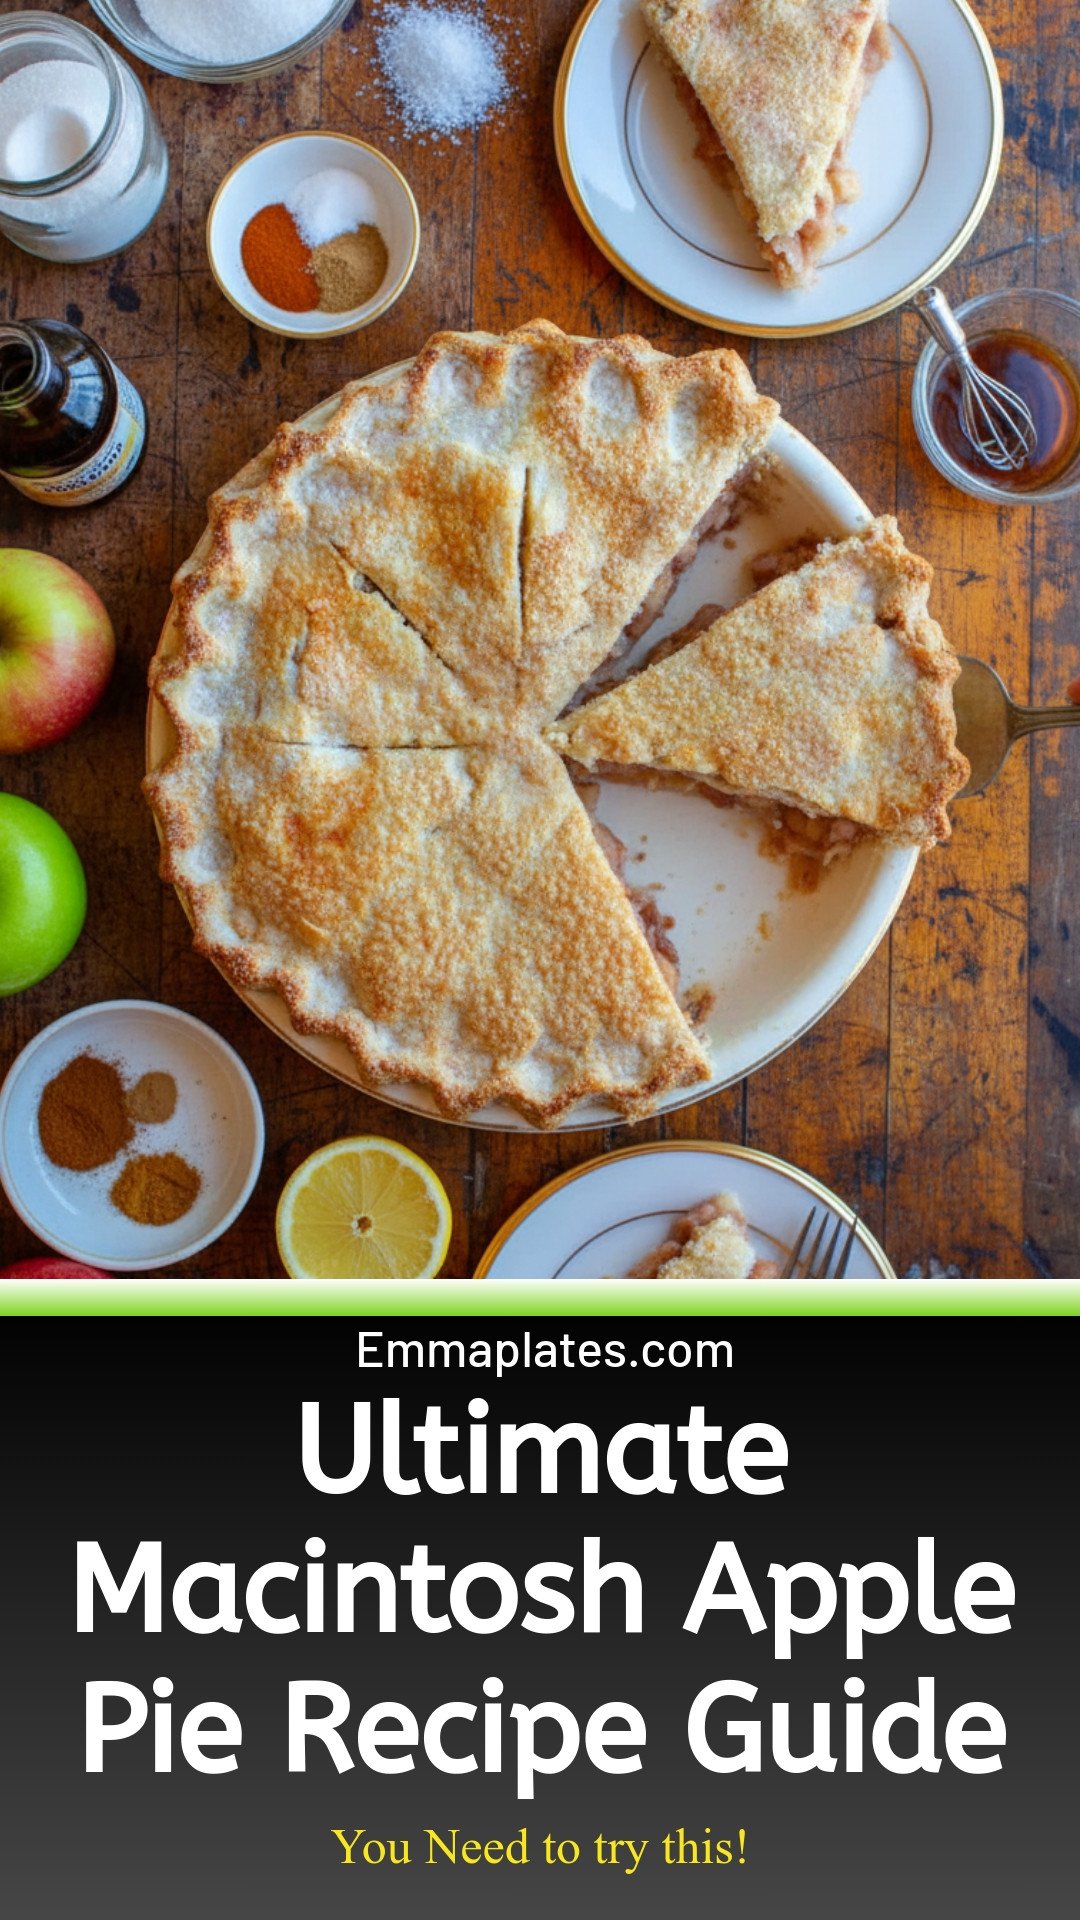
How To Make The Best Macintosh Apple Pie Recipe: Ultimate Macintosh Apple Pie Recipe Guide
Description
Discover the ultimate, flaky-crust Macintosh apple pie recipe. Simple steps for a perfect, classic dessert that impresses every time.
Ingredients
Instructions
- Combine 2 1/2 cups flour, 2 teaspoons sugar, and 1 teaspoon salt in a large bowl and stir to incorporate. Add 1 cup frozen, chopped shortening and toss until the pieces are coated with flour. Using a dough cutter, cut shortening into the flour until pea-sized pieces form.
- Add ice water, a couple tablespoons at a time, and blend into dough by tossing with your fingers (don’t knead the dough). Once dough starts coming together, divide into 2 equal-sized balls then flatten into compact disks. Wrap them in plastic wrap and refrigerate at least 30 minutes.
- Combine all filling ingredients in a large bowl and toss until apples are evenly coated.
- Heat oven to 450°F. On a lightly floured surface, roll 1 disk of dough into a 11 to 12-inch circle (about 1/8-inch thick), and place in a 9-inch deep-dish pie plate. Press into plate so the dough is snug against the edge.
- Give filling a few more stirs to distribute all the juices and pour into pie shell. Press down on the filling so the apples are compact.
- Roll out remaining disk of dough the same as the first and lay over filling. Pinch the two edges of dough together and trim off any that hangs over the lip of the plate by more than 1 inch.
- Make a decorative edge by pinching sections of dough around the pointer finger of one hand with the thumb and pointer finger of the other, making little triangles as you go around the perimeter of the pie.
- With a sharp knife, make a few slits on the top of the pie to let steam escape. Place in the freezer for 15-30 minutes before baking to make sure the pie dough holds its shape.
- Beat egg with a teaspoon of plant based milk or regular milk and brush egg wash over the top of the pie. Sprinkle top with sugar if you’d like and place on a parchment covered baking sheet to catch any drips.
- Bake until just starting to turn golden, about 15 minutes, then reduce heat to 350°F. Continue baking until crust is a deep golden brown and filling is bubbling in the middle, about 45 minutes more. Remove from oven and let cool at least 1 hour before serving.
Notes
- Nutrition: Servings: 10 servings, Calories: 277kcal


Leave a Reply