
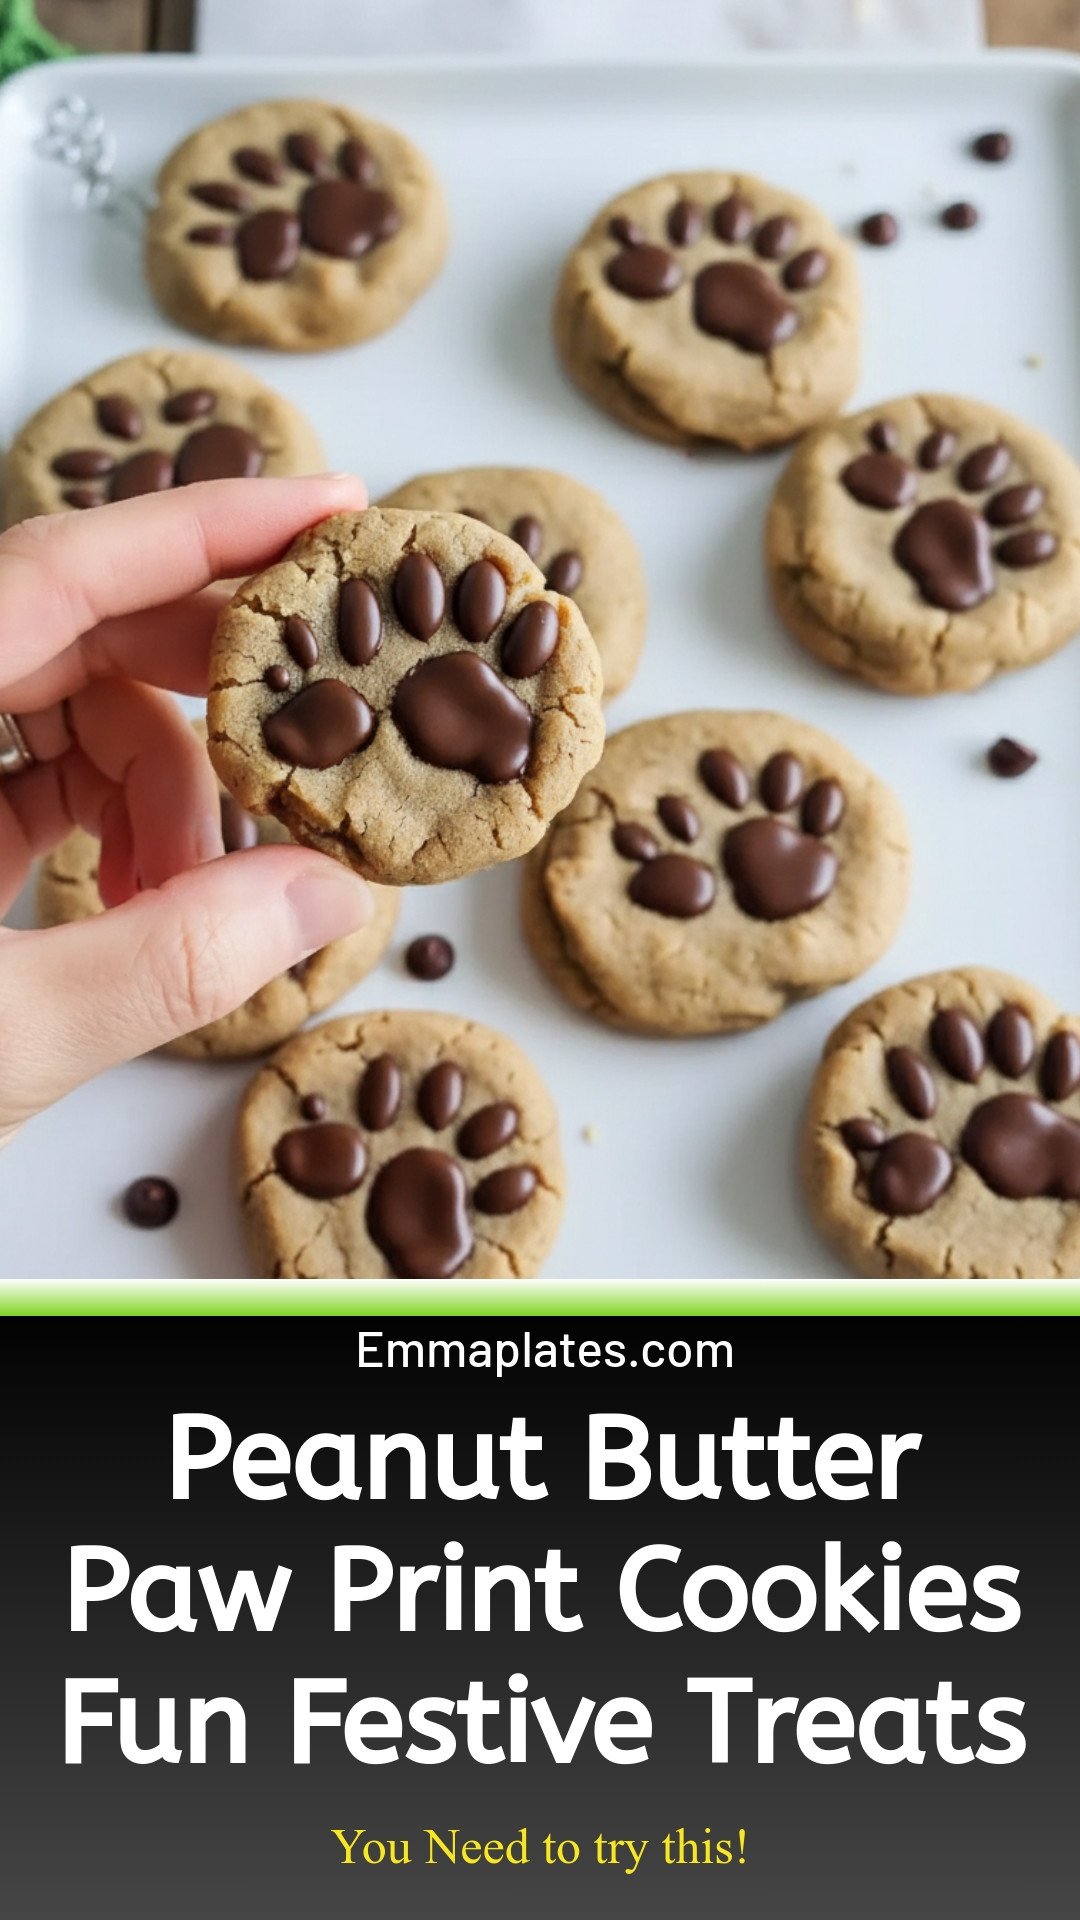
Why I Love These Cookies So Much
When I first made these cookies, my neighbor’s little boy came running over. He saw the paw prints and said, “A bear baked these.” I still laugh at that. These cookies are fun because they look like tiny animal paws. They taste exactly like peanut butter and chocolate together, which is my favorite combo.
Doesn’t that smell amazing? The peanut butter and sugar fill your whole kitchen. It makes me feel like a kid again. Have you ever made cookies that look like animals?
The Secret to a Soft, Chewy Cookie
The trick is using both granulated sugar and brown sugar. Brown sugar is like a little hug for your cookie. It keeps it soft and chewy, not hard like a rock. The butter must be soft too, not melted. If you forget to soften it, just leave it on the counter for 20 minutes.
Why this matters: Soft cookies taste better and stay fresh longer. You can even eat them the next day and they’ll still be good. What’s your favorite kind of cookie texture—crunchy or chewy?
A Little Story About Baking With Kids
My granddaughter helped me make these last Christmas. She pressed each chocolate disk into the dough with her tiny fingers. She kept saying, “Look, Grandma, a puppy foot.” We put too many chocolate chips on some, and they looked silly. That was the best part.
I love that these cookies let you be messy and creative. You don’t need perfect paws. Just press the chocolate in and smile. Why this matters: Baking isn’t about being perfect. It’s about sharing time with people you love.
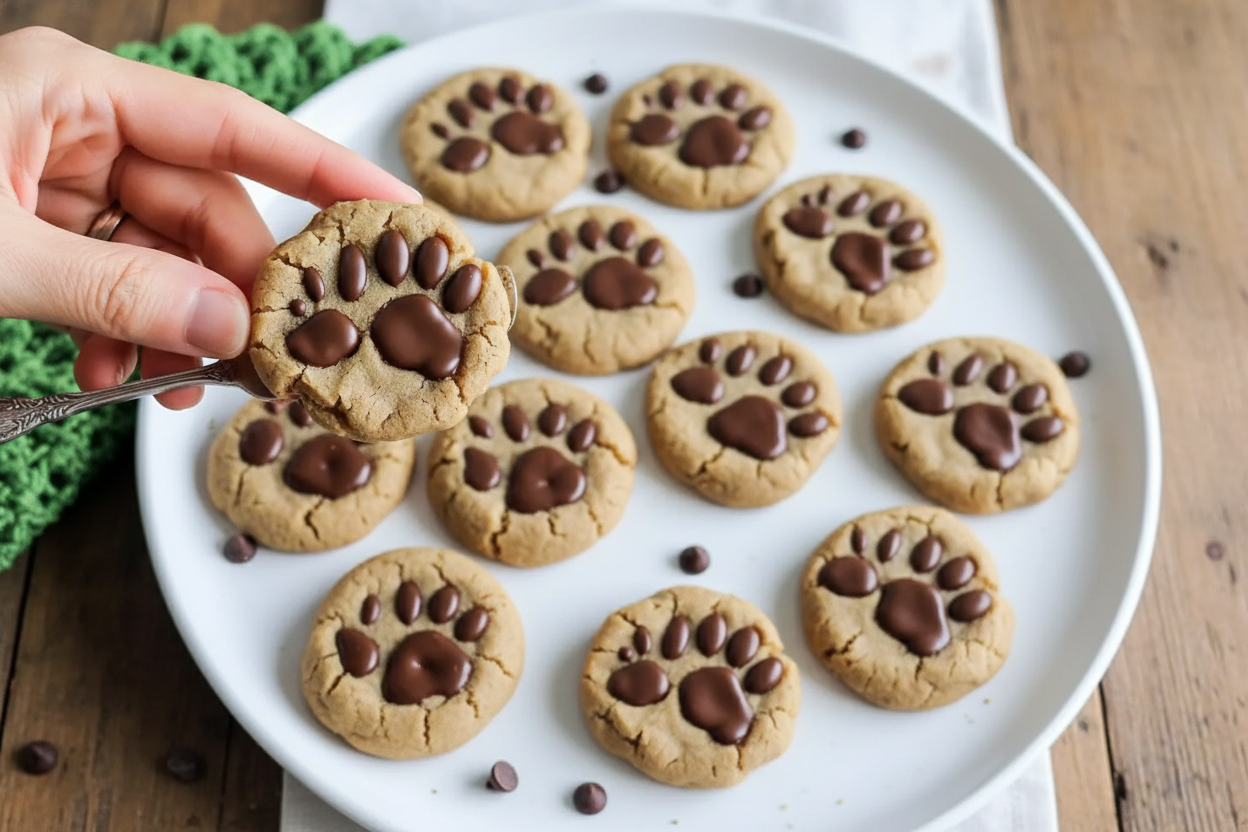
Making the Paw Prints the Right Way
You need two kinds of chocolate for the paw prints. One big disk in the middle is for the pad of the paw. Then three or four chocolate chips around it are the toes. Use dark or milk chocolate—it’s up to you. I like milk chocolate because it’s sweeter.
*Fun fact: People think chocolate is bad for dogs, but these cookies are for humans only. Don’t share with your real pet.*
Press the chocolate in right when the cookies come out of the oven. The warmth helps it stick. If you wait too long, the chocolate won’t stay. Have you ever tried making shapes with candy on cookies?
Why the Baking Soda Matters So Much
Some people skip baking soda in recipes. Please don’t. Baking soda makes these cookies puff up light and airy. Without it, they would be flat and sad. The salt is important too. It makes the sweet taste even sweeter.
Why this matters: Every ingredient has a job, even the tiny ones. I learned this from my own grandma. She always said, “Respect the baking soda.” I never forgot it. Do you ever wonder why recipes use so many different things?
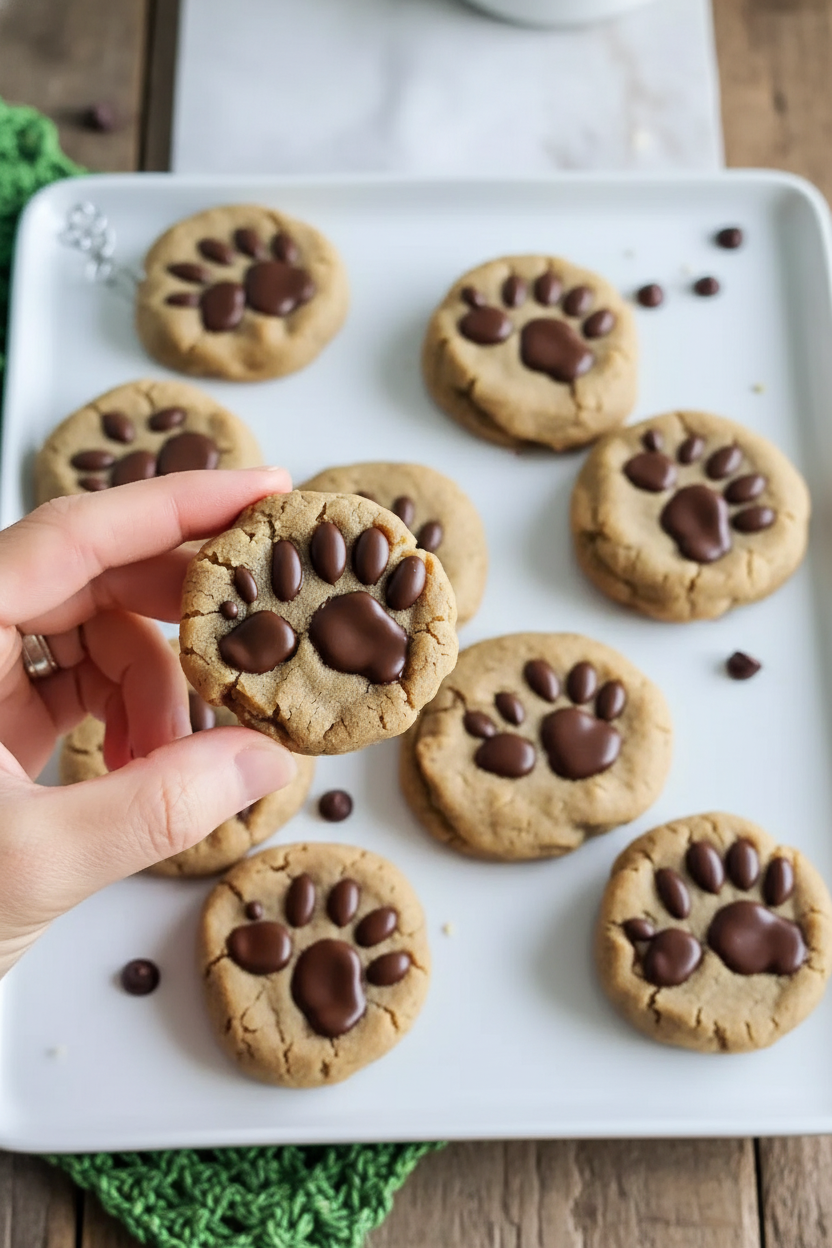
How to Serve and Store These Treats
Let the cookies cool all the way before you stack them. The chocolate needs to harden, or it will smear everywhere. I like to put them on a pretty plate for parties. Kids always grab them first because of the paws.
You can keep them in a tin for up to a week. They also freeze really well. Just wrap them in wax paper and put them in a bag. Then you have cookies ready for any surprise guest. What kind of parties do you like to bake for?
Ingredients:
| Ingredient | Amount | Notes |
|---|---|---|
| Butter | 0.5 cups | Softened for rich texture and moisture |
| Creamy Peanut Butter | 1 cup | This star ingredient delivers that perfect nutty flavor |
| Granulated Sugar | 1 cup | Sweetens the dough and helps the cookies hold their shape |
| Light Brown Sugar | 0.5 cups | Packed; adds depth and moisture for a chewy texture |
| Eggs | 2 | Large ones to bind everything together and enhance richness |
| Vanilla Extract | 0.5 teaspoons | Adds a touch of aromatic sweetness that complements peanut butter |
| All-Purpose Flour | 2 cups | Provides structure and bulk for the perfect cookie base |
| Baking Soda | 2 teaspoons | A vital leavening agent that ensures a light, puffy texture |
| Salt | 0.5 teaspoons | Enhances the overall flavor and balances sweetness |
| Melting Chocolate Disks | 48 pieces | Create the adorable paw print centers |
| Chocolate Chips | 144 pieces | Use either dark or milk chocolate to form the cute paw toes |
Title 1: Making the Paw Print Cookies
I remember the first time I made these cookies for my grandkids. They squealed with joy when they saw the little paws. Doesn’t that smell amazing? Let’s get started.
Step 1: Preheat your oven to 350°F. This is very important. While it heats up, line your baking sheets with parchment paper. I once forgot this step and had a sticky mess. (Hard-learned tip: always use parchment paper so nothing sticks.)
Step 2: In a big bowl, beat the butter and peanut butter until smooth. Use a mixer if you have one. My old arms get tired, but the smell of peanut butter keeps me going. Make sure it’s really creamy.
Step 3: Add the white sugar and brown sugar. Mix for about two minutes. This makes the dough sweet and chewy. I always sneak a little taste here. Do you ever taste the dough before baking? Share below!
Step 4: Crack in the two eggs and add the vanilla. Mix until everything looks like a golden batter. Eggs help hold the cookie together. My grandma taught me to crack eggs on the counter, not the bowl edge.
Step 5: In another bowl, whisk the flour, baking soda, and salt. Slowly add this to the wet mixture. Stir gently until a soft dough forms. Don’t overmix or the cookies will be tough. That is a hard-learned tip from many flat cookies.
Step 6: Roll the dough into small balls, about as big as a walnut. Place them two inches apart on the sheet. Bake for 7 to 9 minutes. Pull them out when the edges are set but the centers still look soft.
Step 7: Right away, press one melting chocolate disk into the center of each cookie. Add three or four chocolate chips around it to make little paw toes. Let them cool completely. The chocolate sets best when you are patient.
Cook Time: 7–9 minutes
Total Time: 25 minutes
Yield: 24 cookies
Category: Dessert, Cookies
Title 2: Three Fun Twists to Try
These cookies are perfect just the way they are. But sometimes I like to change things up for fun. Here are three ideas I have tried on rainy afternoons.
Seasonal Pumpkin Paws: Swap half the butter for pumpkin puree. Add a pinch of cinnamon. It tastes like fall. My neighbor Mary loved these at our harvest party.
Spicy Ginger Paws: Add a teaspoon of ground ginger and a dash of cayenne pepper to the flour. It gives a little warmth. I still laugh at how my husband’s eyes widened.
Coconut Surprise Paws: Fold in half a cup of shredded coconut before baking. The texture gets chewy and sweet. It reminds me of a beach vacation I never took. Which one would you try first? Comment below!
Title 3: Serving and Sipping
These cookies are wonderful with a cold glass of milk. That is my classic choice. But I also love to serve them on a pretty plate with fresh berries on the side. The berries cut the sweetness nicely.
For a grown-up treat, try them with a small cup of black coffee. The bitter coffee and sweet cookie go together like an old married couple. For kids, a warm mug of hot chocolate is perfect. I always did that for my little ones.
You can also crumble one over vanilla ice cream for a quick sundae. It makes a messy but happy dessert. Which would you choose tonight?
Storing and Reheating Your Paw Print Cookies
These cookies stay soft for days if you store them right. Place them in an airtight container at room temperature. They will keep fresh for up to five days. I once left a batch on the counter uncovered. By morning, they were dry as dust. That taught me to always seal the container tight.
You can also freeze the baked cookies for up to three months. Layer them between wax paper in a freezer-safe bag. When you want a treat, thaw them on the counter for 15 minutes. This is wonderful for batch cooking. You can make a double batch and save some for later. Storing ahead means you always have a fun snack ready for guests or school lunches. Have you ever tried storing it this way? Share below!
Three Common Cookie Problems and Easy Fixes
First, cookies sometimes spread too thin on the pan. This happens if the butter is too soft. Chill your dough balls for 20 minutes before baking. This small step keeps them round and puffy. I remember when I skipped this once, my paw prints turned into flat blobs.
Second, the chocolate chips may slide off after pressing. Press them gently into the warm cookie, but not too deep. Let the cookie cool completely before moving it. This helps the chocolate stay put. Why this matters: When your cookies look cute, you feel proud to share them.
Third, the center might feel raw after 9 minutes. That is normal. The cookie continues to bake on the hot pan. Let them sit on the sheet for 2 minutes before moving to a rack. Why this matters: Getting the texture right builds your baking confidence. Which of these problems have you run into before?
Quick Recipe Q&A
Q: Can I make these gluten-free? A: Yes, swap the all-purpose flour for a 1-to-1 gluten-free baking blend. The cookies will be a bit more tender.
Q: Can I make the dough ahead of time? A: Absolutely. Roll the dough into balls and refrigerate for up to 48 hours. Bake them straight from the fridge, adding 1 minute to the bake time.
Q: Can I swap the peanut butter? A: Sure, use almond or sunflower seed butter. The flavor will change, but the texture stays soft.
Q: How do I scale the recipe for a crowd? A: Double or triple all ingredients easily. Just bake in batches so the oven stays at the right temperature.
Q: Any optional tips? A: Sprinkle a pinch of flaky sea salt on top before baking. It makes the sweet and salty pop. Which tip will you try first?
A Warm Goodbye from Emma
I hope these little paw prints bring smiles to your kitchen. They are so simple to make, but they feel special every time. My grandkids always race to see who gets the one with the most chips. Take a photo of your batch and share the joy. Have you tried this recipe? Tag us on Pinterest! I love seeing your creations. Happy cooking! —Emma Caldwell.

Peanut Butter Paw Print Cookies for Fun and Festive Treats: Peanut Butter Paw Print Cookies Fun Festive Treats
Description
Adorable Peanut Butter Paw Print Cookies, perfect for fun festive treats. Easy dog-inspired recipe for holiday baking or pet lovers.
Ingredients
For the Cookie Dough
For the Chocolate Design
Instructions
- Preheat your oven to 350°F (175°C). Gather your baking sheets lined with parchment paper.
- In a large mixing bowl, beat together ½ cup of softened butter and 1 cup of creamy peanut butter until smooth.
- Add 1 cup of granulated sugar and ½ cup of packed light brown sugar; mix for about 2-3 minutes until well blended.
- Add 2 large eggs and ½ teaspoon of vanilla extract; mix until fully combined and smooth.
- In a separate bowl, whisk together 2 cups of flour, 2 teaspoons of baking soda, and ½ teaspoon of salt. Gradually add this to the wet ingredients.
- Form the dough into balls, about 1-1.5 inches in diameter, and place them on the baking sheet, spaced about 2 inches apart.
- Bake for 7-9 minutes, until puffy but not overly browned; edges should be set and centers soft.
- Press a melting chocolate disk into the center of each cookie and add 3-4 chocolate chips around it to create the paw design.
- Cool completely on a wire rack before serving, allowing the chocolate to set.


Leave a Reply